
This story started a couple of years ago when a friend posted pictures of a custom doll, a dog made in memory of a much-loved pet, from one of Jenny Barnett’s kits.<https://www.etsy.com/ca/shop/JennyBarnettFelt>
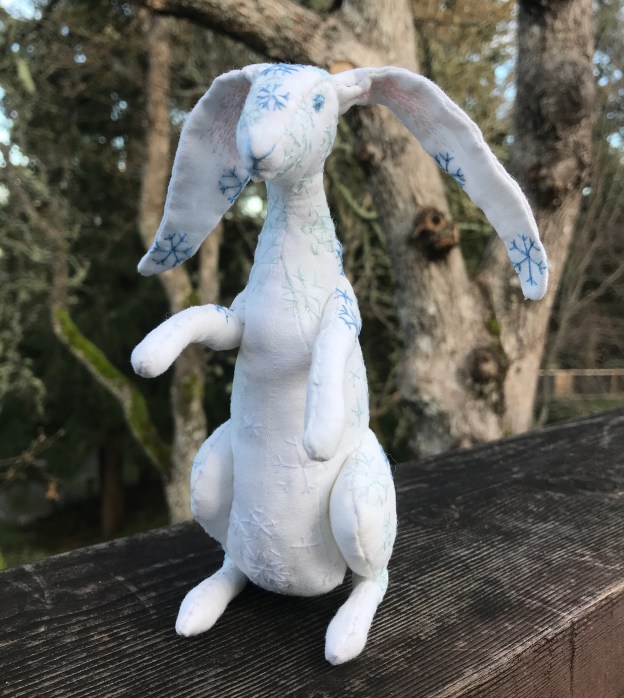
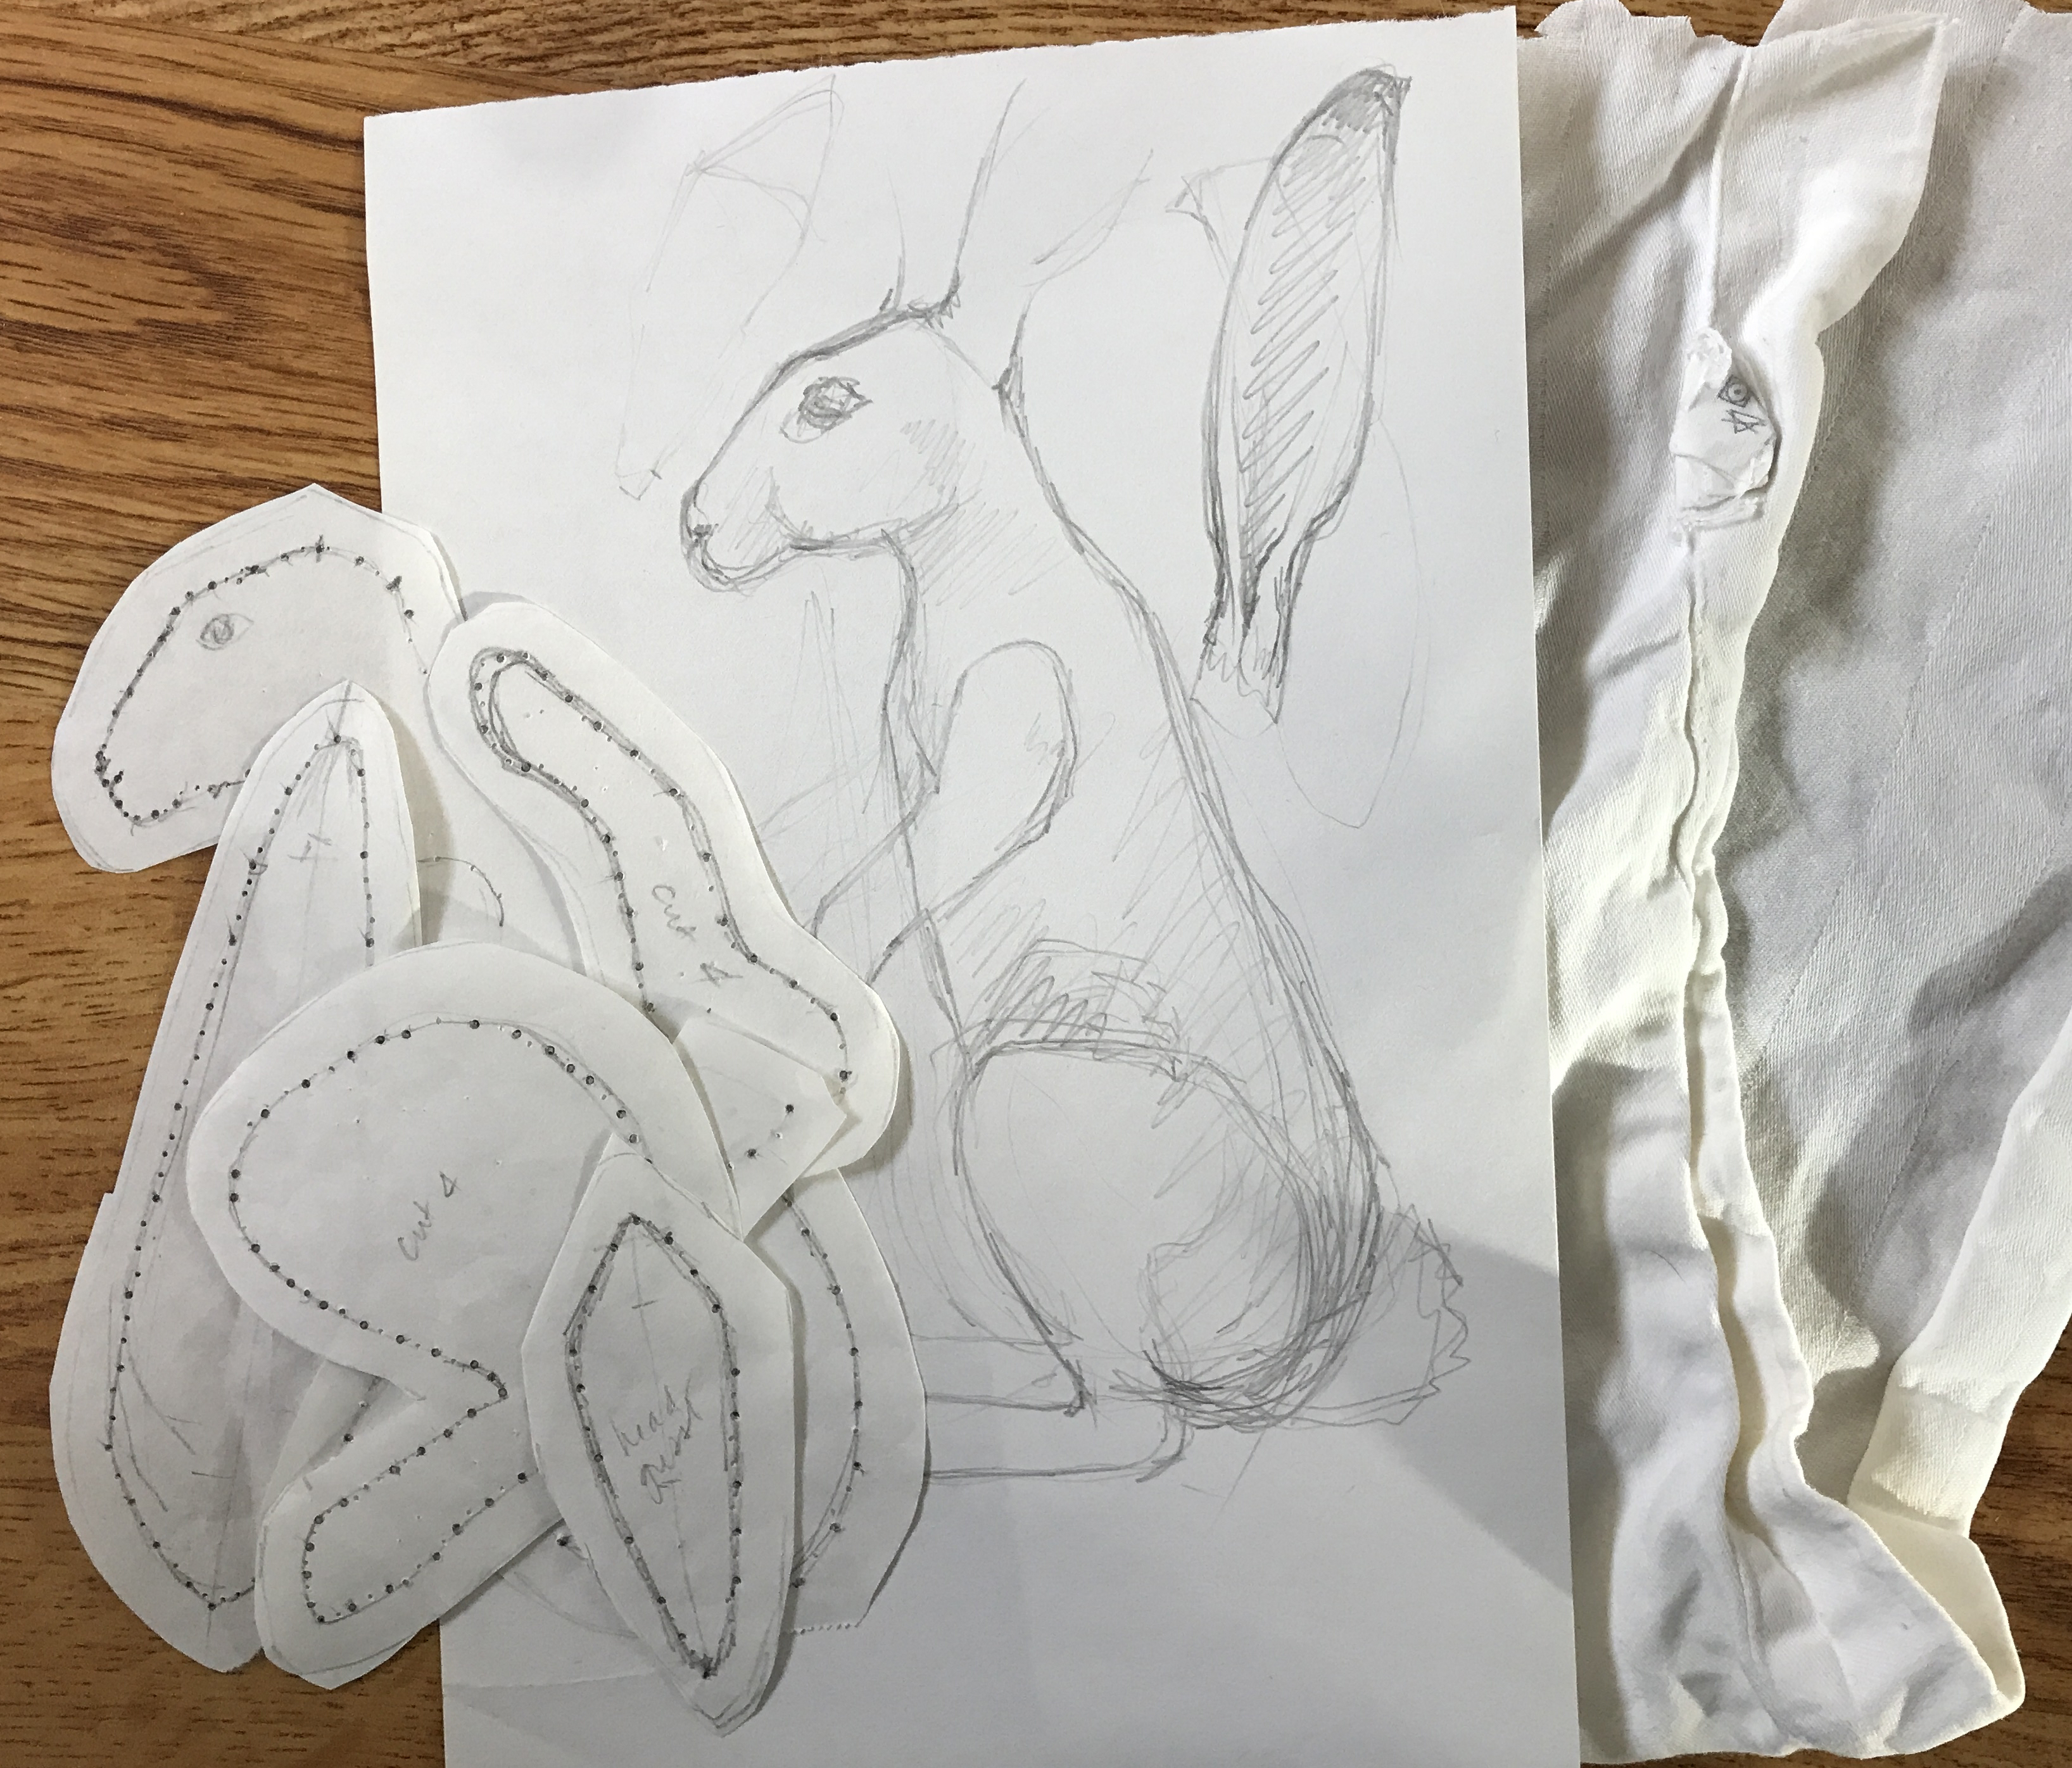
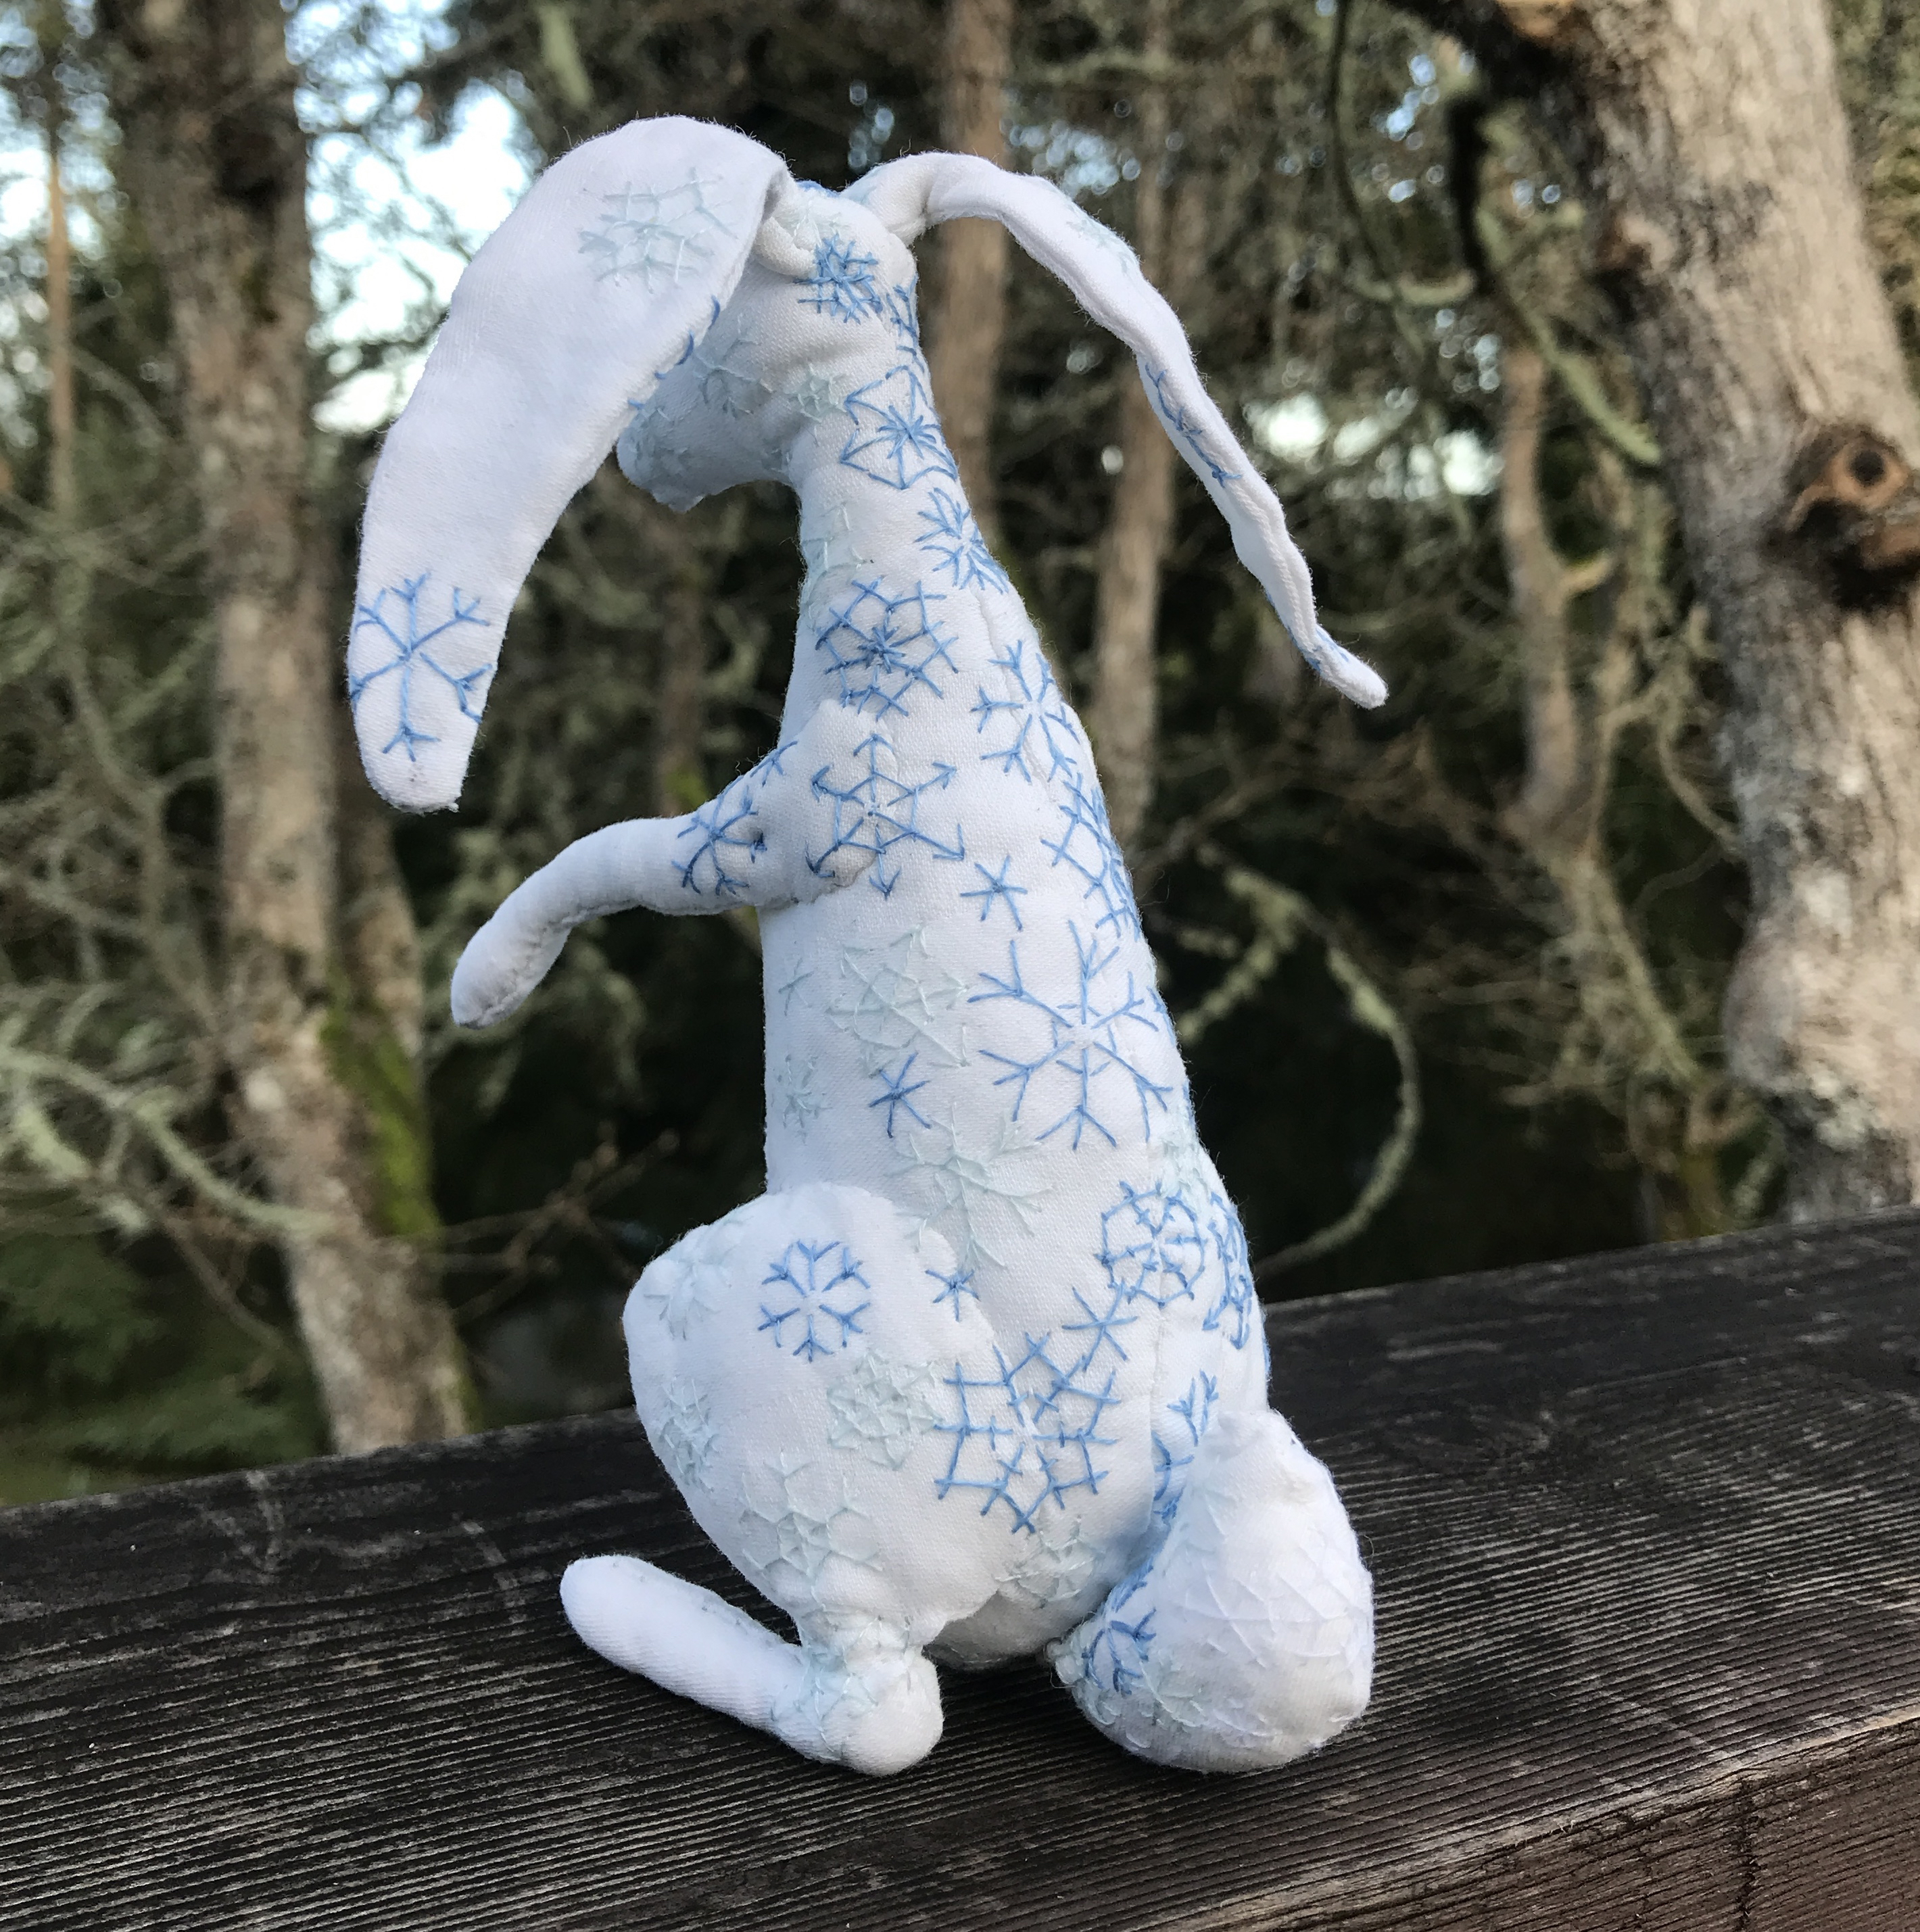
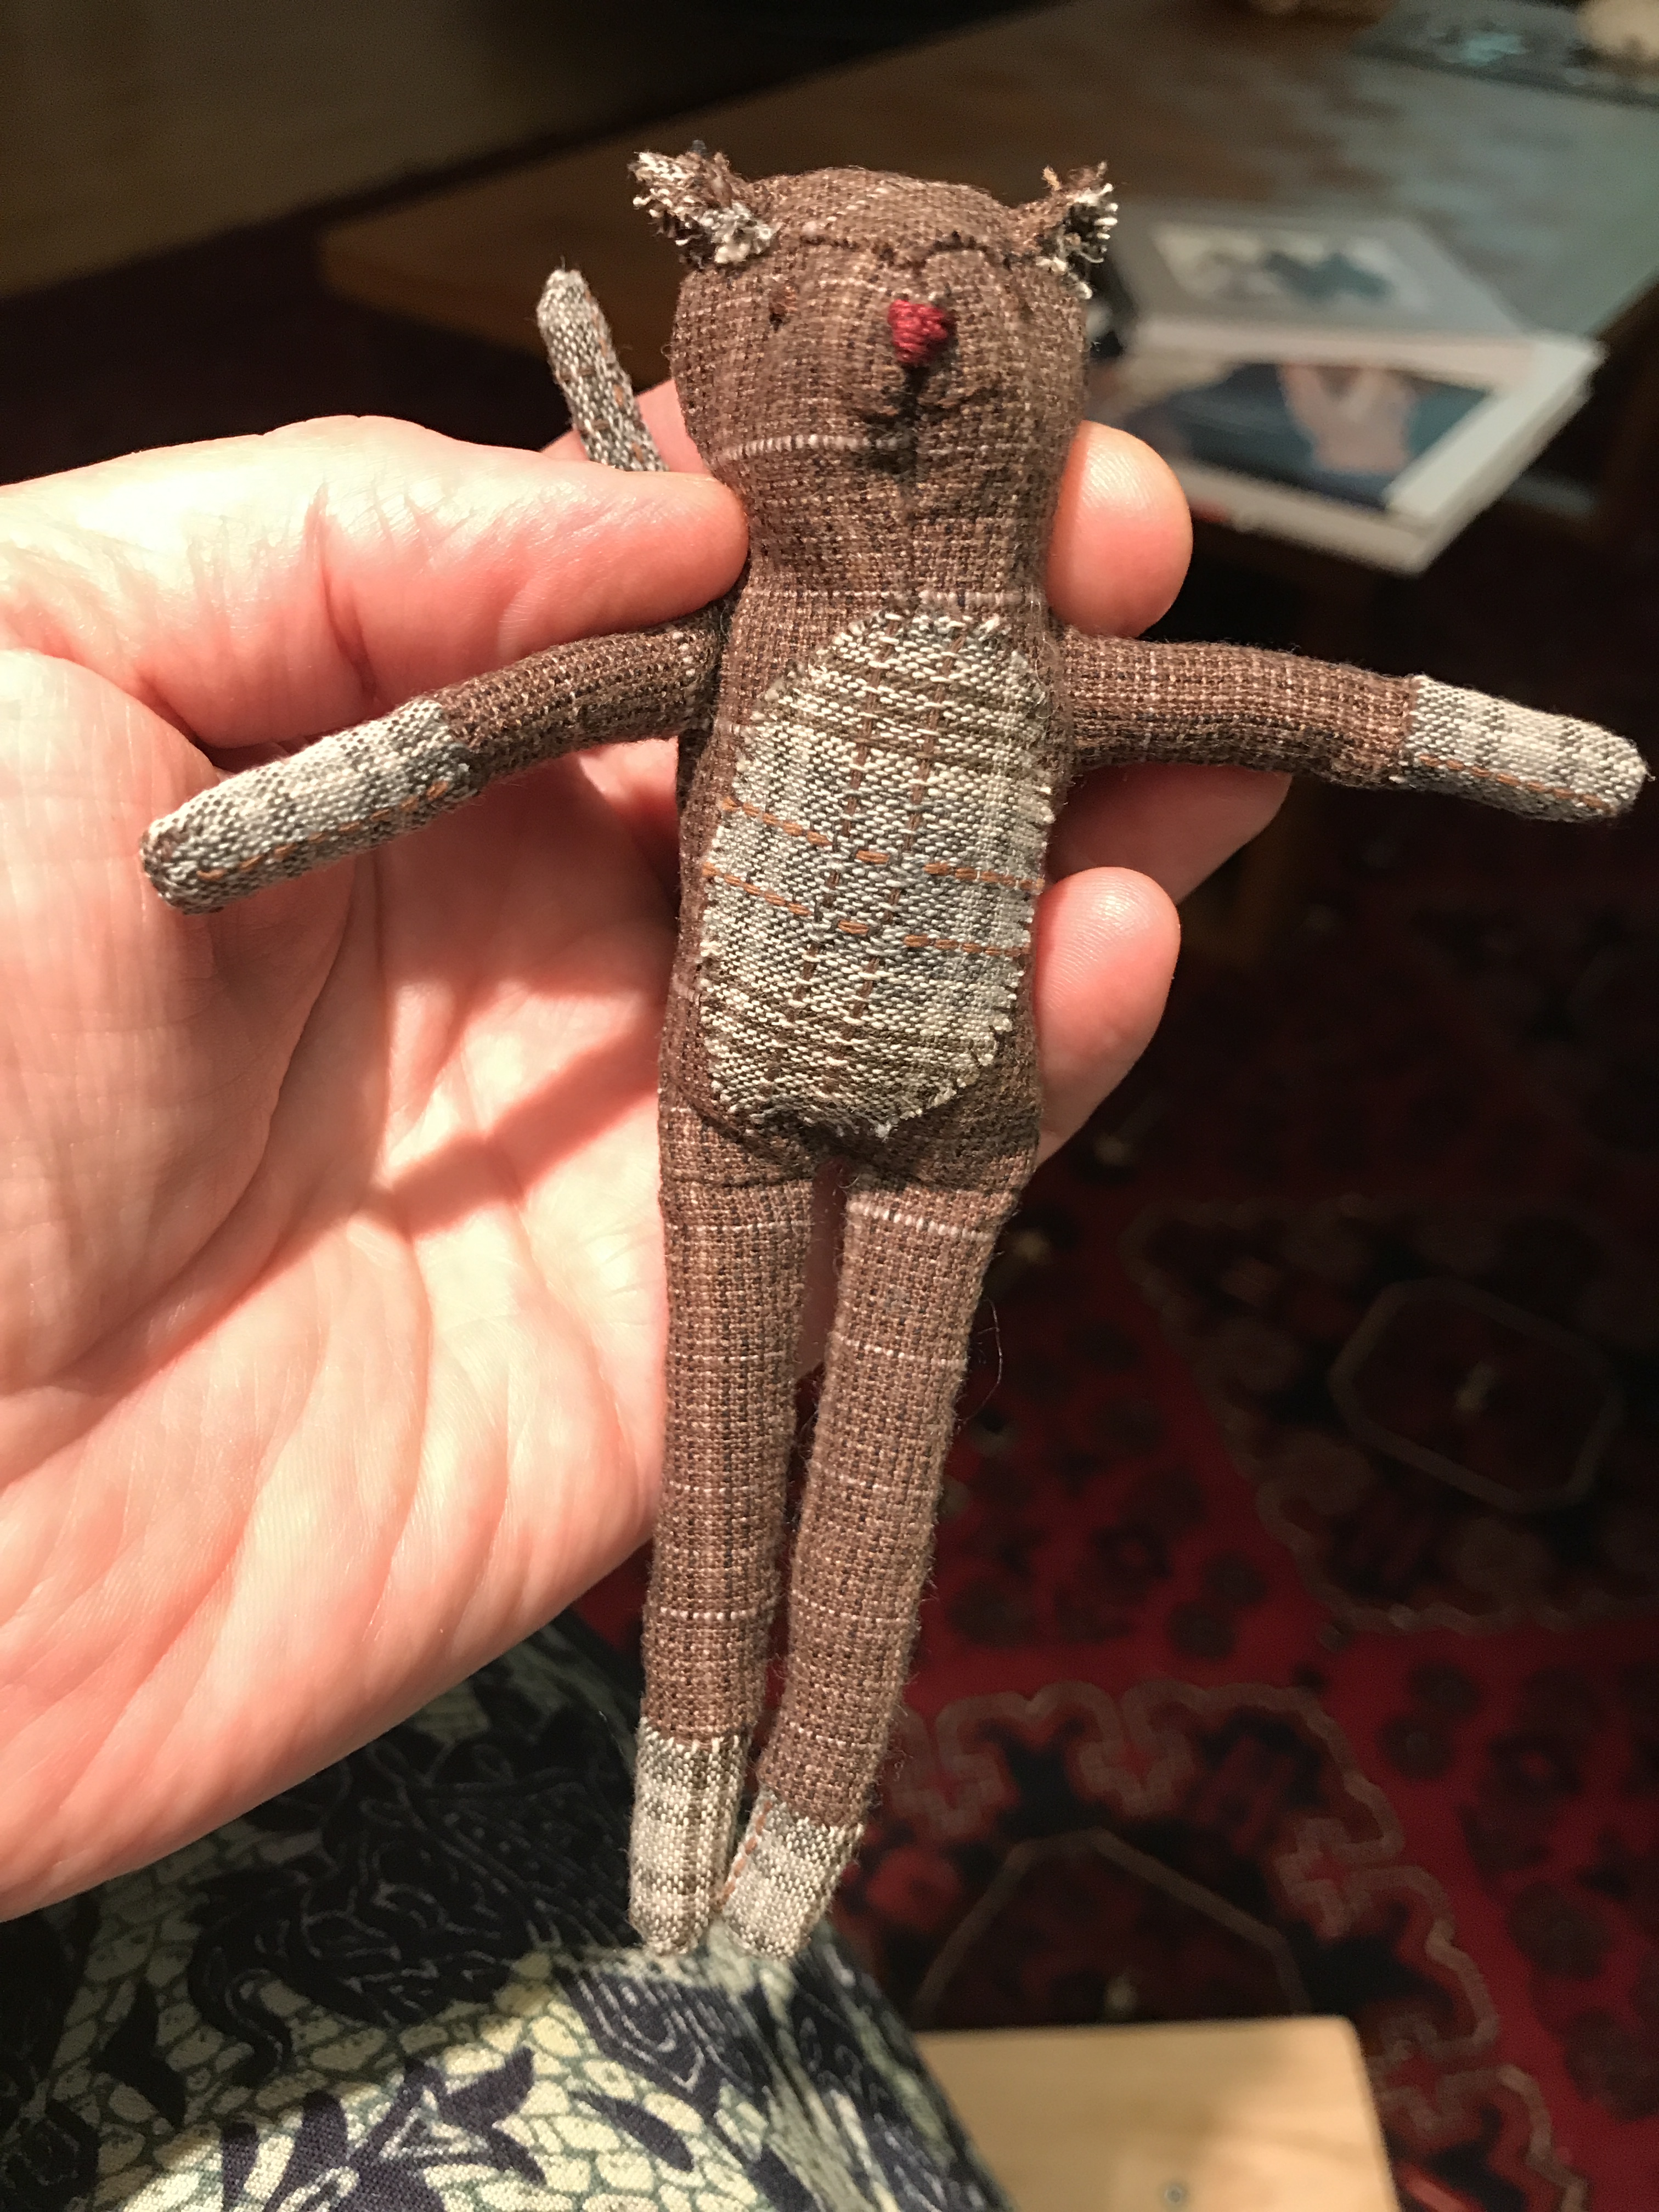
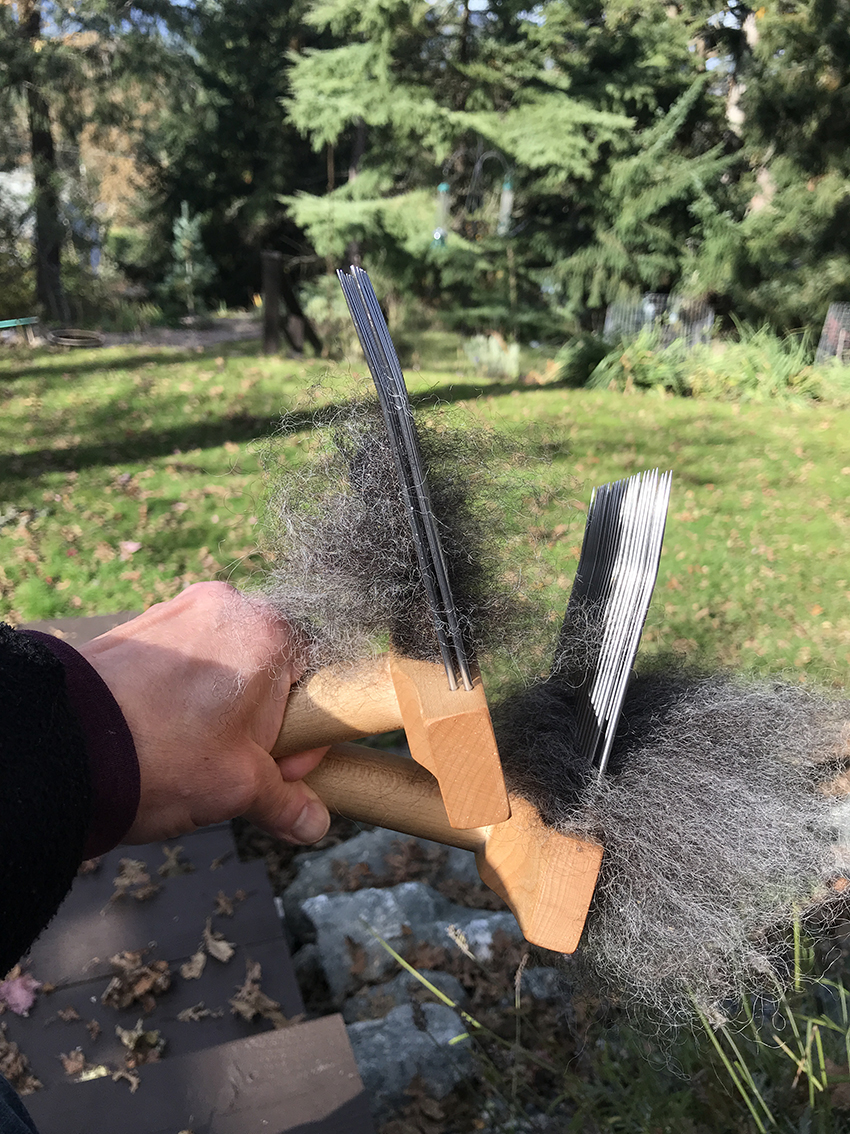
I had thought of dollmaking as ‘interesting, no idea how it is done’, but when I saw that dog An Idea sprang full-fledged from my forehead. As they do. I wanted to make a cat, a beautiful blue cat to remember all the cats I loved. Jenny was only too happy to help and in due course sent pics of two blue cat kits, asking which one I wanted. I wanted both. I couldn’t choose. So both kits arrived. And sat on the shelf, because I wanted to make something of my own, not follow the pattern supplied. and I didn’t know how. I bought patterns for small stuffed toys — a bird, a cat, a rabbit –– and made them, revised patterns and re-made them, drafted my own patterns and made my own creatures. I made a teddy bear, I made another teddy bear. I made a hare.

The Queen of the Night
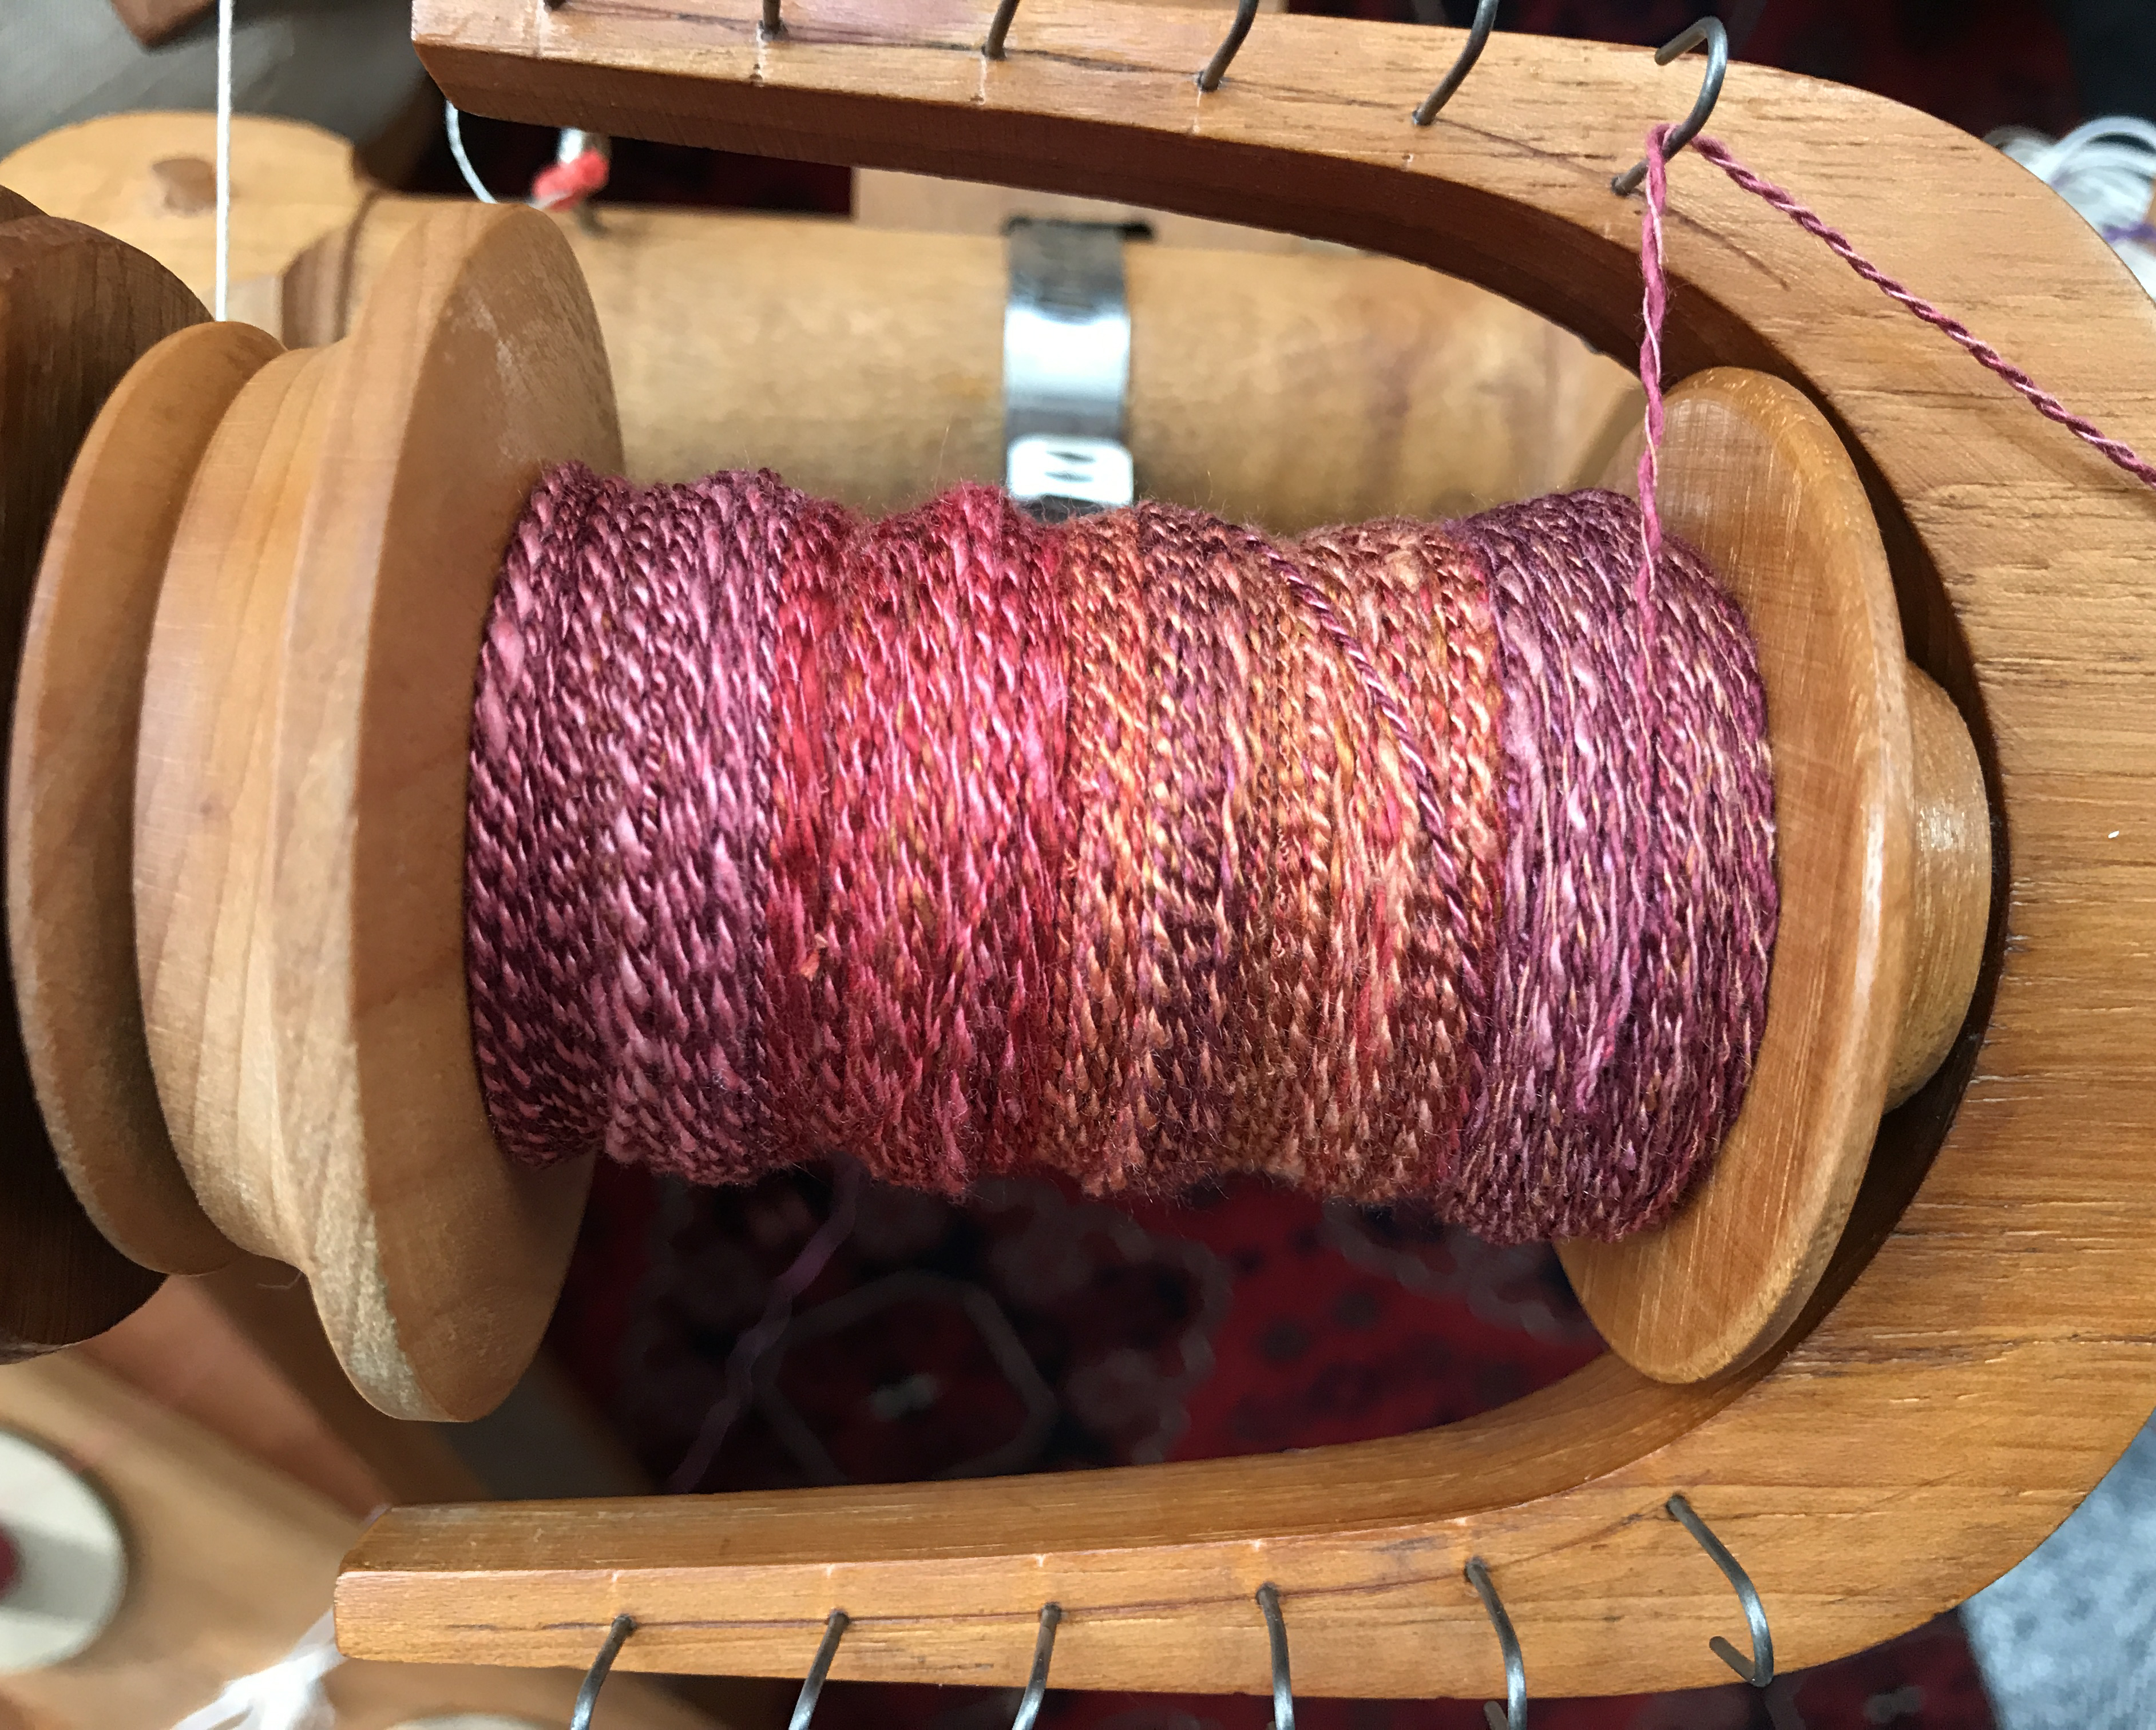
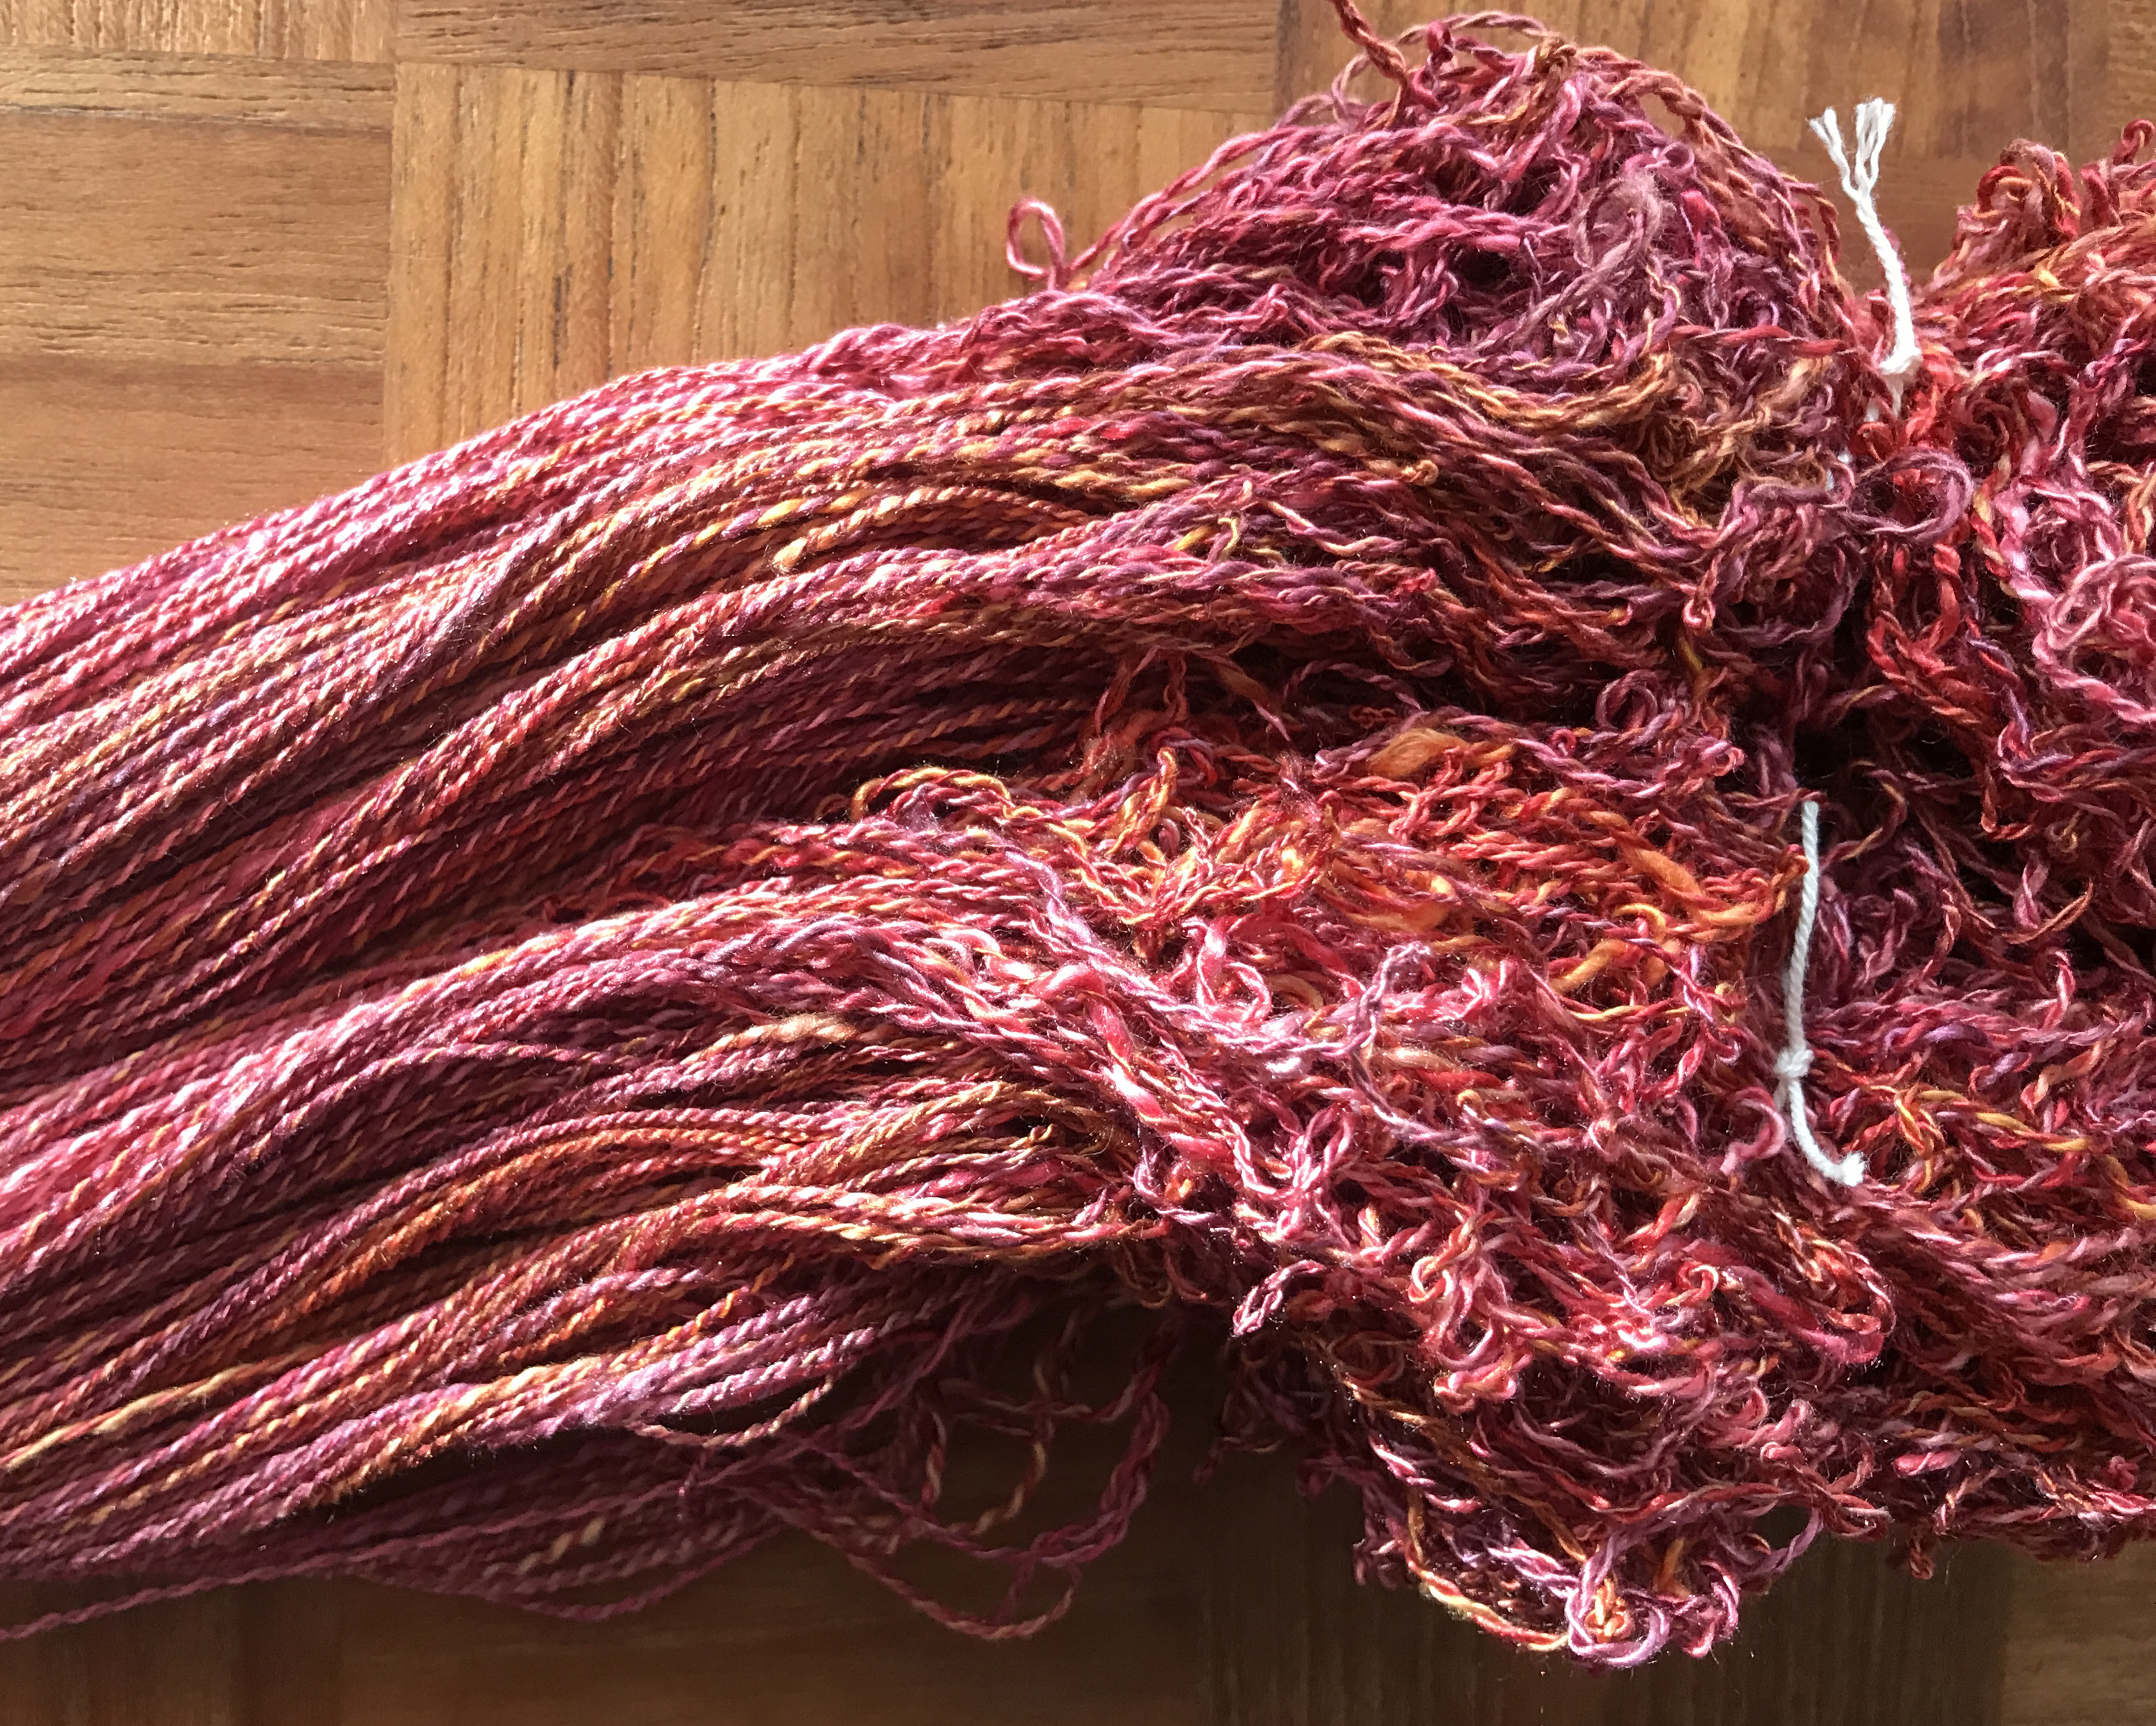
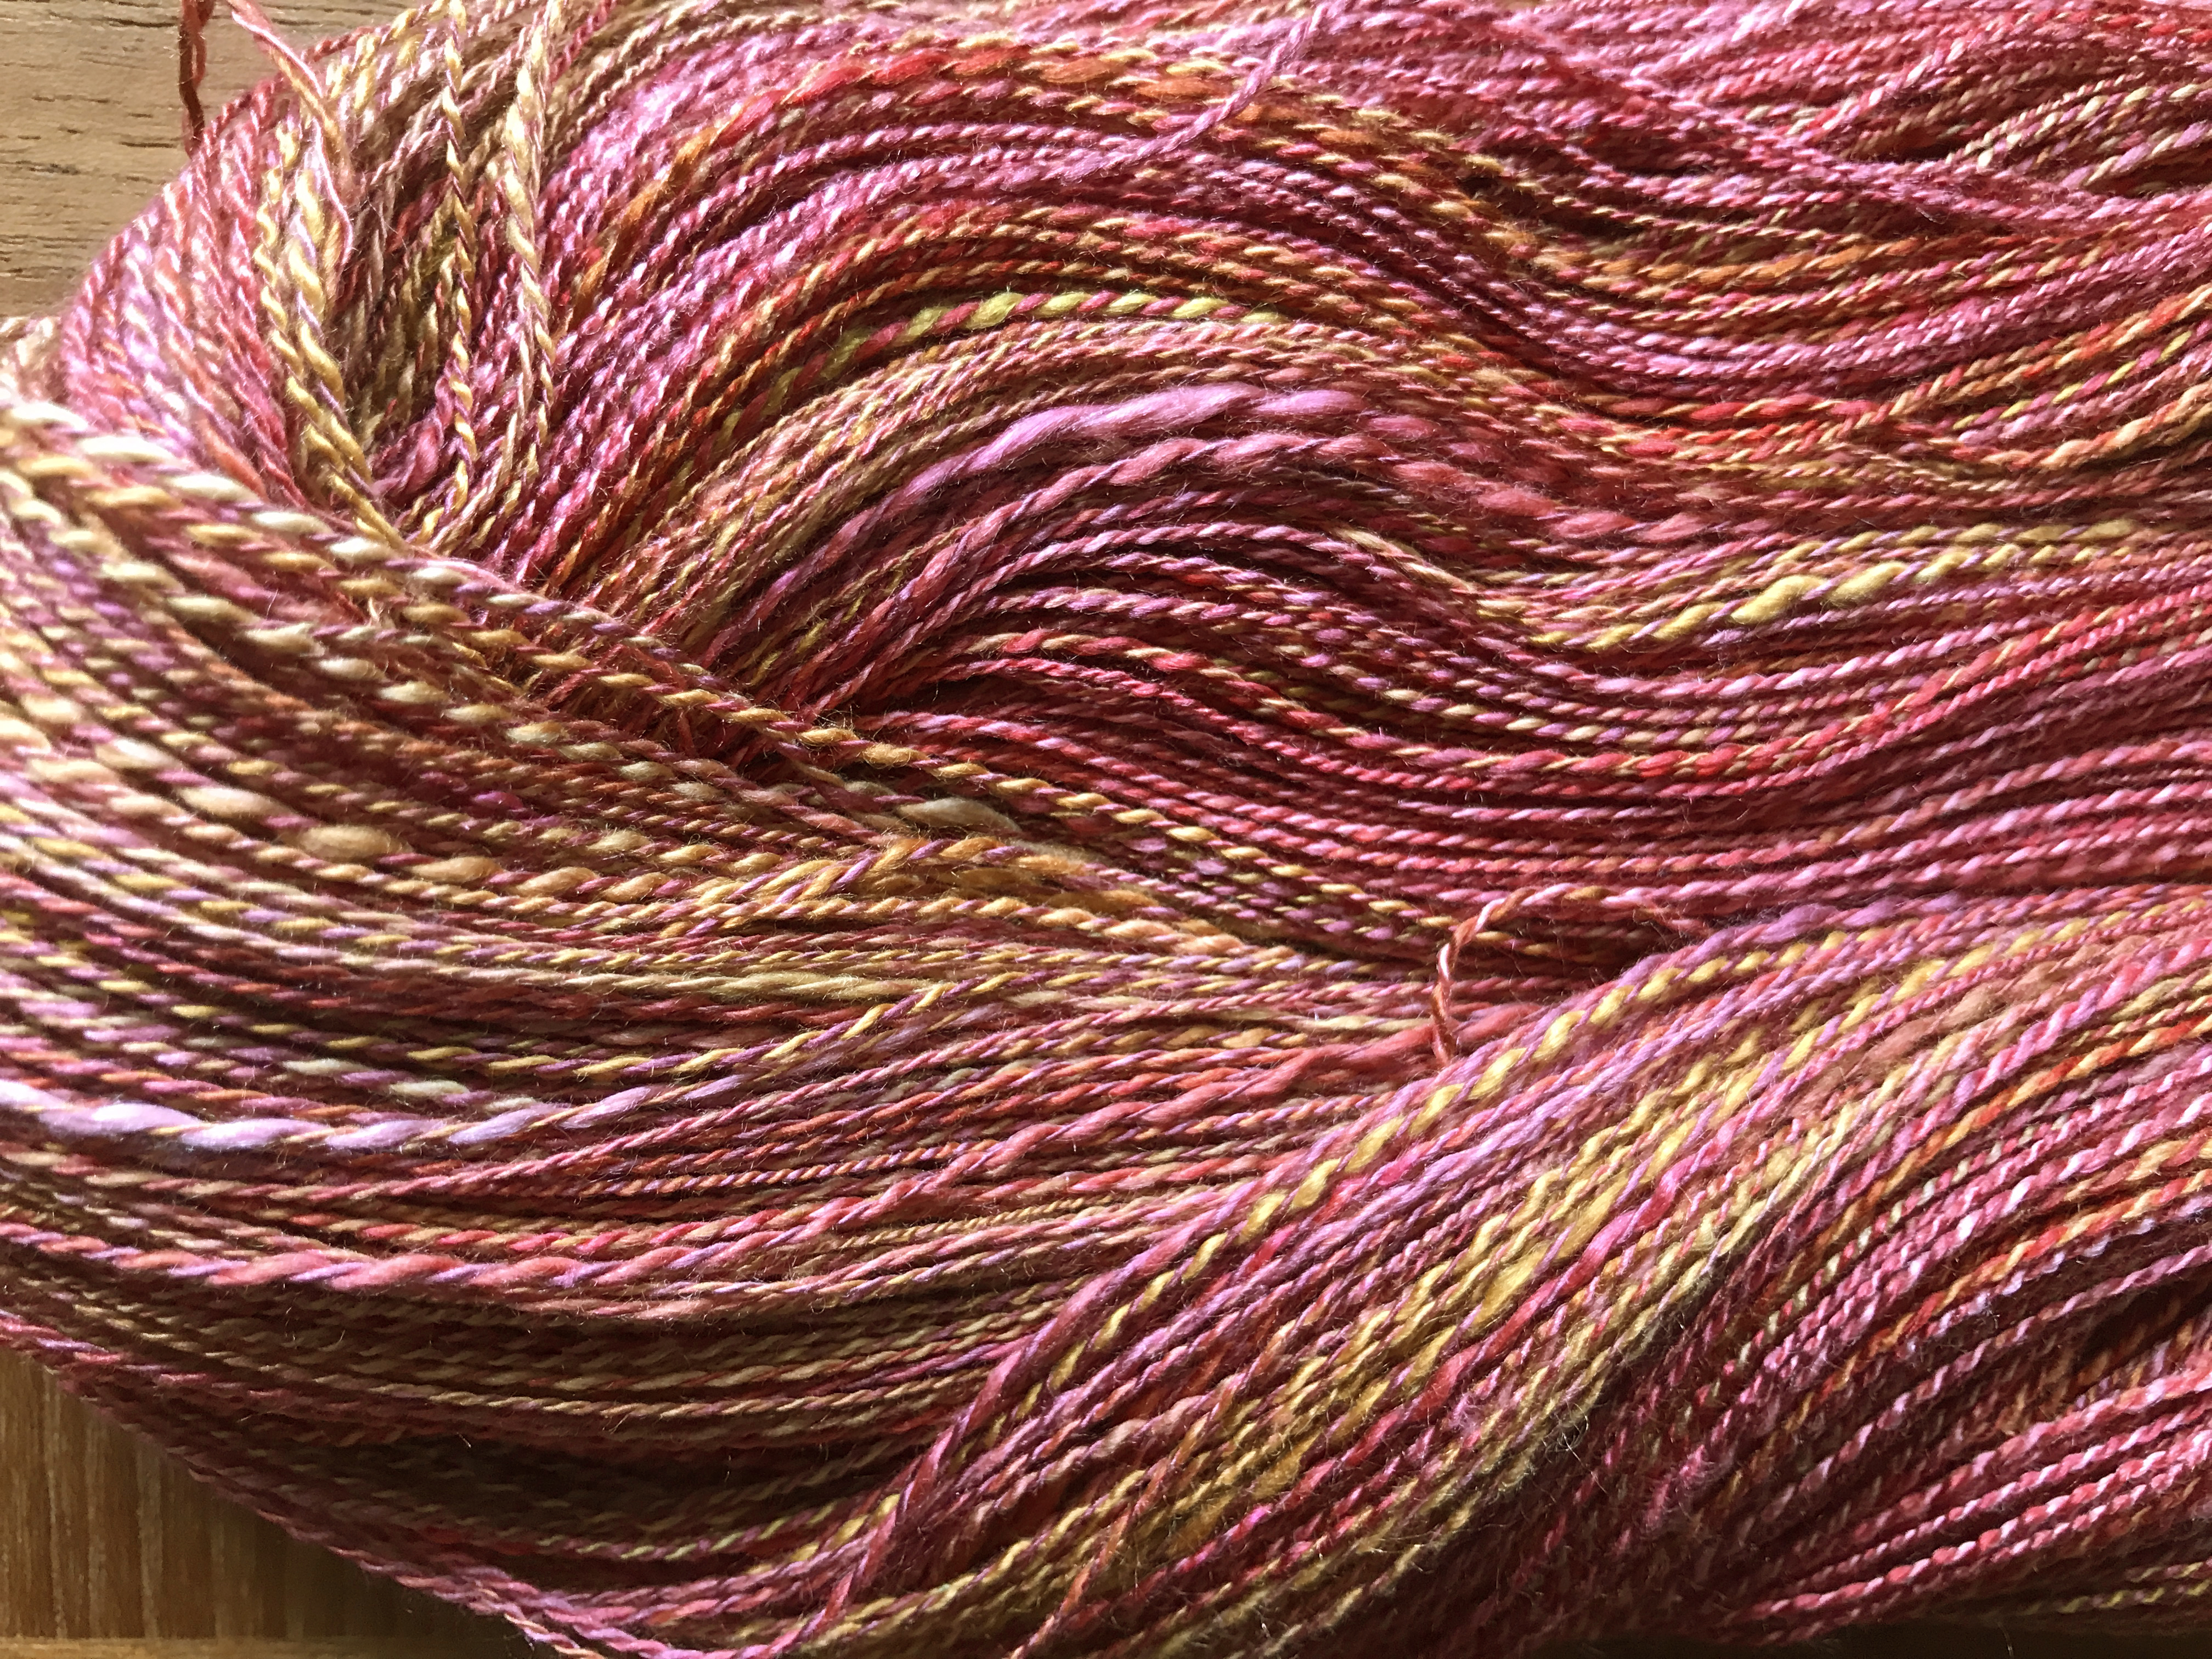
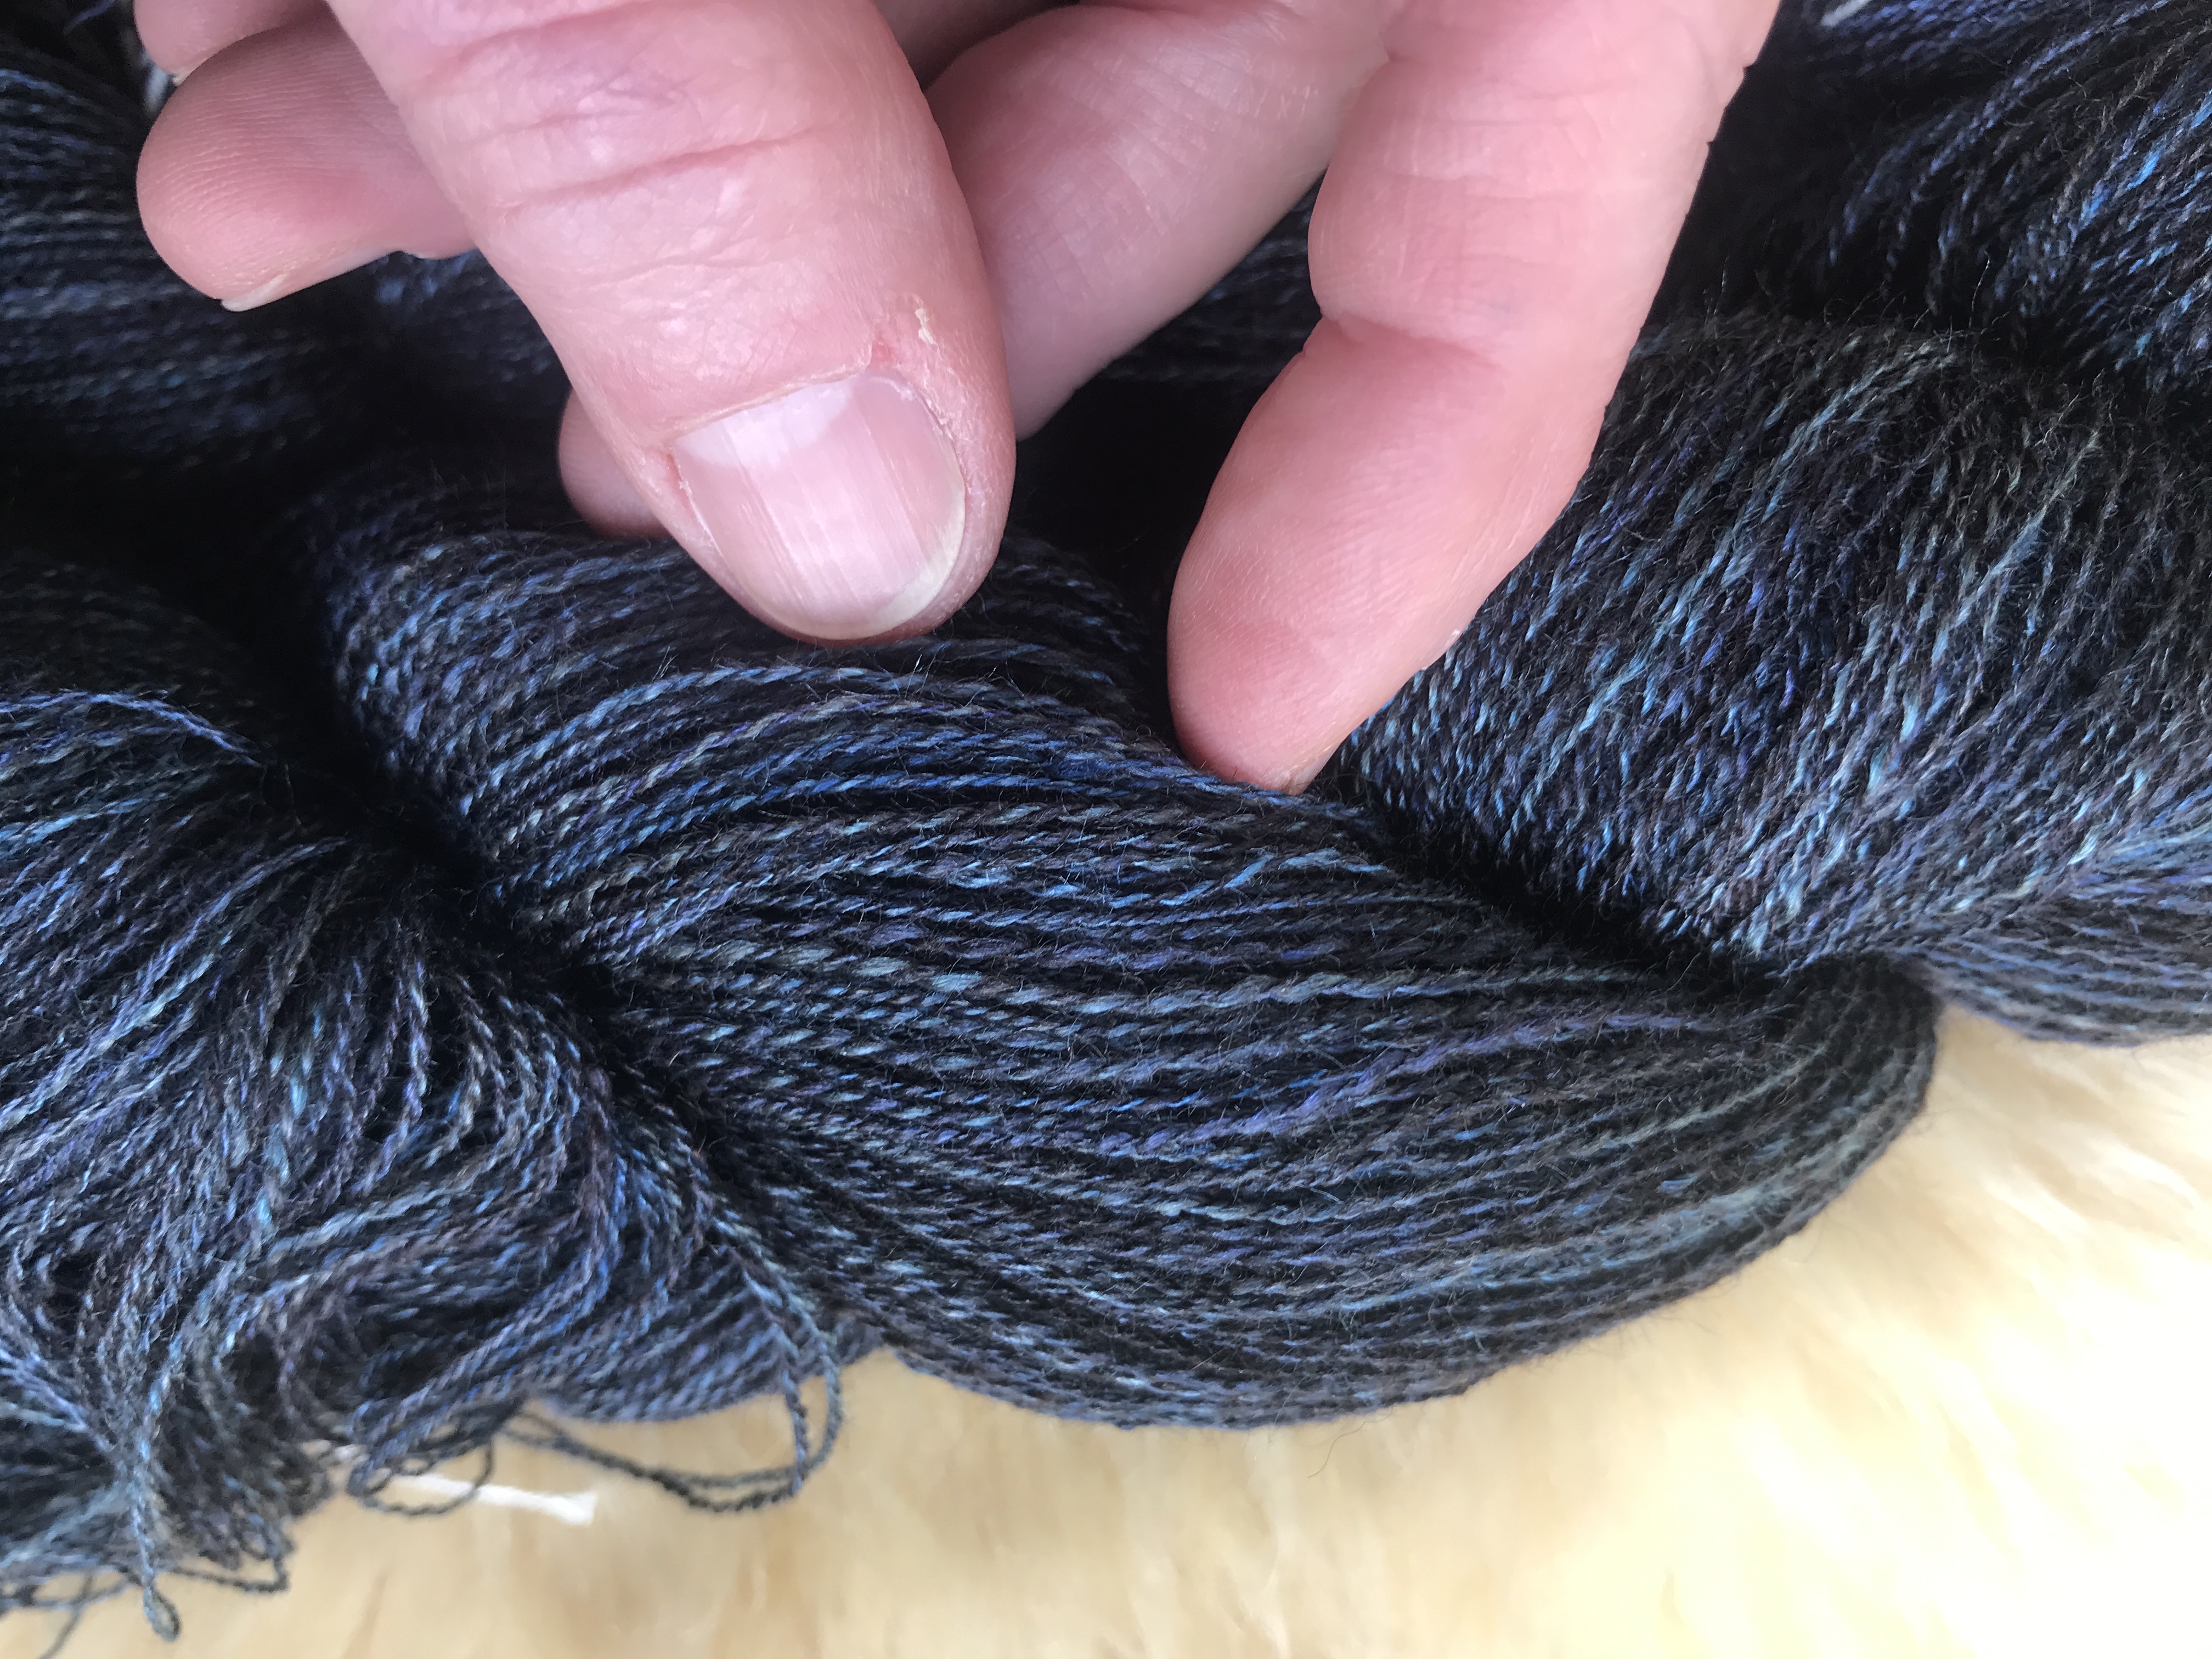
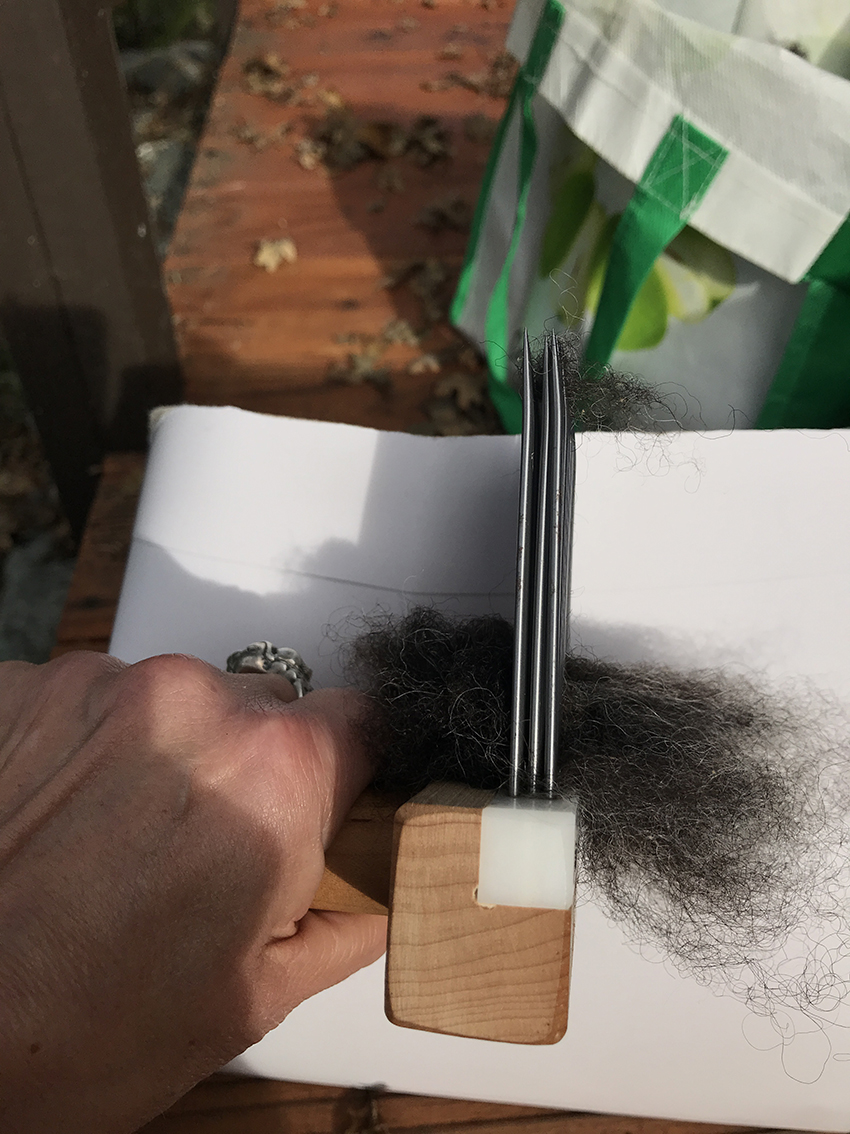
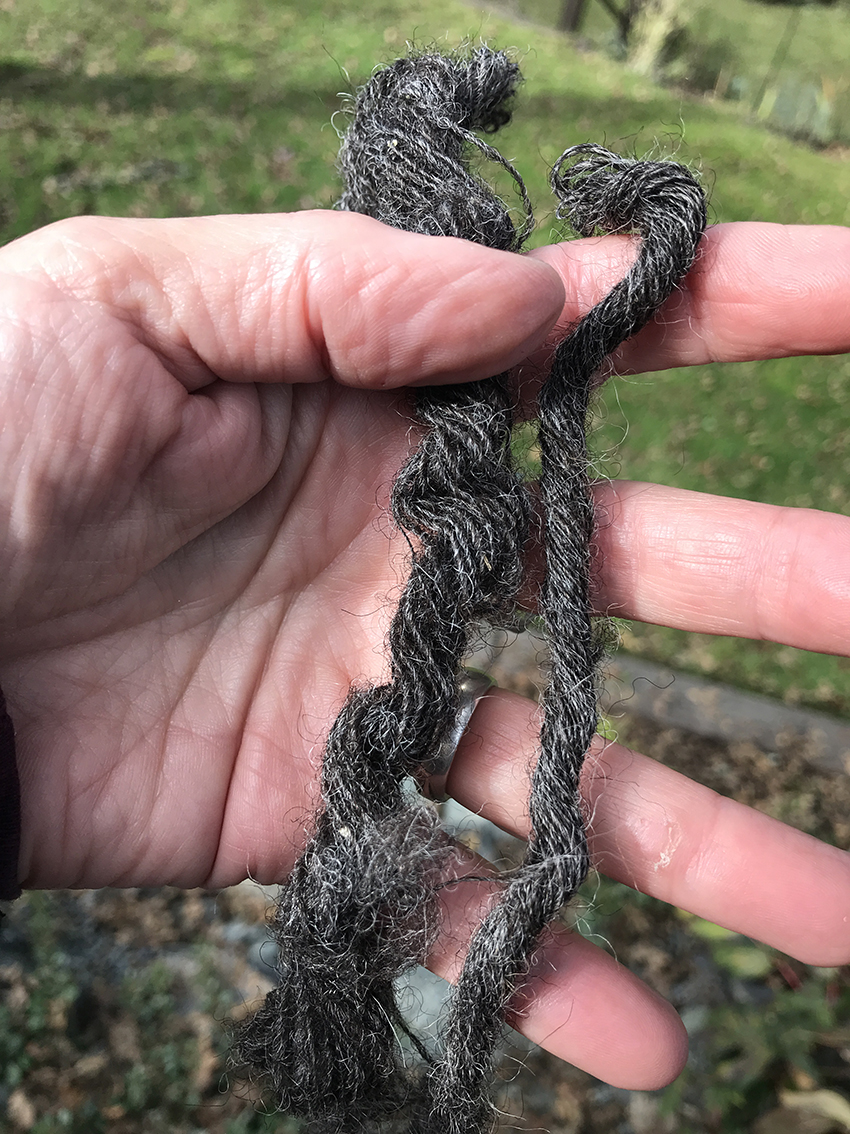
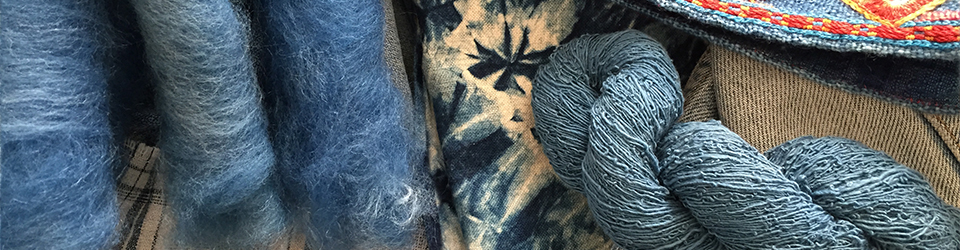
I chose the darkest of the two cats. I drafted a pattern for a female body (for some reason the cat spirit was female) and stitched a draft. Modified the draft. Found the fine cotton lawn I’d dyed with indigo last summer, cut the pattern, and stitched.
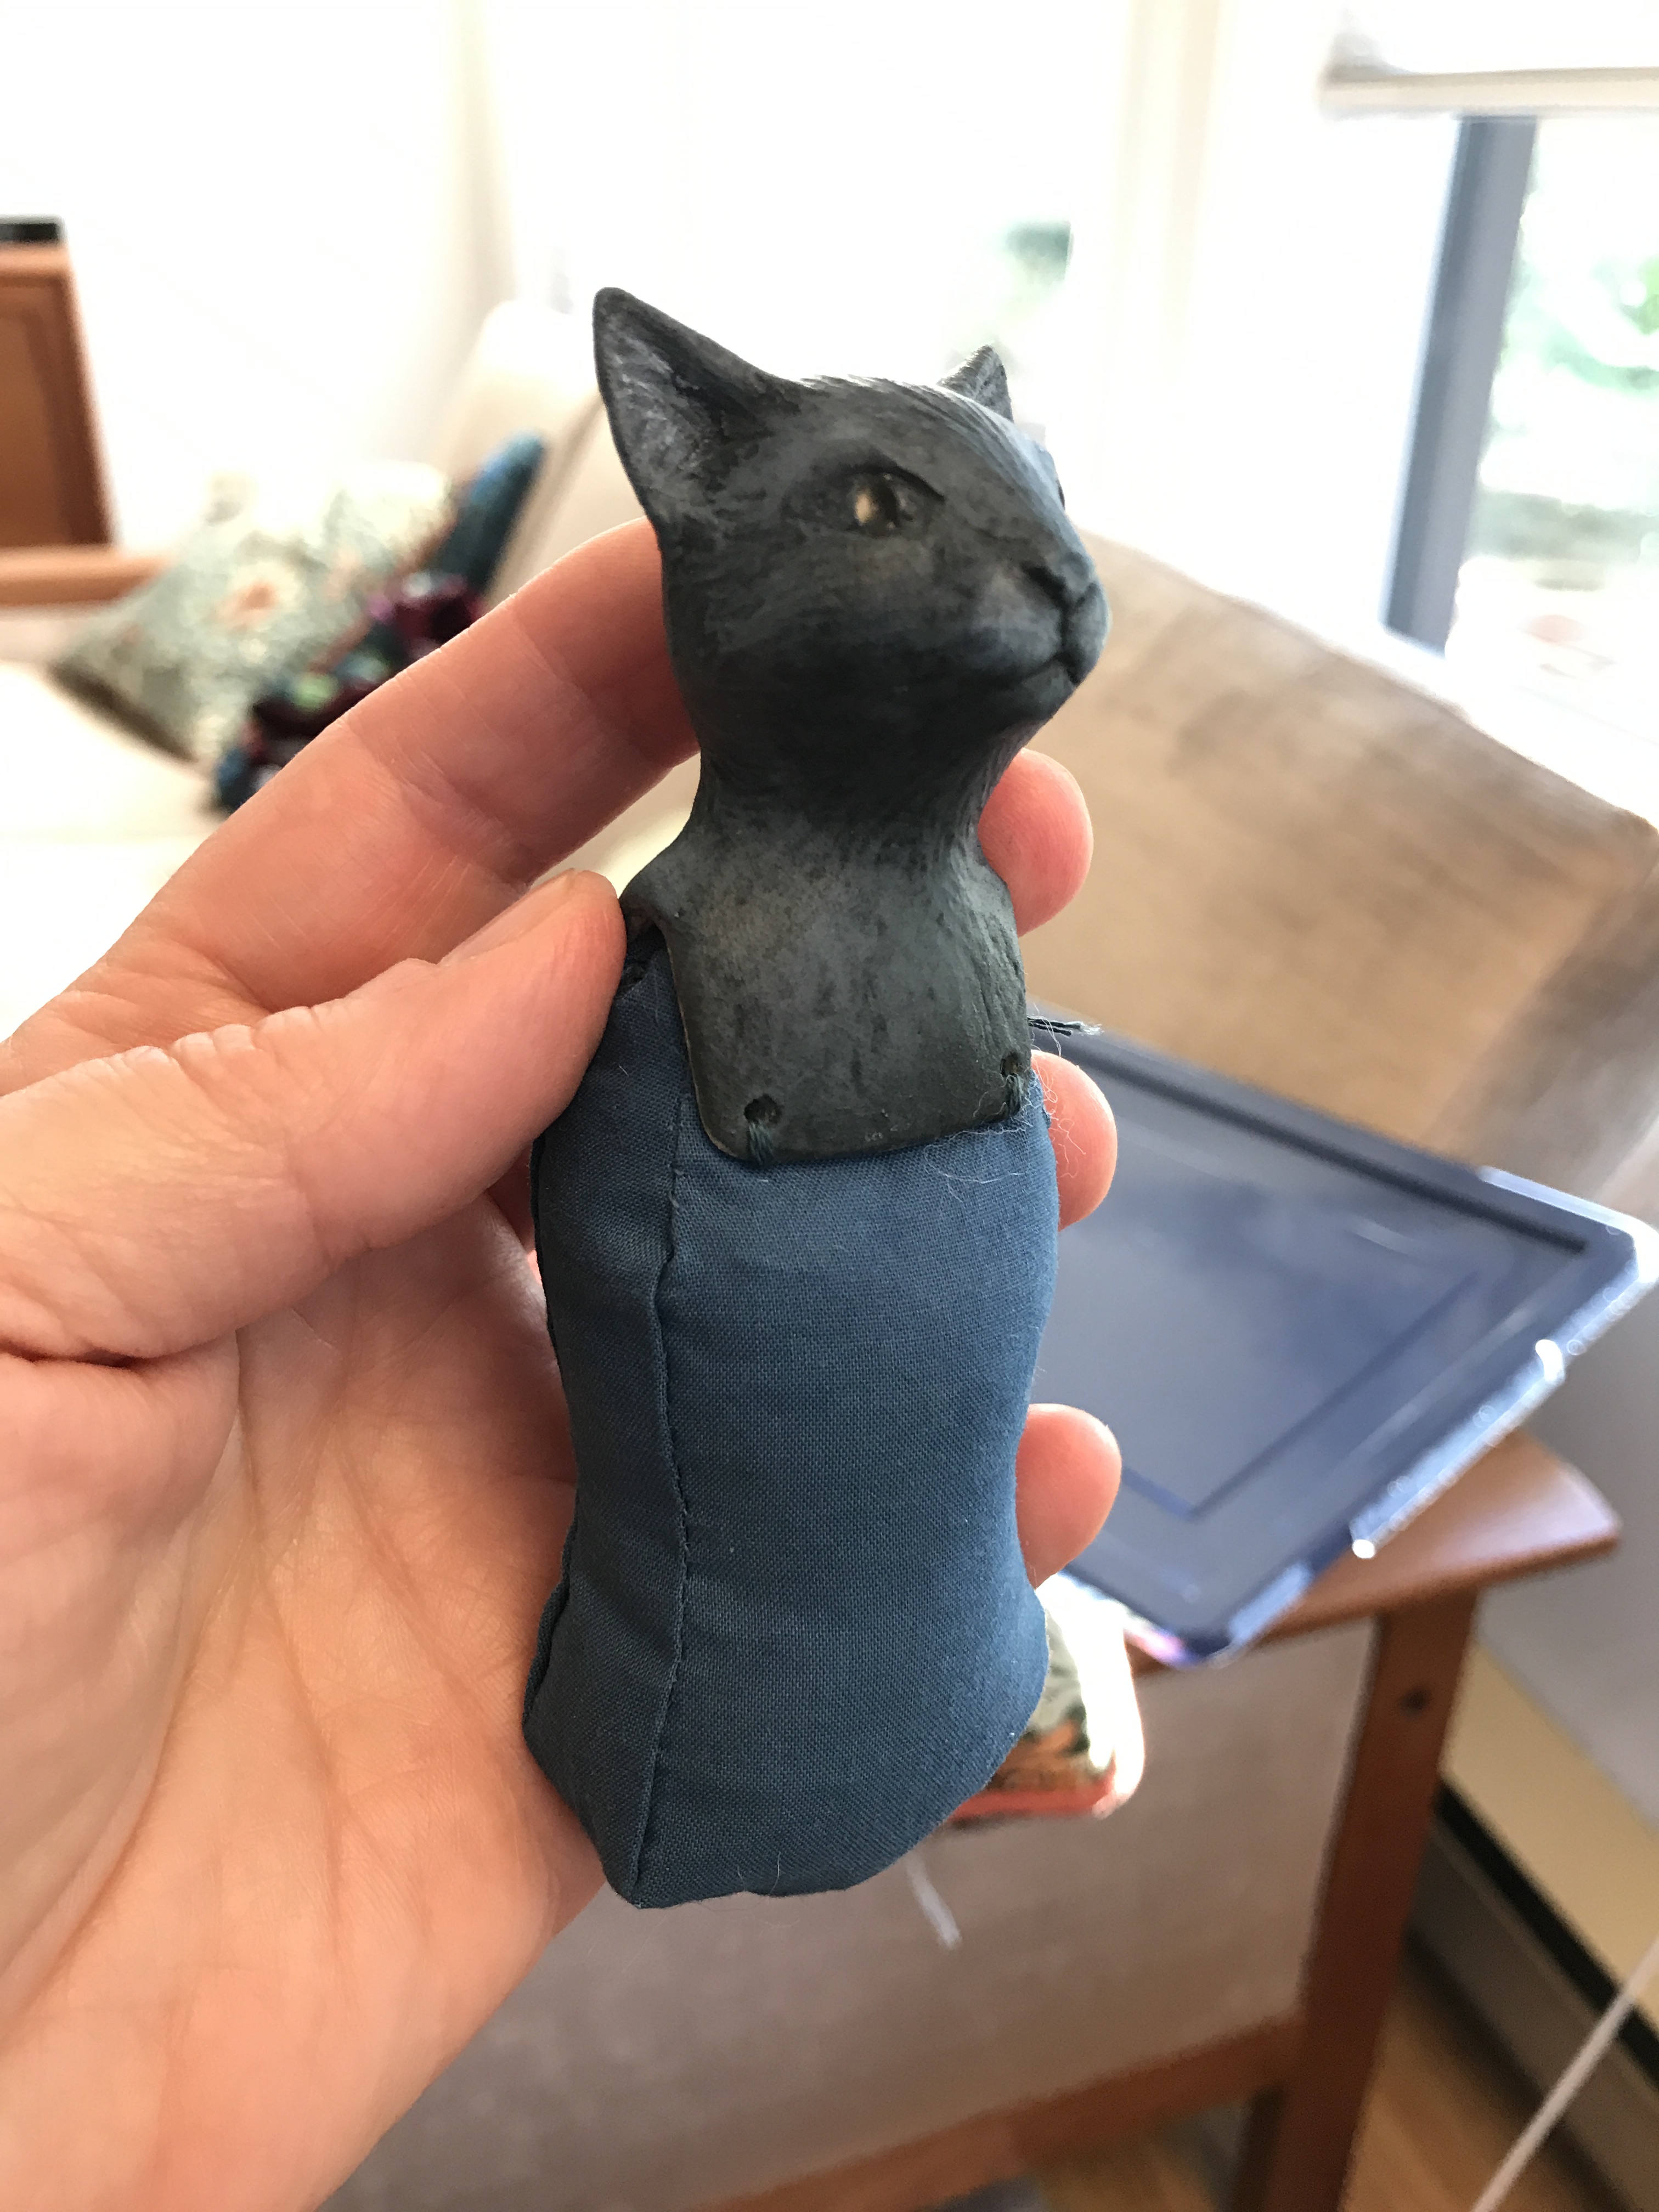
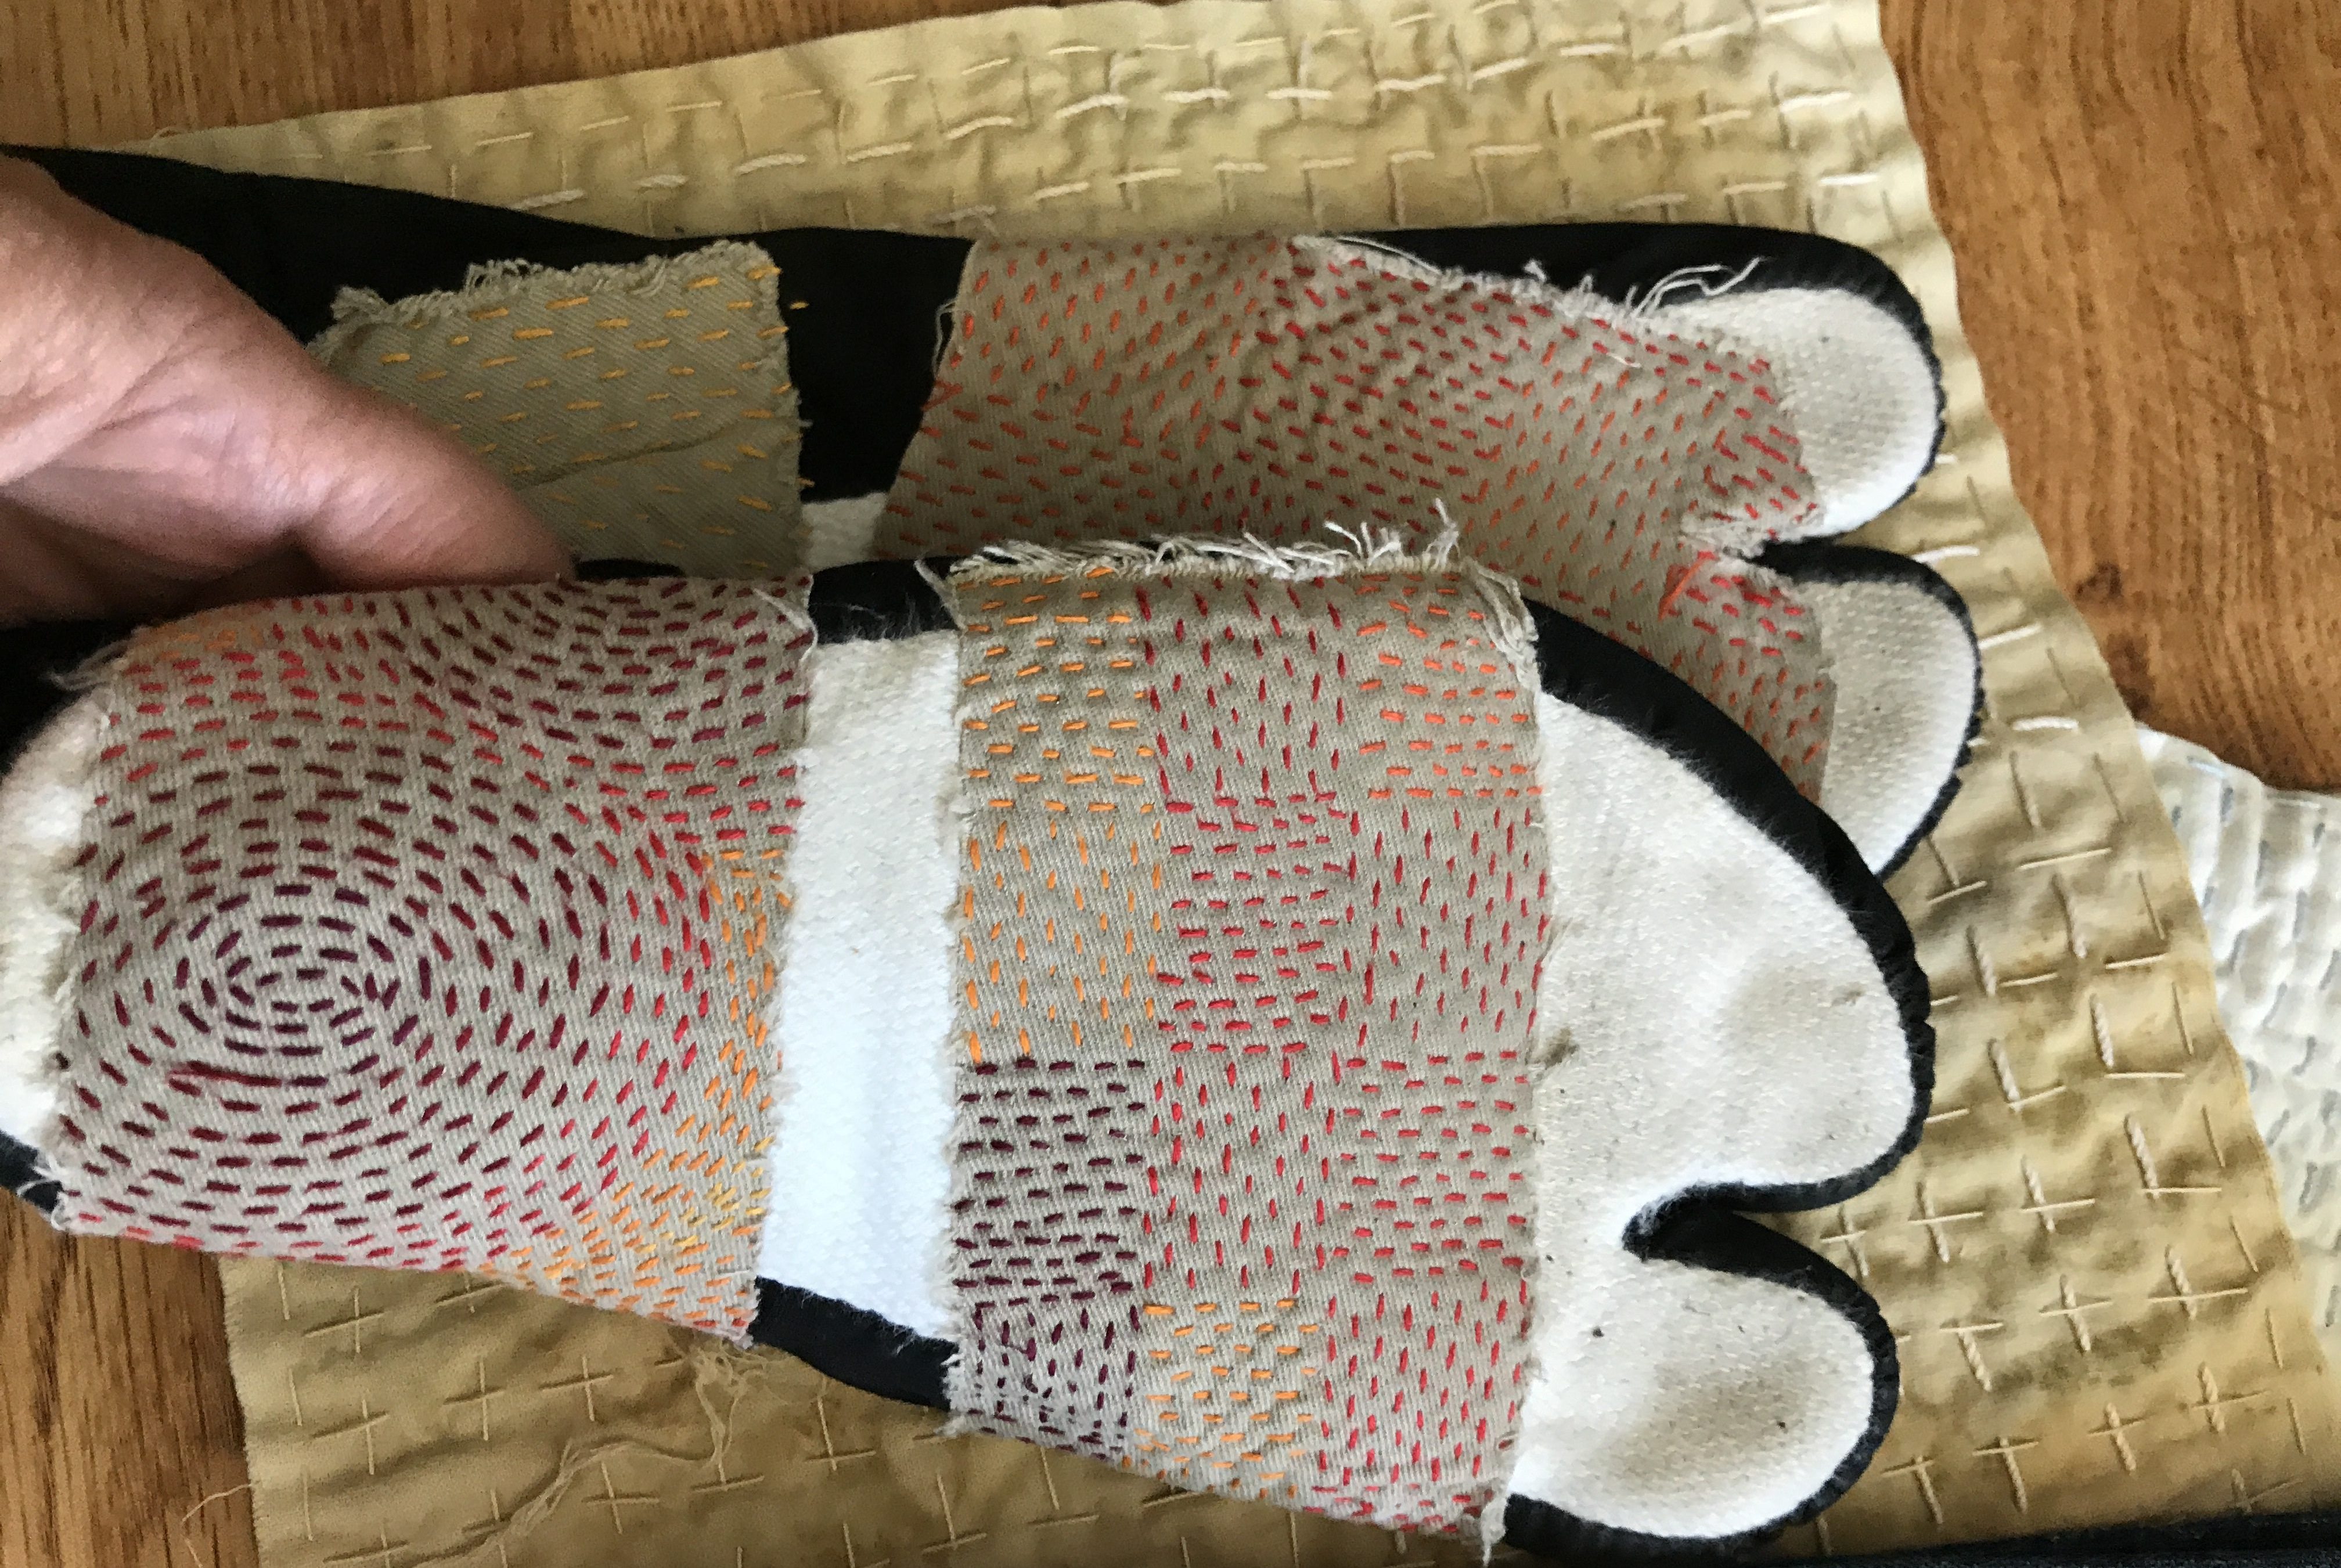
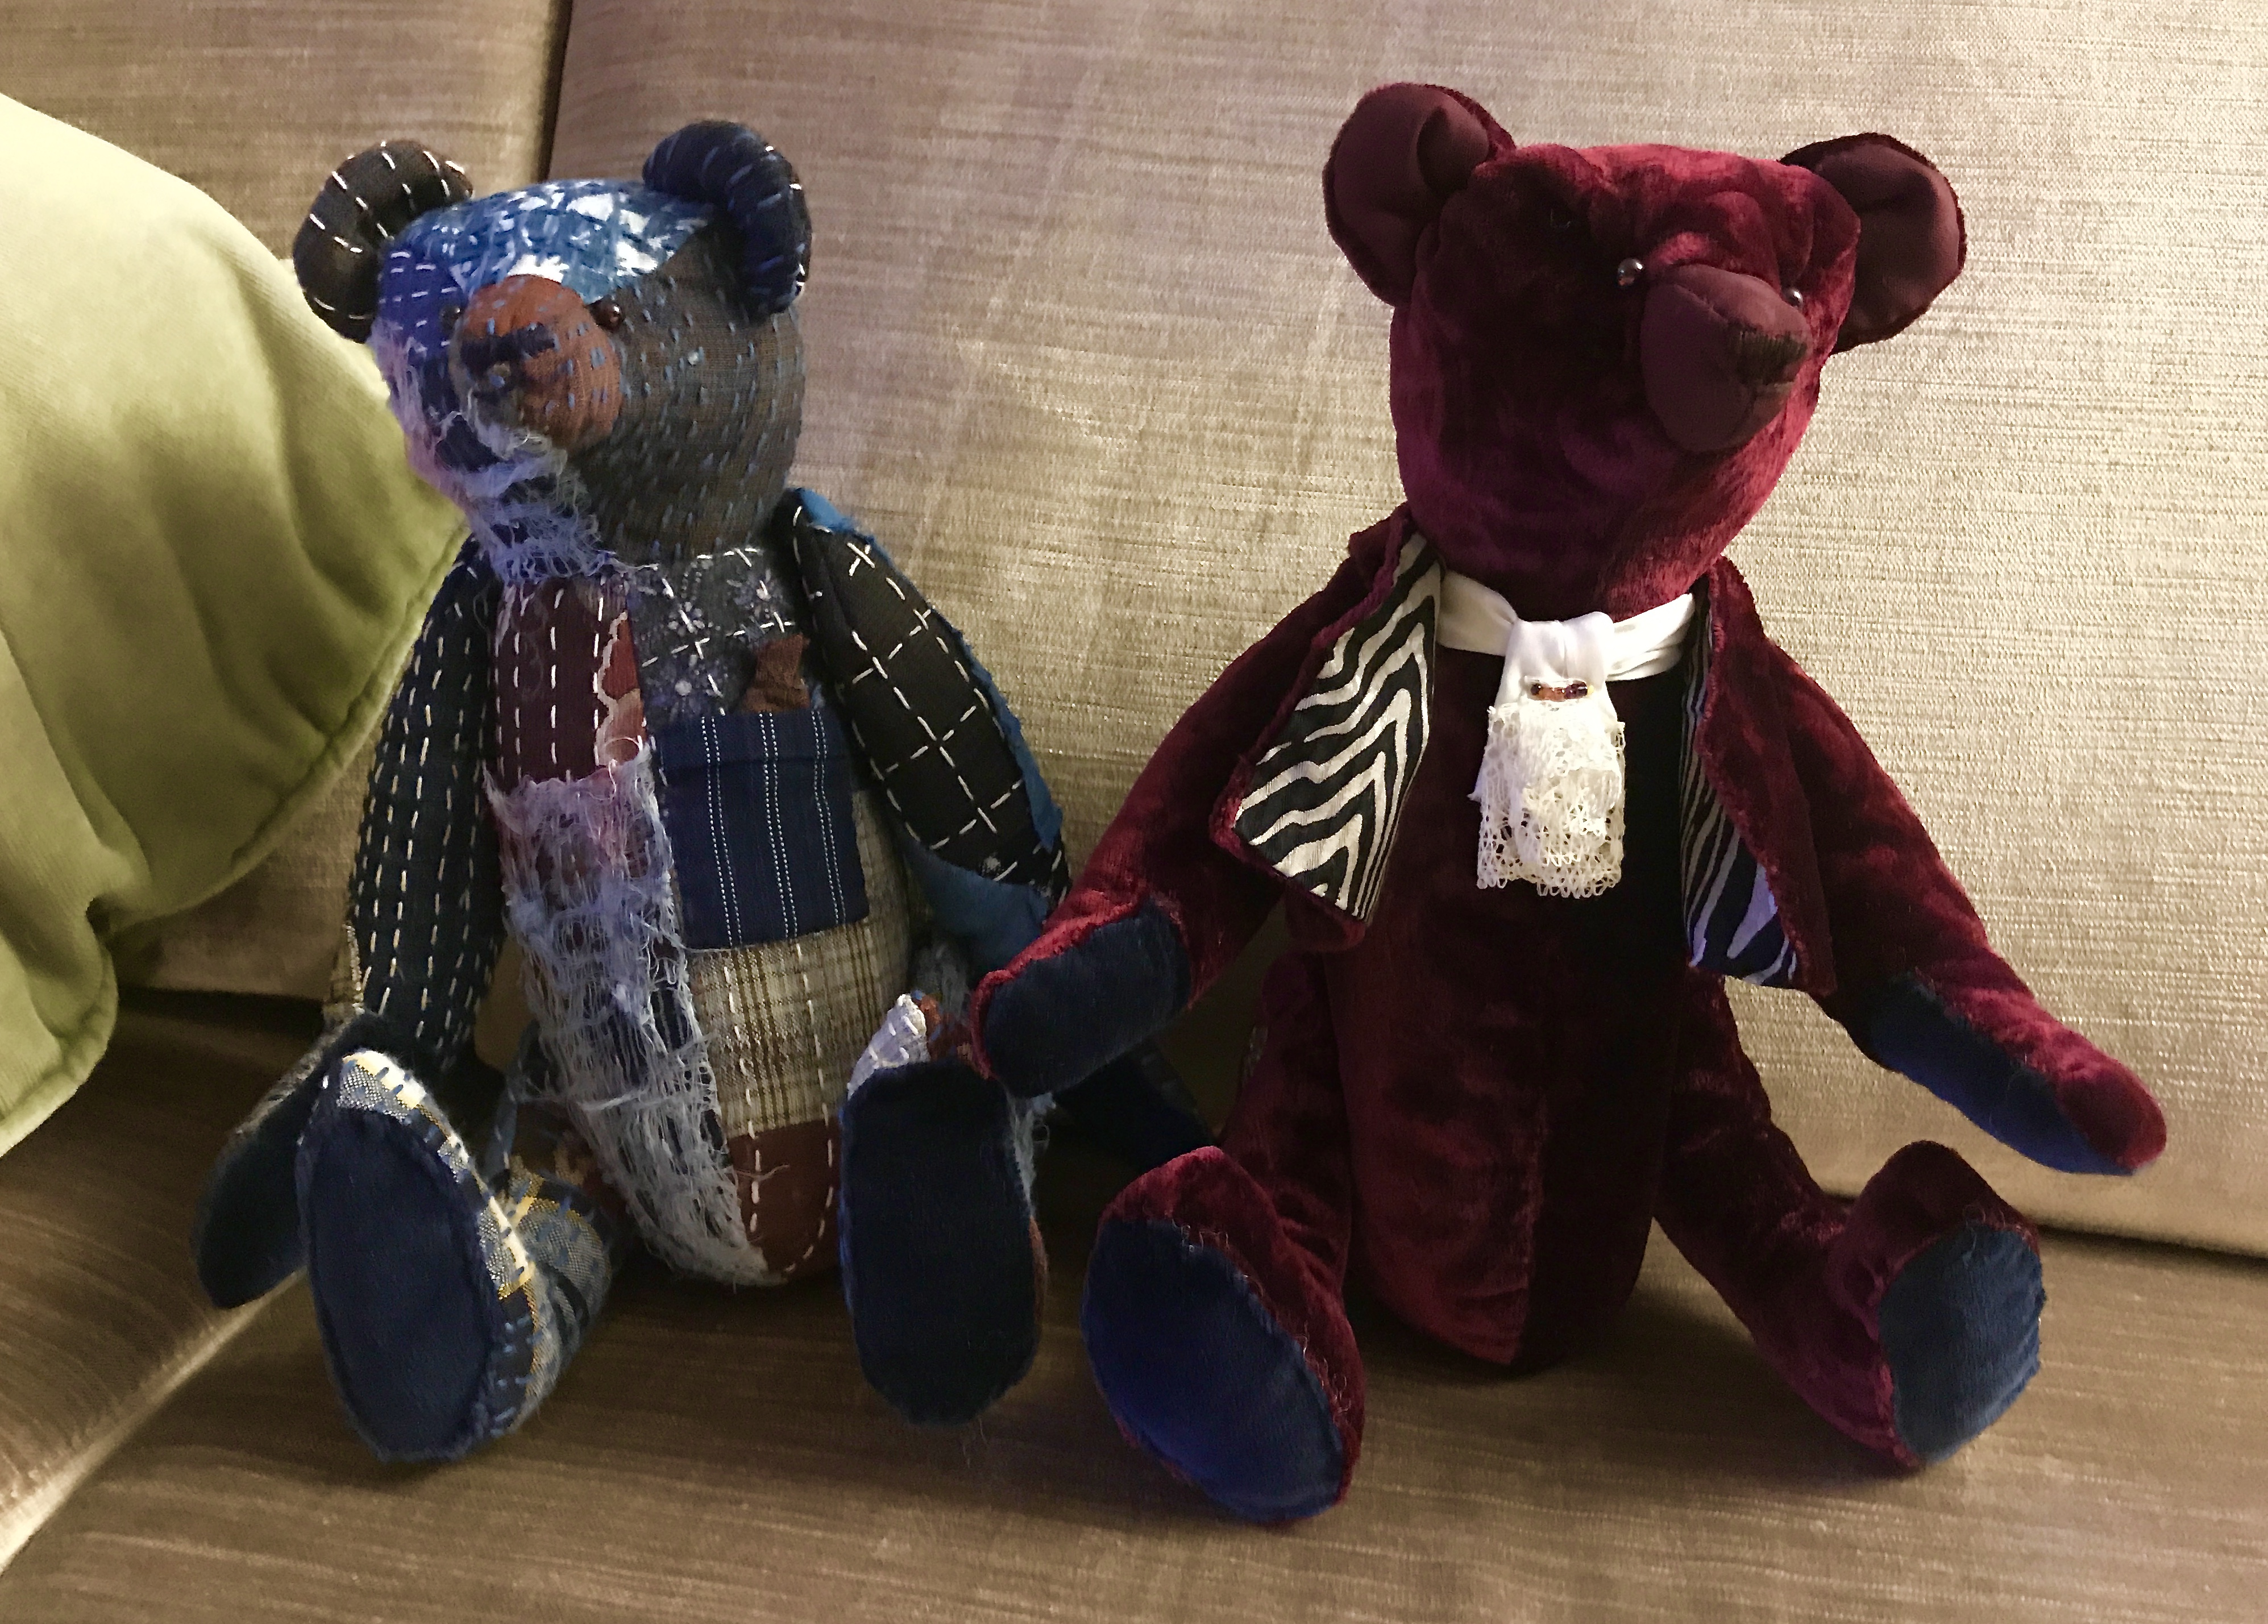
I tested the fit and when I was satisfied, I stitched more, in indigo-dyed embroidery floss and fine reeled silks, and the hand of the lawn changed, became stiffer, the figure became more real, more characterful . I spent days thinking about how to attach the arms and legs, whether or not she should have a tail (I decided not, but I’m slowly changing my mind). I thought about jointing, I tested indigo-dyed wooden beads, but in the end I opted for tiny mother-of-pearl buttons and spent hours online to find them. Every thought, every decision, every stitch added weight to her presence until she became more than simply ‘the blue cat’. Welcome the Queen of the Night.
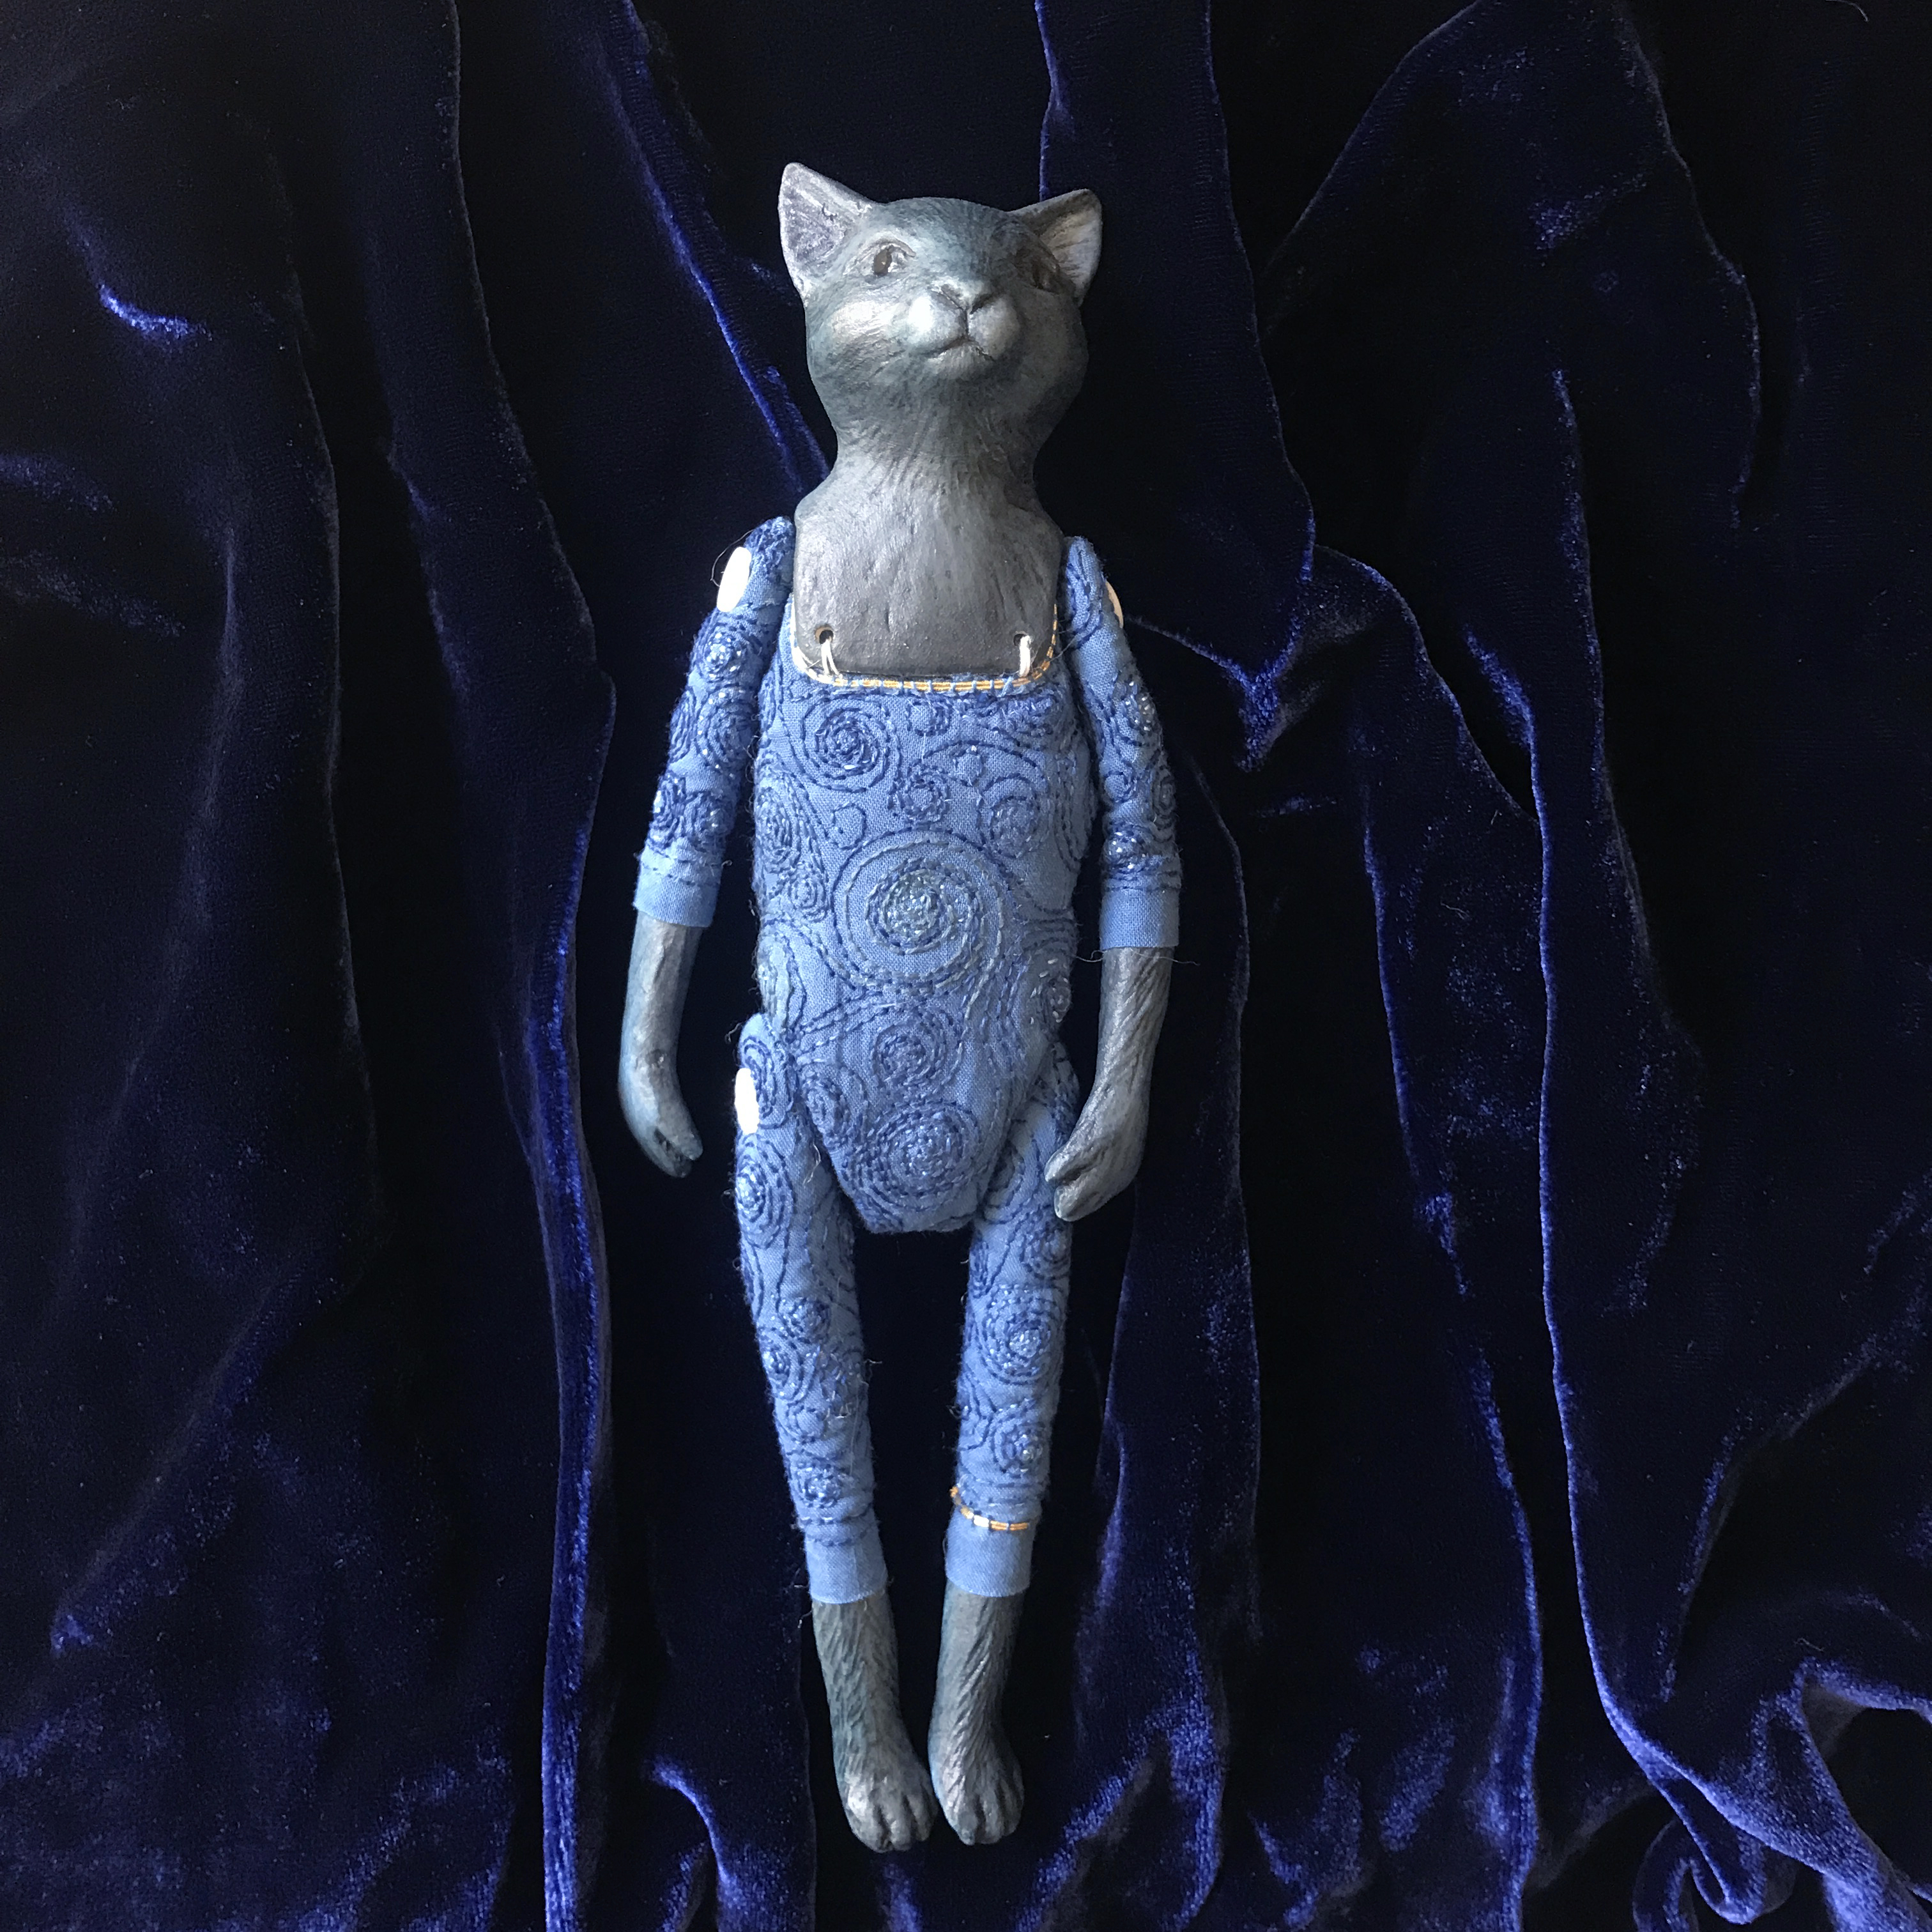
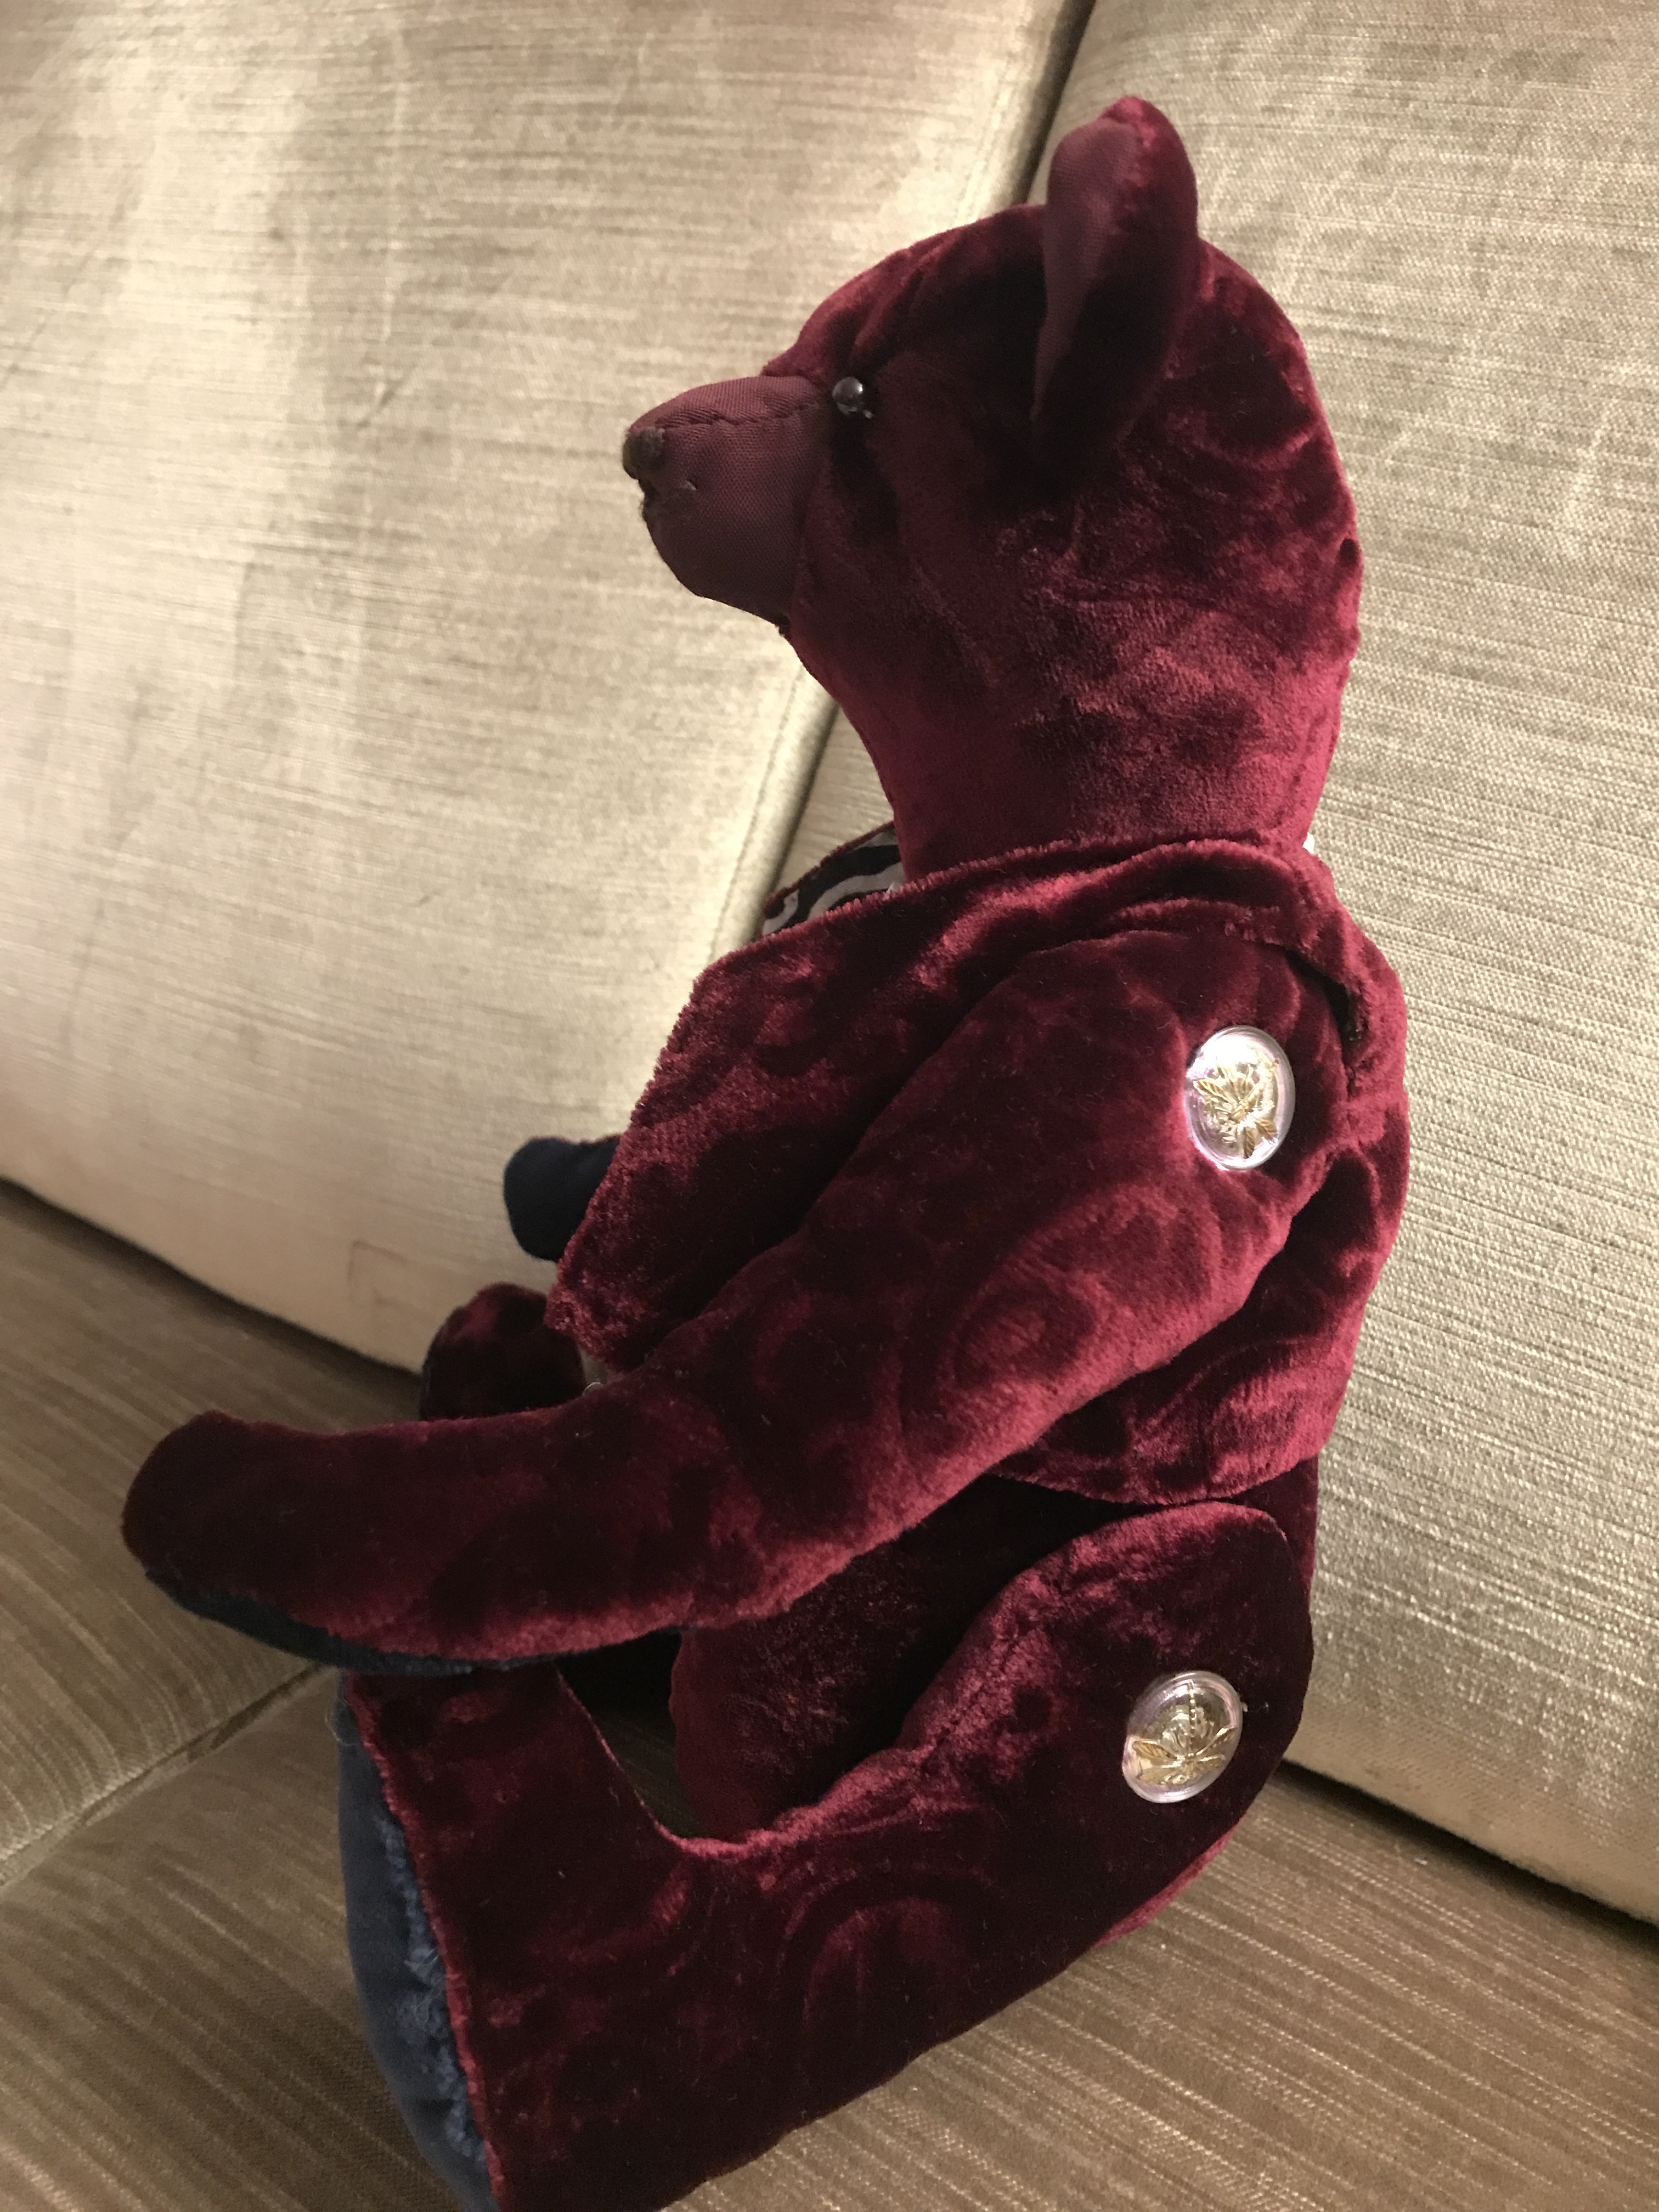
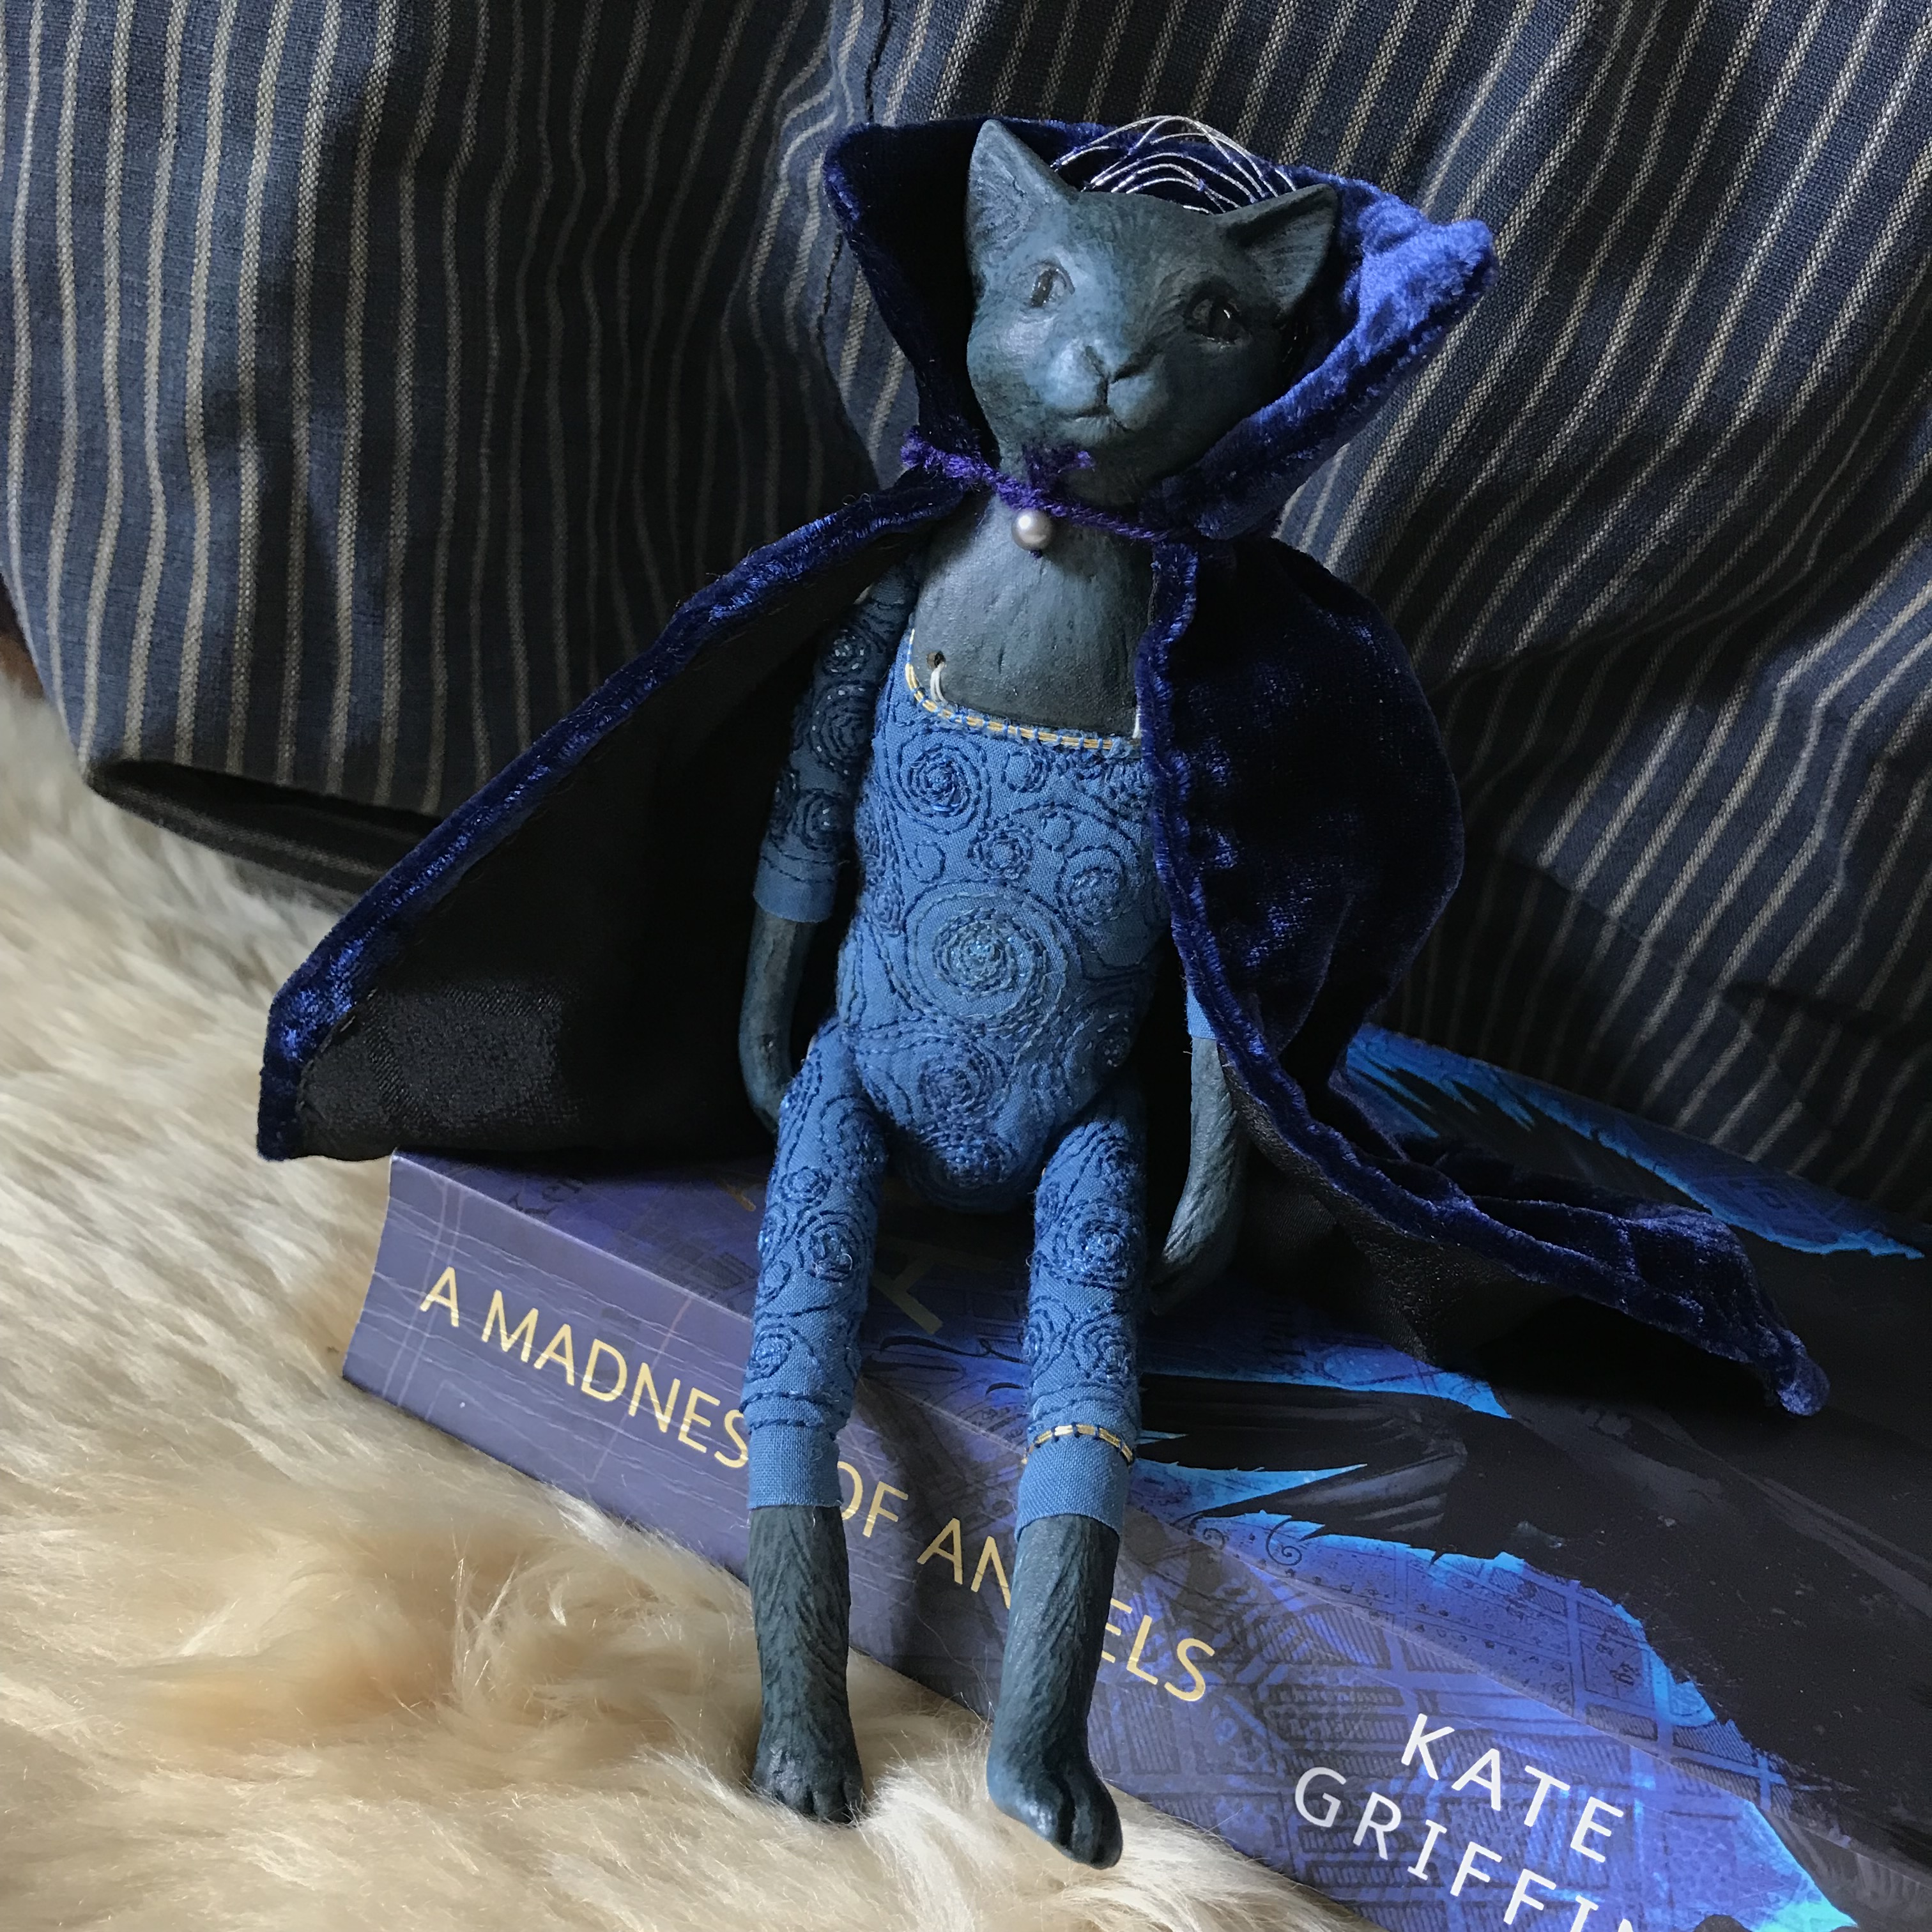
The Queen of the Night should have a cloak to conceal her glory. I found a fragment of blue silk velvet I bought because it was beautiful, spent hours online looking at cloaks and capes, thought and sketched and stitched more. The cloak has a high collar so the Queen’s head is crowned by silver moonlight.
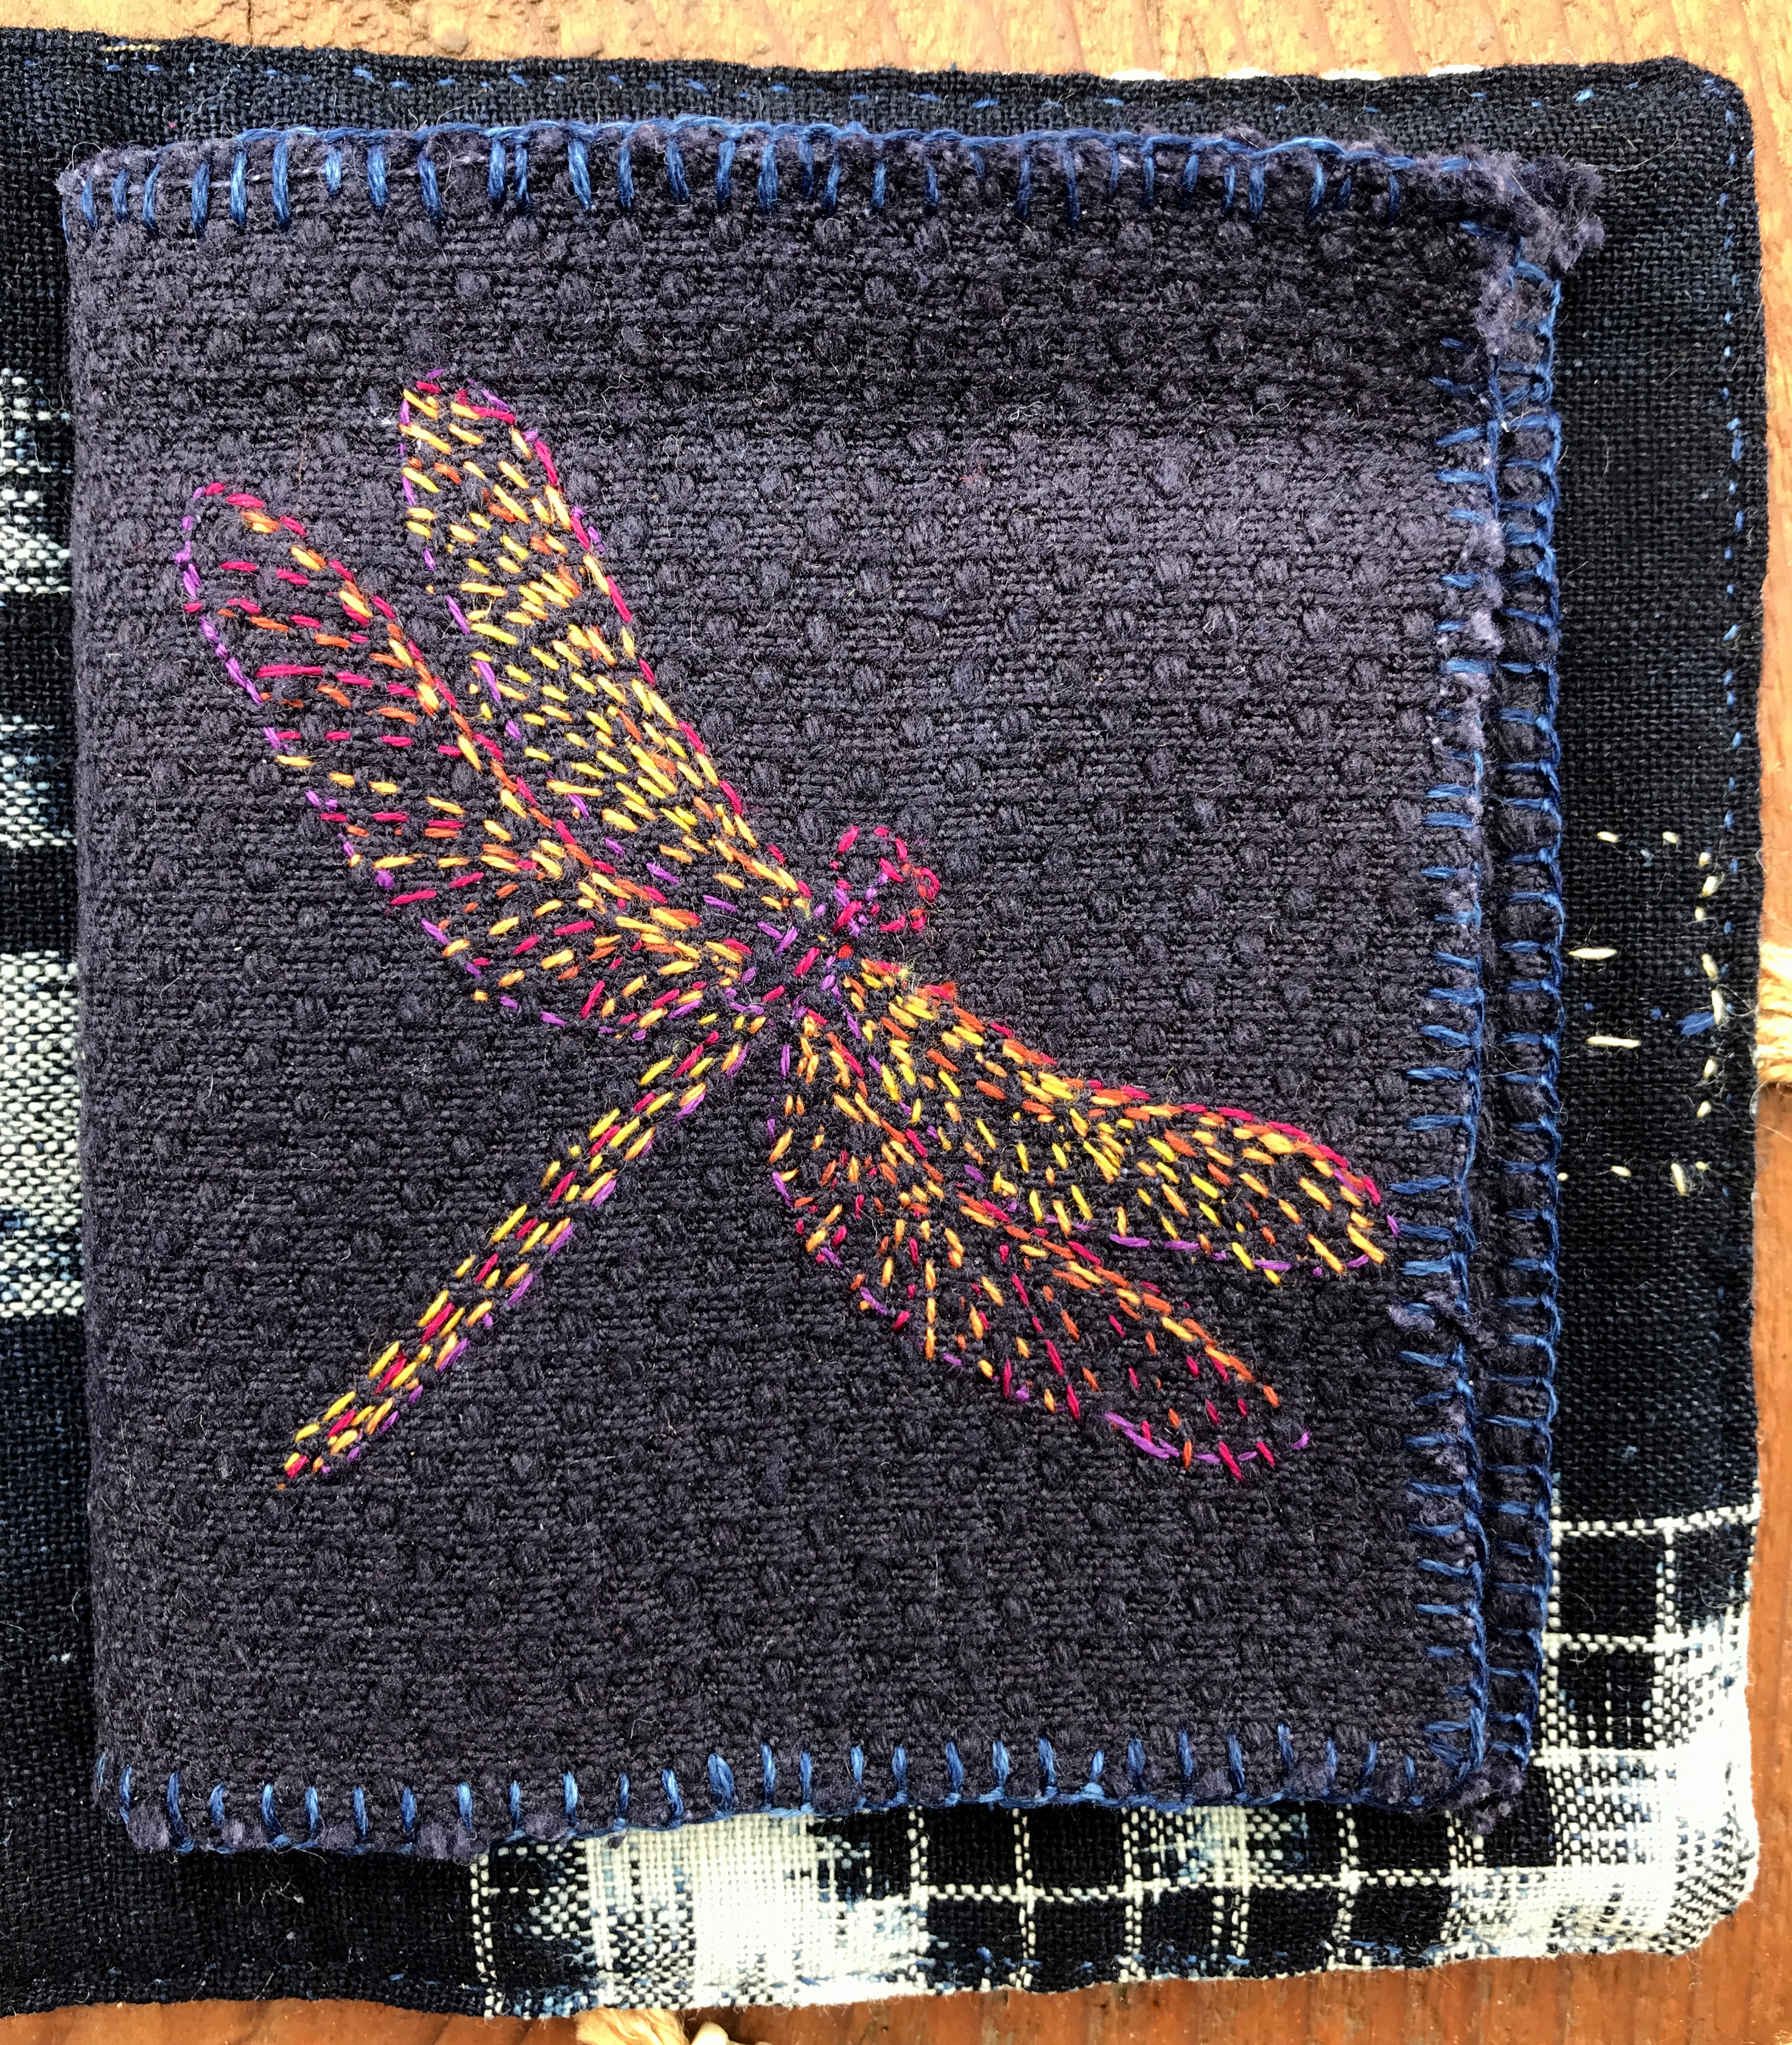
An Upstart Cat in Puffling Pants? Or the Prince of London in Darkness?*
But wait, I hear you say, ‘What happened to the other kit?’
My original cunning plan was to make both cats and send one to tell M that I miss her, but it took so long to make the first cat that I wasn’t sure I’d live long enough to make the second, and it would have to be done exceptionally well because she’s not only a special person, she’s an accomplished sewing person. And a cat person. I cheated and asked if she’d like a doll kit to play with, no strings. She said yes! And that was, I thought, the end of it. I was curious about what she might make of it, but I’d given it to her so it was no longer my concern. I did once say that if by chance it was sitting on a shelf nagging at her, she should send it back; she said she had an Idea but had to work out how to accomplish it.
Time passes. Imagine the fluttering calendar pages.
And then a box arrived. The customs declaration said ‘doll’, and I discovered that adult anticipation is far more complex than that of a child. I remember desperately wanting to know what was in the parcels under the Christmas tree but, holding that box, my anticipation was different. I knew what must be in the box, but … I didn’t know what was in the box. The uncertainty balanced against the certainty that whatever it was would be *wonderful*.
I opened it and collapsed the possibilities. And caught my breath with delight.
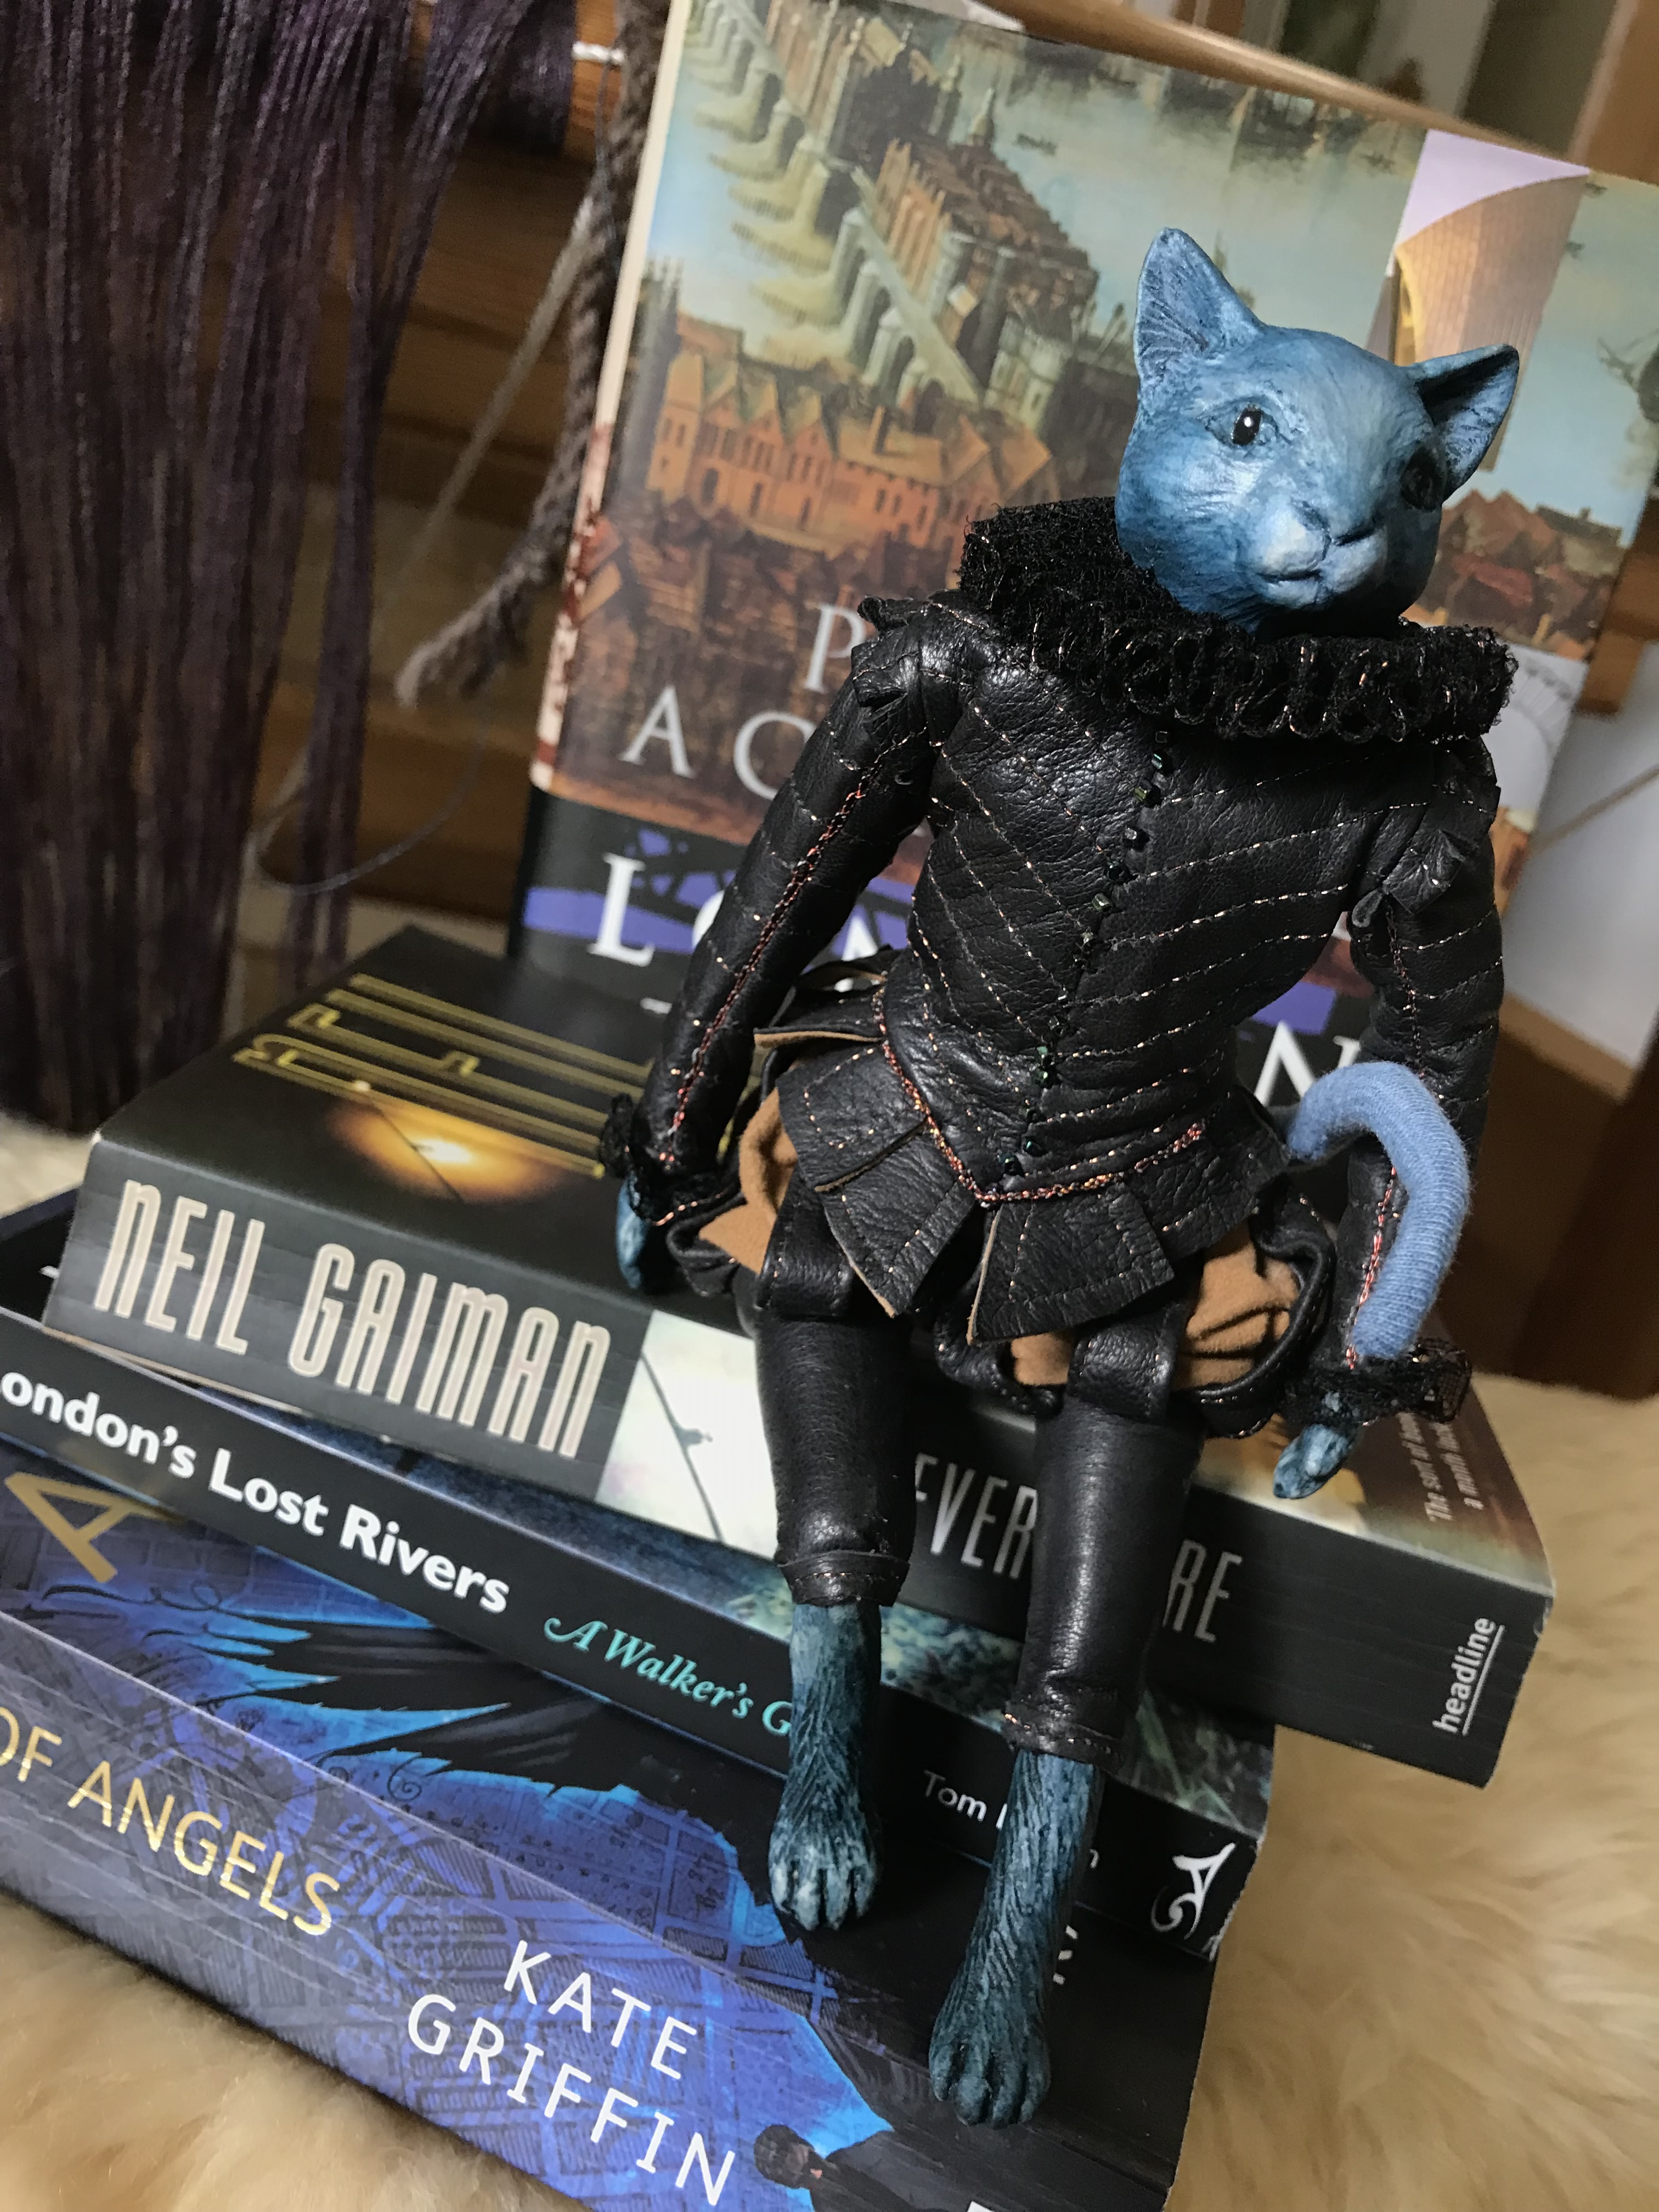
I posed him with some of the books containing imaginary London. Because, holding him for the first time, I imagined him stalking, cat-arrogant, along the Thames beside The Globe as sunset fades to darkness. He would be acquainted with the Marquis de Carabas, he would emerge from the shadows to assist the Midnight Mayor (should the Mayor require assistance; he often does). He is part of *my* much-loved London made real in my hands, possibly the most thoughtful gift I’ve ever received, and he is one of the few things I would pack in my go bag because that night, after opening the parcel and meeting him, I dreamed of him stolen and I was desolate.

He’s wearing an Elizabethan costume made entirely of glove leather, stitched with copper thread. His doublet is trimmed and ruffed (is that a word?) with black lace stitched with copper. He has more weight, more presence, than the Queen of the Night, and my friend who made him real is Awesome.
* The card had two names for him. ‘An Upstart Cat in Puffling Pants’ refers to ‘Upstart Crow’, a UK sitcom and (with added ‘The’, a play) about the life of Shakespeare. ‘Puffling pants’ is one of the jokes; it refers to the trunk hose, with lining visible between the slashe
https://peterviney.com/stage/the-upstart-crow/
He might (also?) be a? the? Prince of London in Darkness. I wouldn’t speculate, he might take offence.