Bog cotton aka cotton grass, Eriophorum angustifolium, is now classed not as a grass but as a sedge. It grows in damp, acidic soils across the Northern hemisphere, flowering from May through June, when a dense patch can look like fresh snow lightly scattered on a green hillside. In the hand it does look a bit like cotton (especially if you’ve never seen raw cotton in your hand) so hand spinners inevitably wonder if it could be spun like cotton: how wonderful to gather it from the hillsides to produce a lovely local yarn.

M. Grieves ‘A Modern Herbal’ (1931) is the standard resource for folklore and uses of European plants. Grieves says of bog cotton https://www.botanical.com/botanical/mgmh/s/sedges39.html
Eriophorum angustifolium (Cotton Grass), with its long white tufts of hair, is very decorative on our bogs and mosses in the middle of summer. The down is used in moorland districts for stuffing pillows, and attempts have been made to employ it as a substitute for cotton, under the name of ‘Arctic Wool,’ thread having been spun from it, but the fibres are more brittle than those of cotton and do not bear twisting as well. Candles and lamp wicks have been made from the down by country people.
In former days the leaves and roots had some reputation in northern countries as a medicine in diarrhoea, as like most members of the Sedge family, they possess considerable astringency.
The name Eriophorum is from the Greek erion (wool) and phero (I bear).”
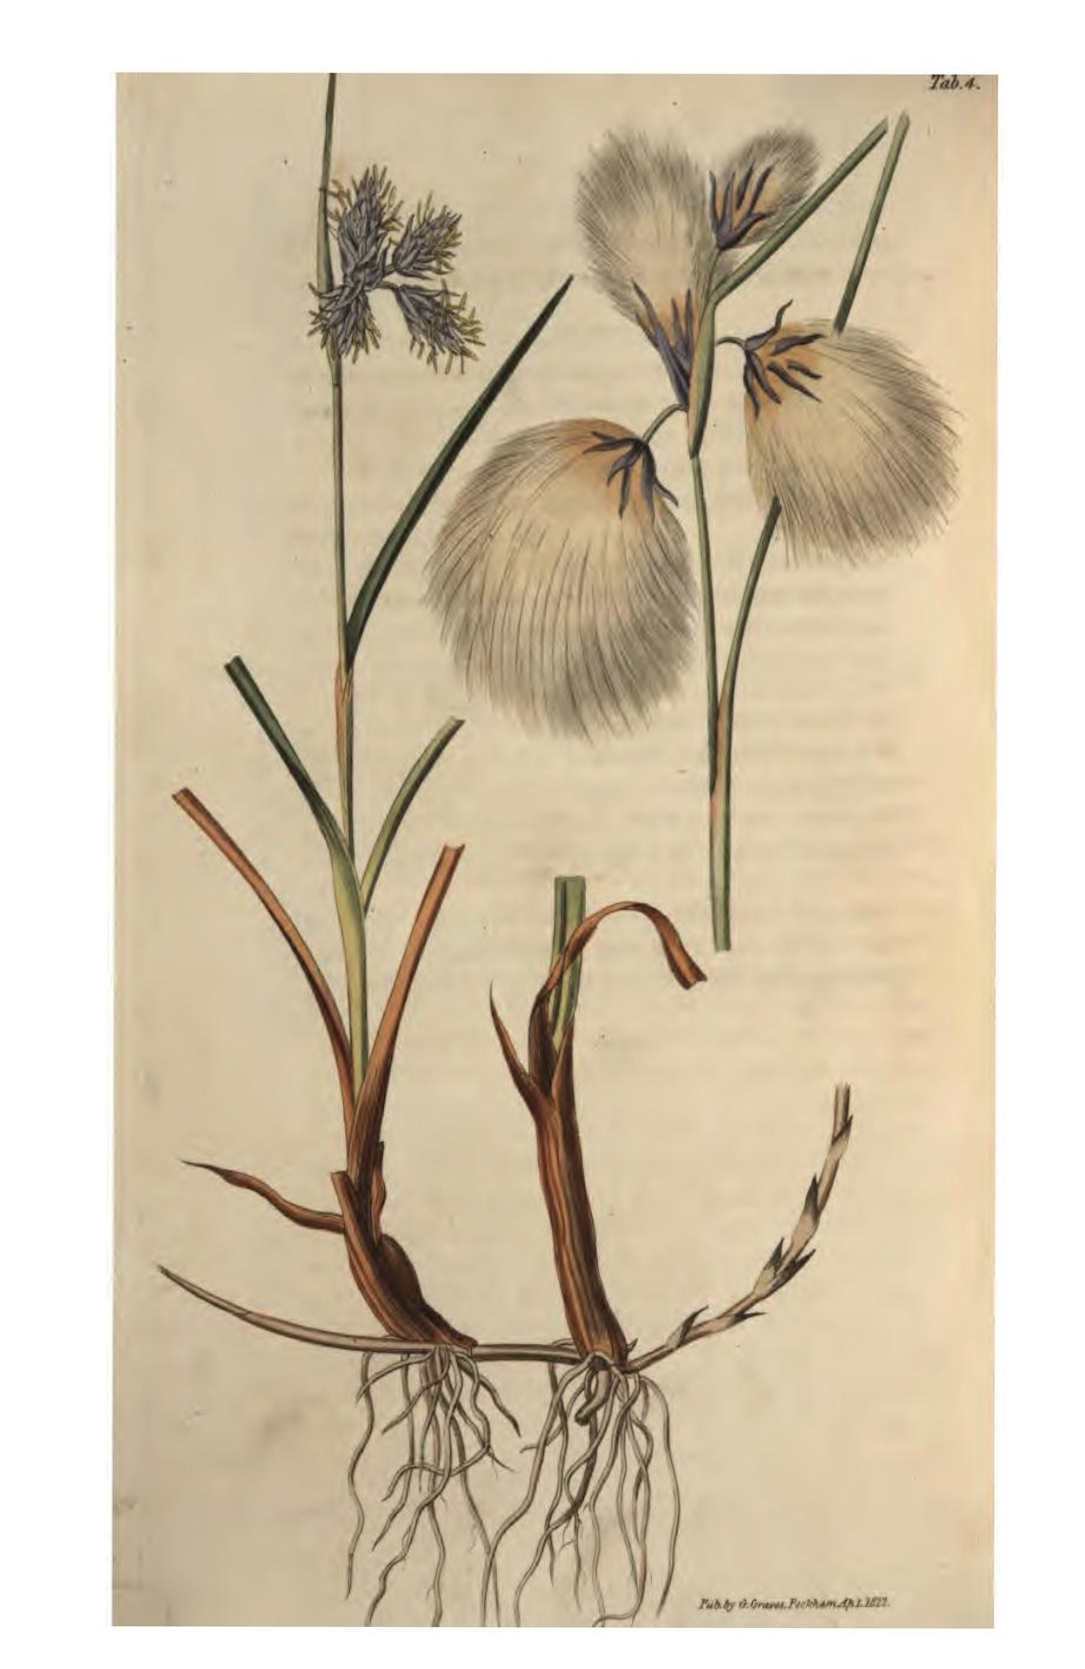
In ‘A Monograph on the British Grasses’ (1822) George Graves writes
‘Should our Manufacturers be able to overcome the brittle texture of its cottony heads, this plant might then answer the purpose of the grower, as the quantity of this substance is considerable. In some parts of Germany the down has been made into paper, wicks for candles, etc.; and Linneas [Carl Linnaeus aka Carl von Linné, 1707–1778, the Swedish biologist who was “the father of modern taxonomy”‘] remarks, that the Swedish peasants stuff their pillows with it in the place of feathers. This plant is of common occurrence in most of the boggy parts of Great Britain; it flowers in April and produces its downy seeds in July and August.’
‘fibres are more brittle … do not bear twisting as well [as cotton]’ and ‘brittle texture’ doesn’t sound promising.
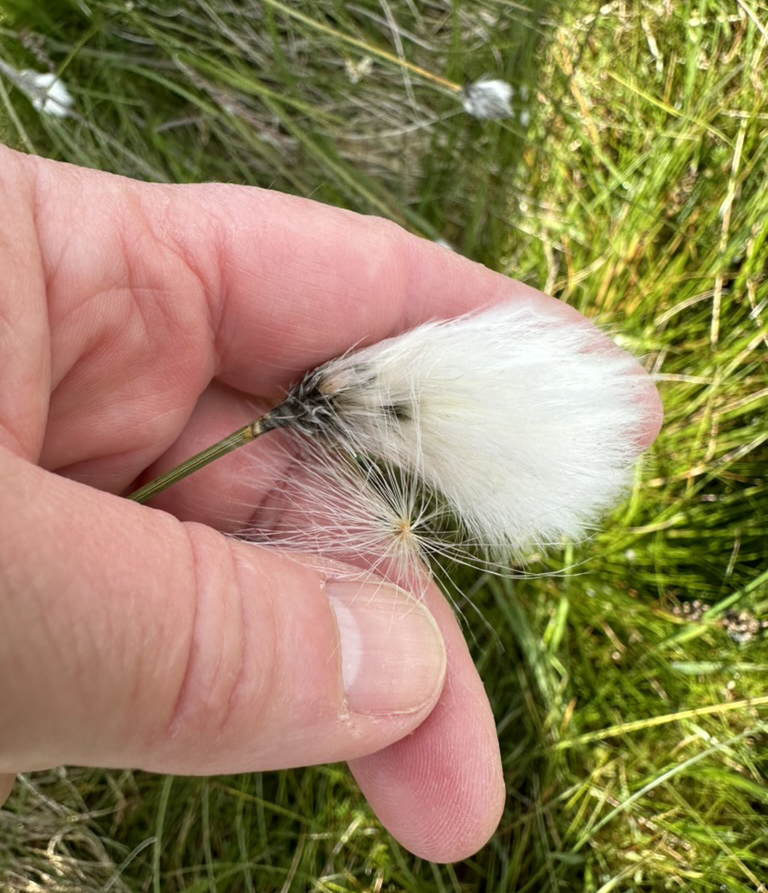
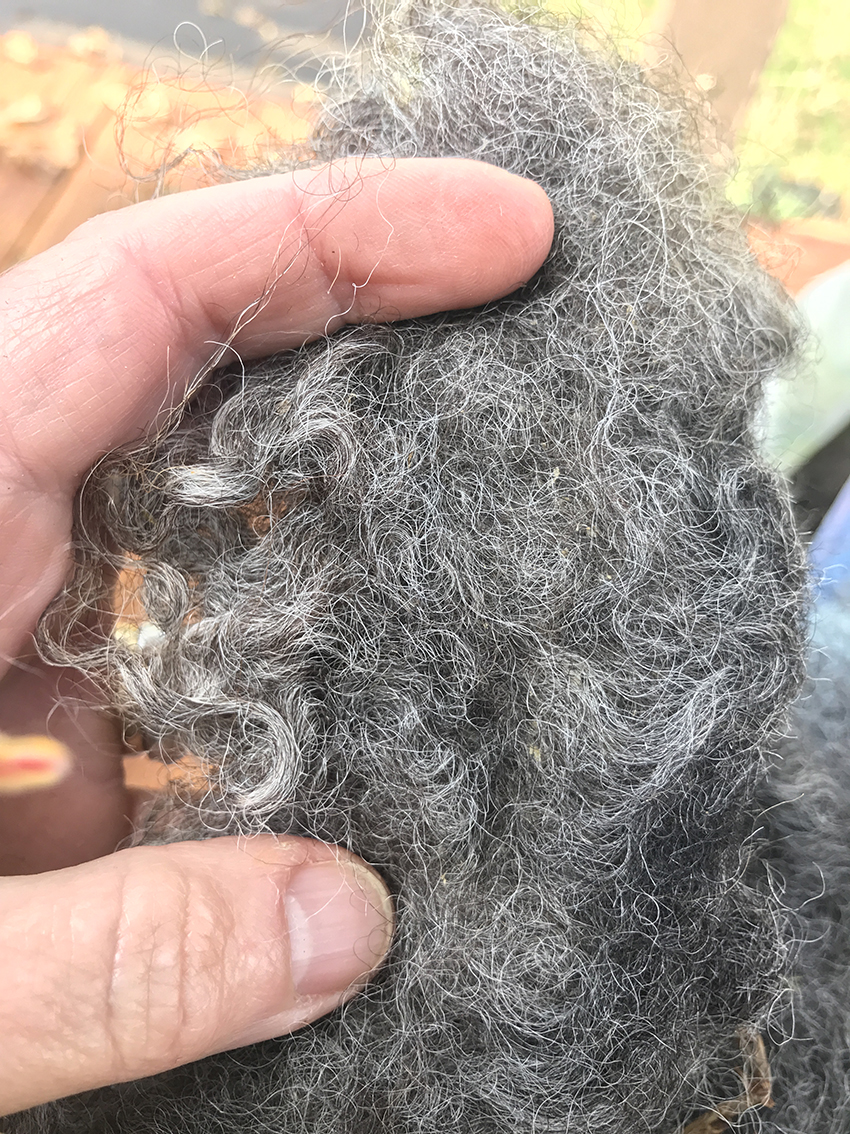
A tuft of cotton grass in my hand. The long, straight fibres are relatively coarse and stiff. The single seed below it shows why they must be stiff: when the seed is ripe the fibres attached to it open up like a dandelion seed parasol to catch the wind.
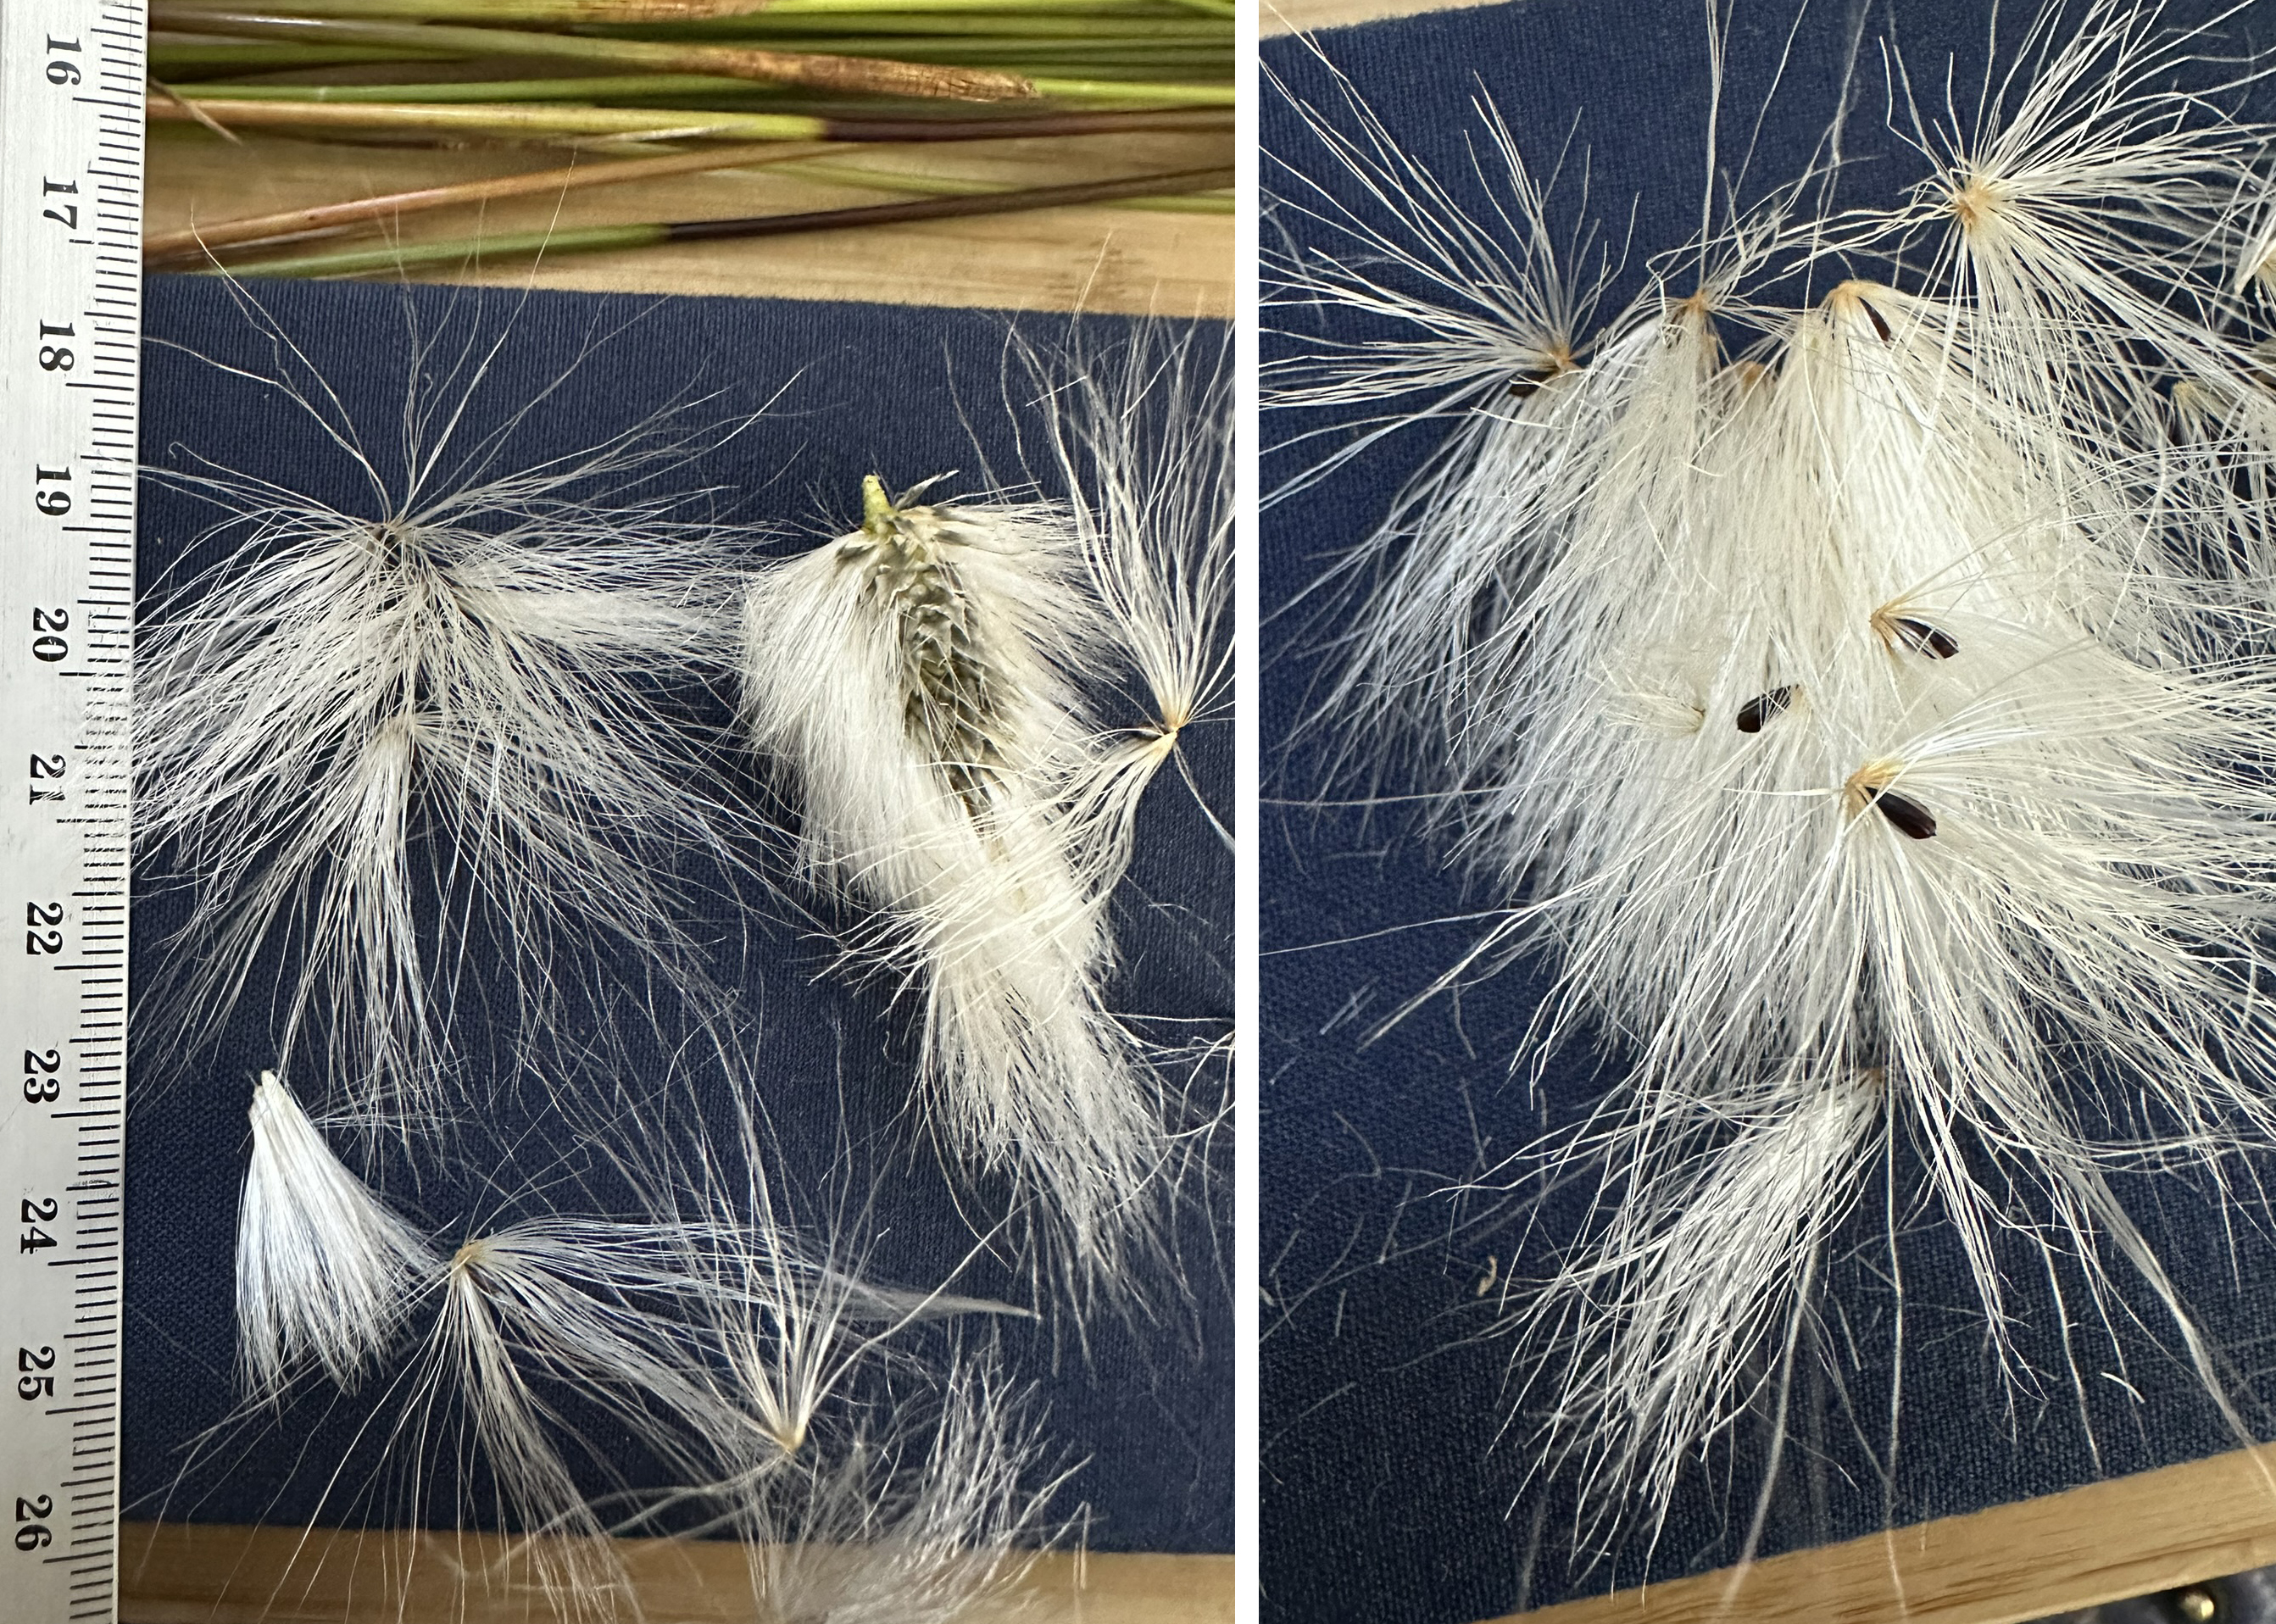
Above, dissections of the cotton grass seed heads.
Left: the different lengths of fibres from different regions of the seed head, as well as the head at the centre of the seed head showing the sockets in which the seeds sit.
Right: the seeds sitting at the base of their parasols of fibre.

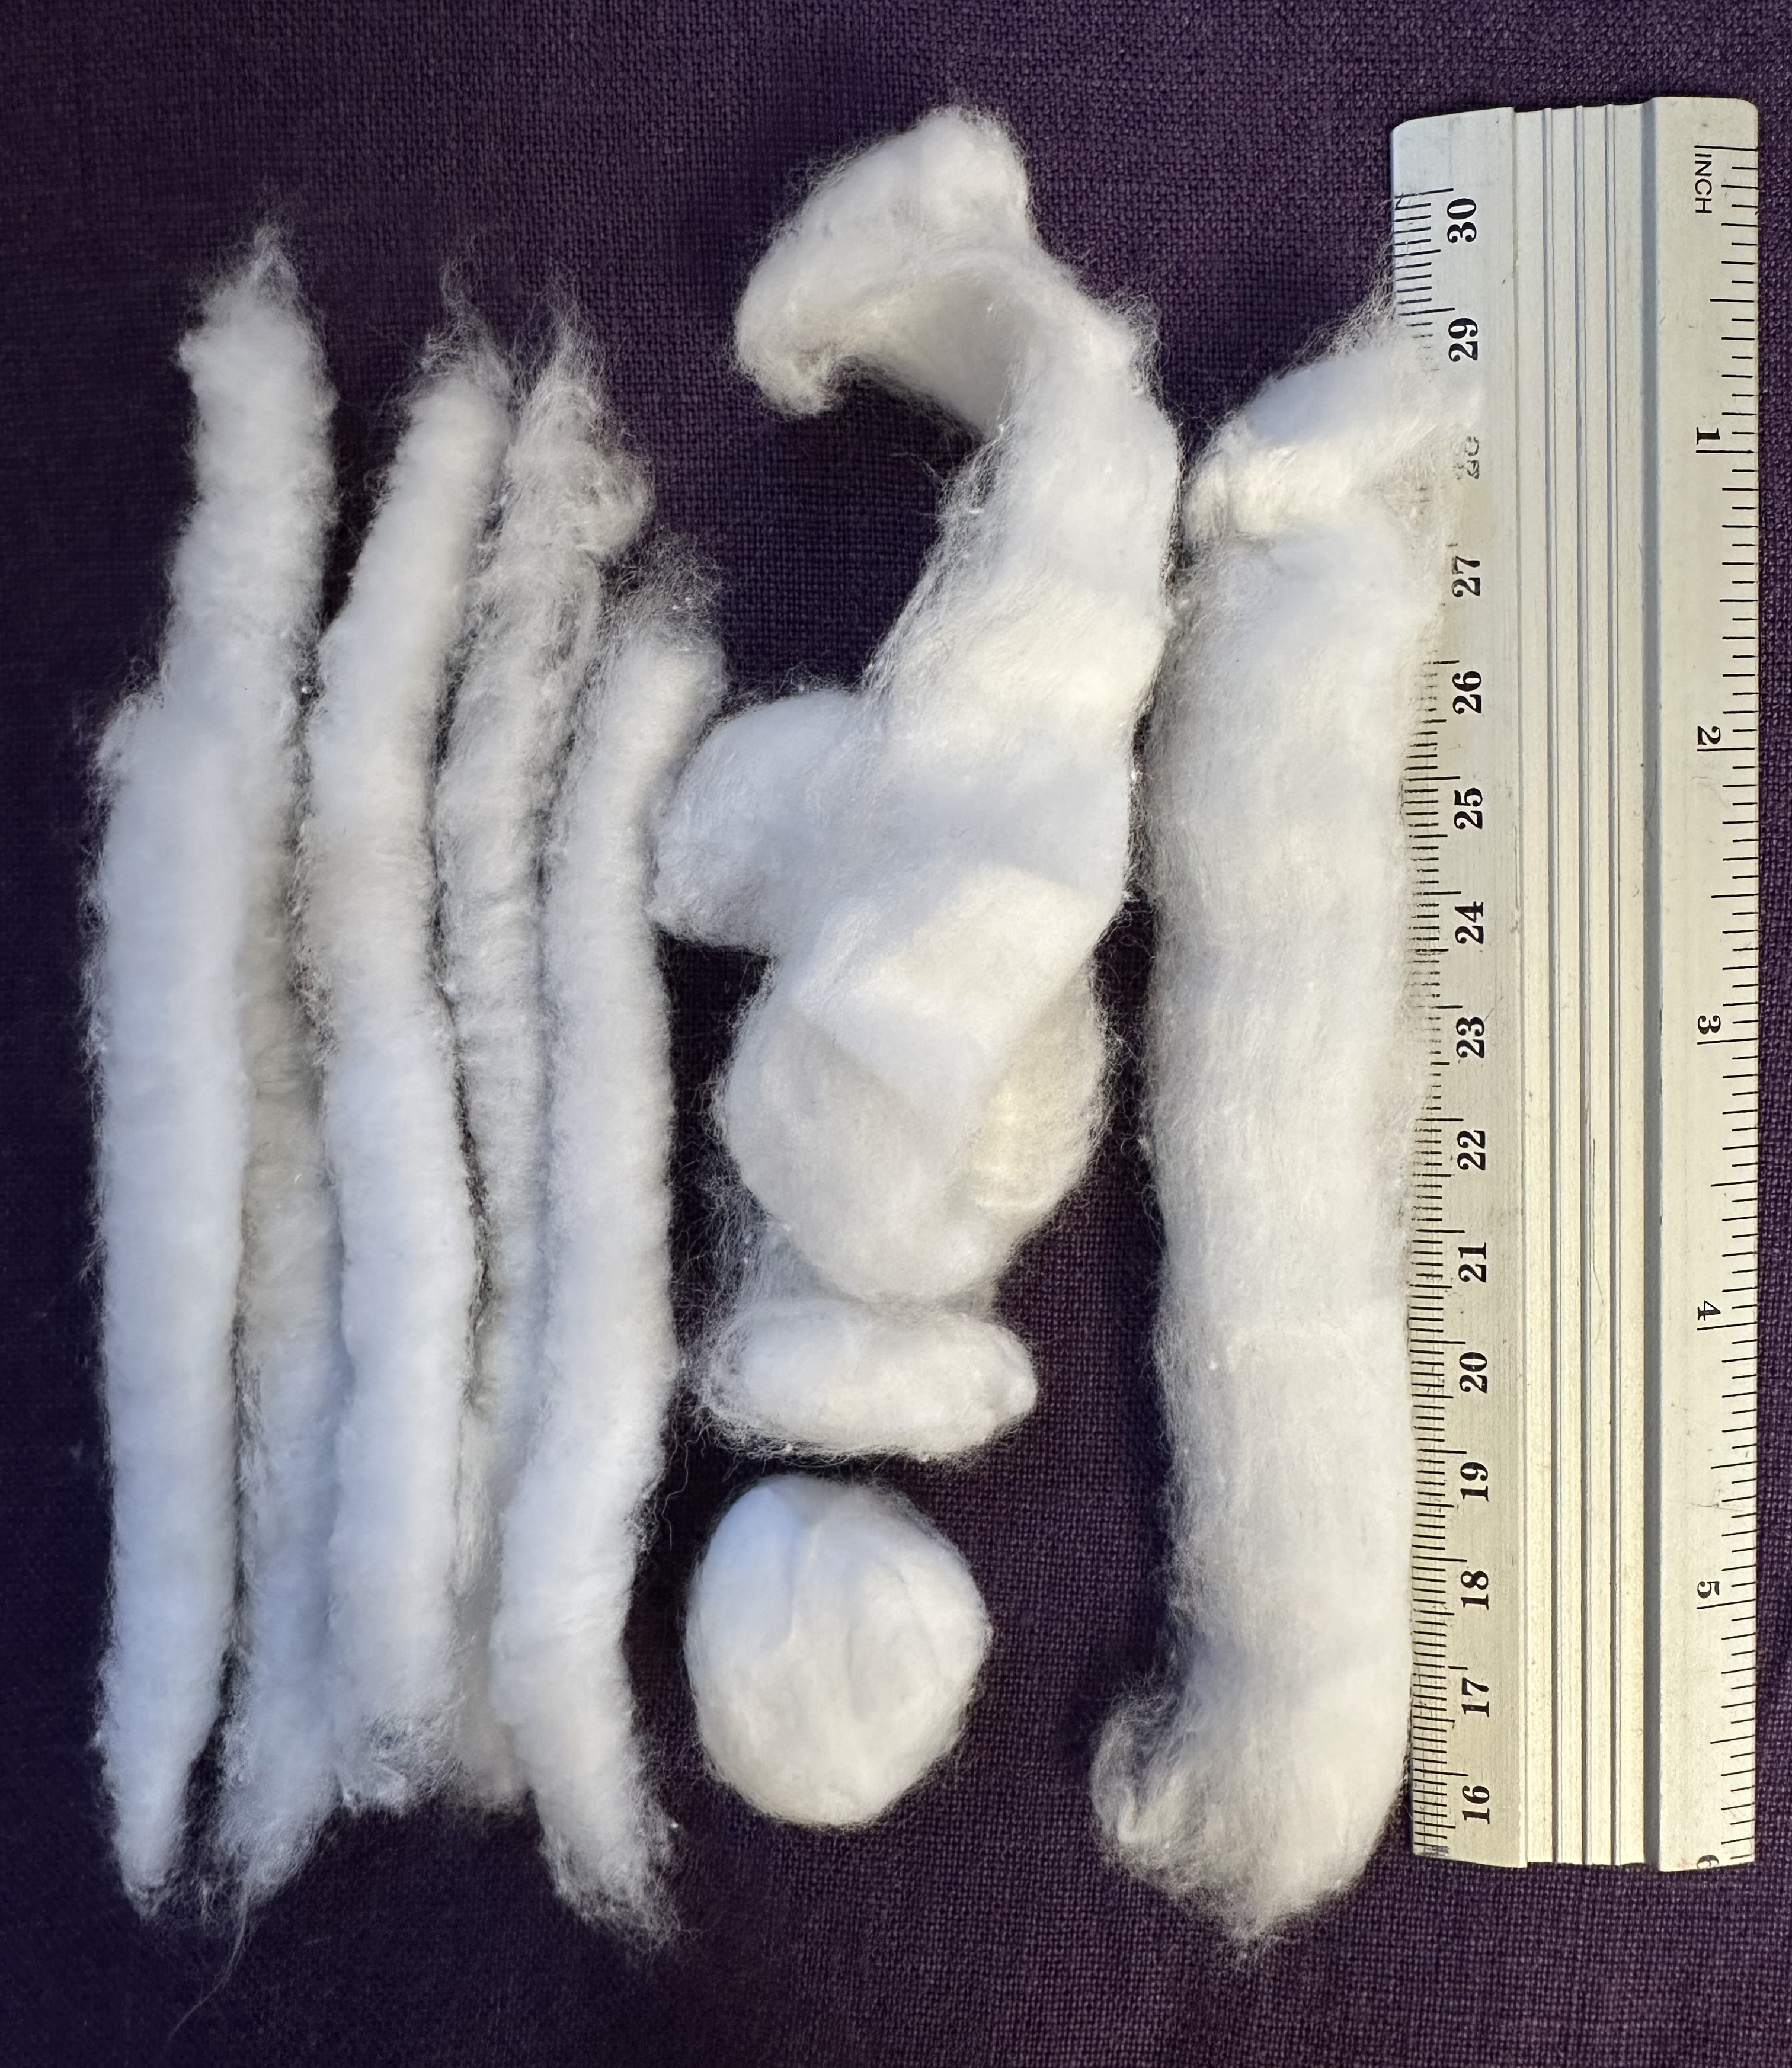
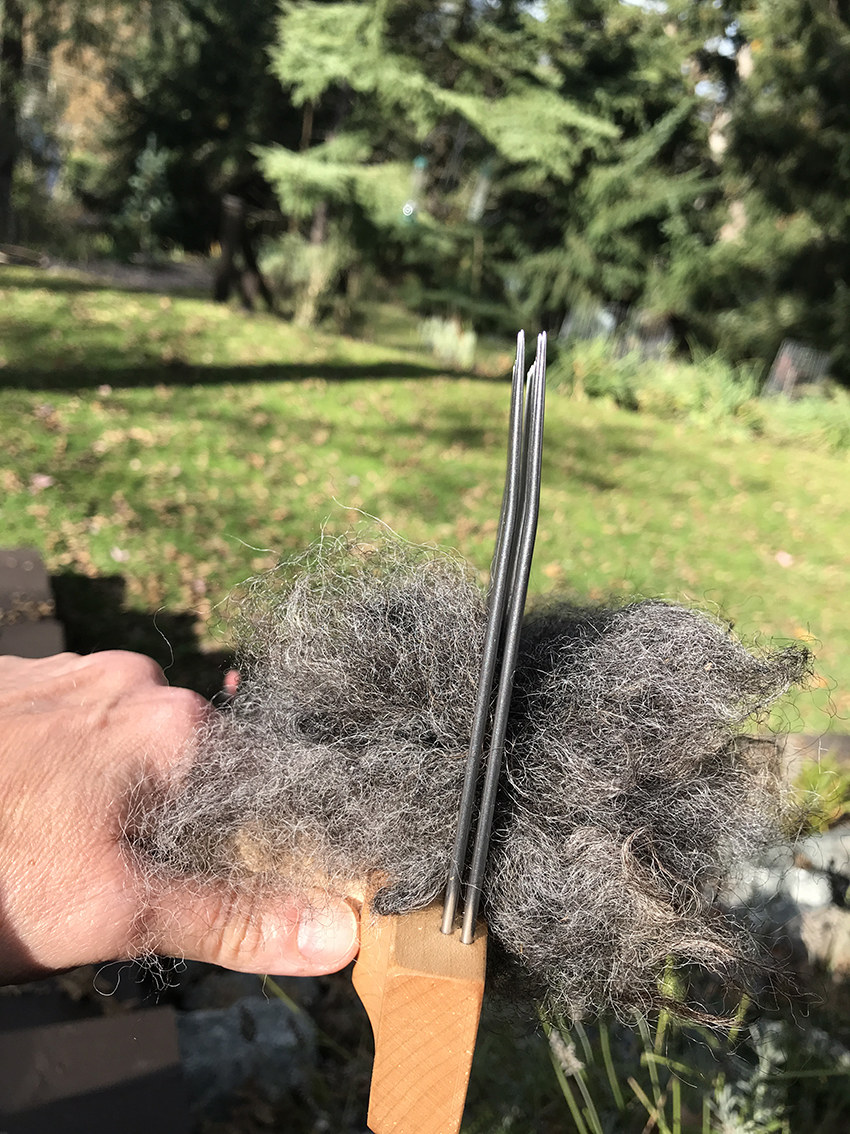
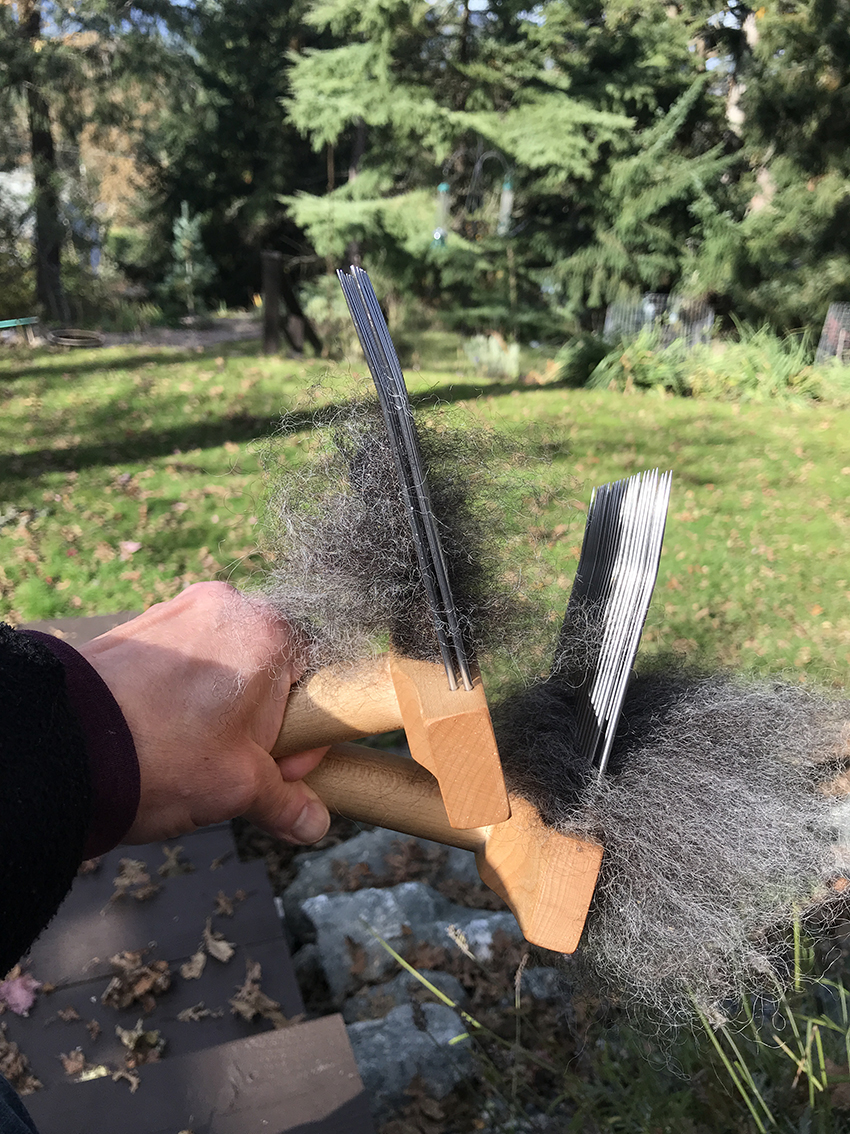
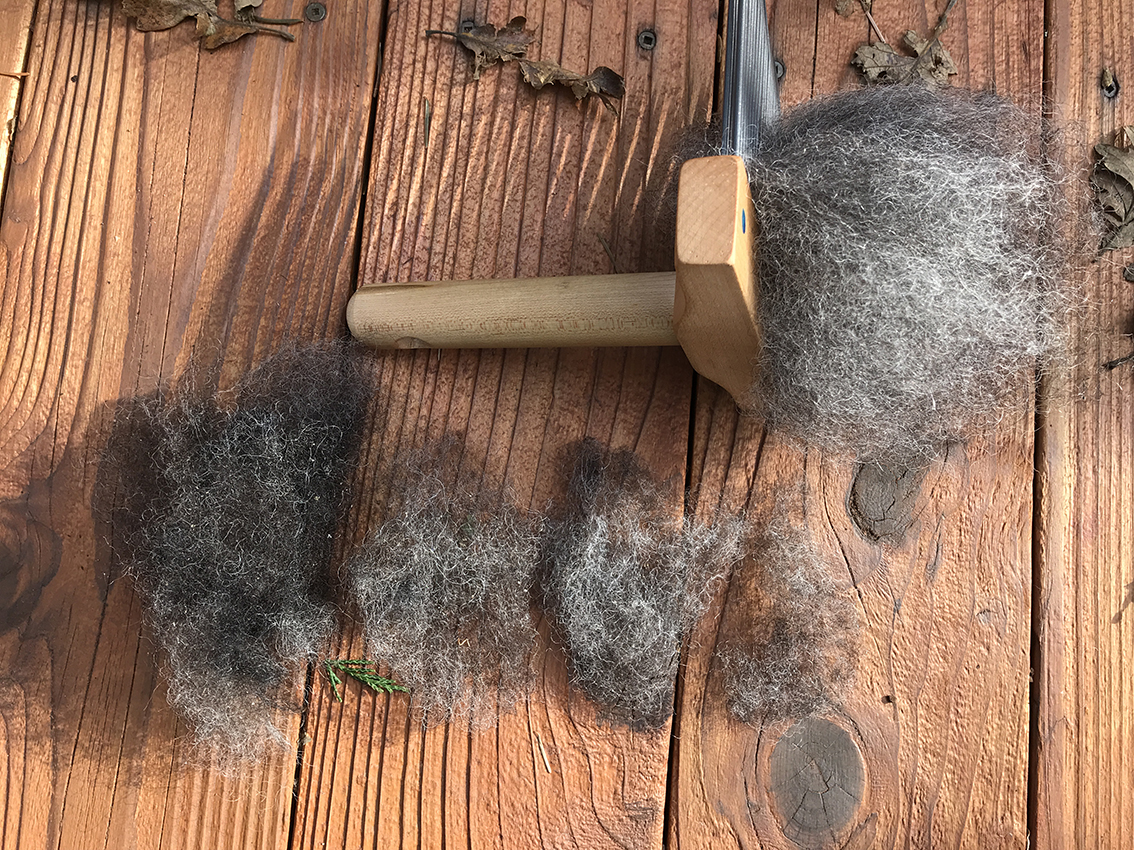
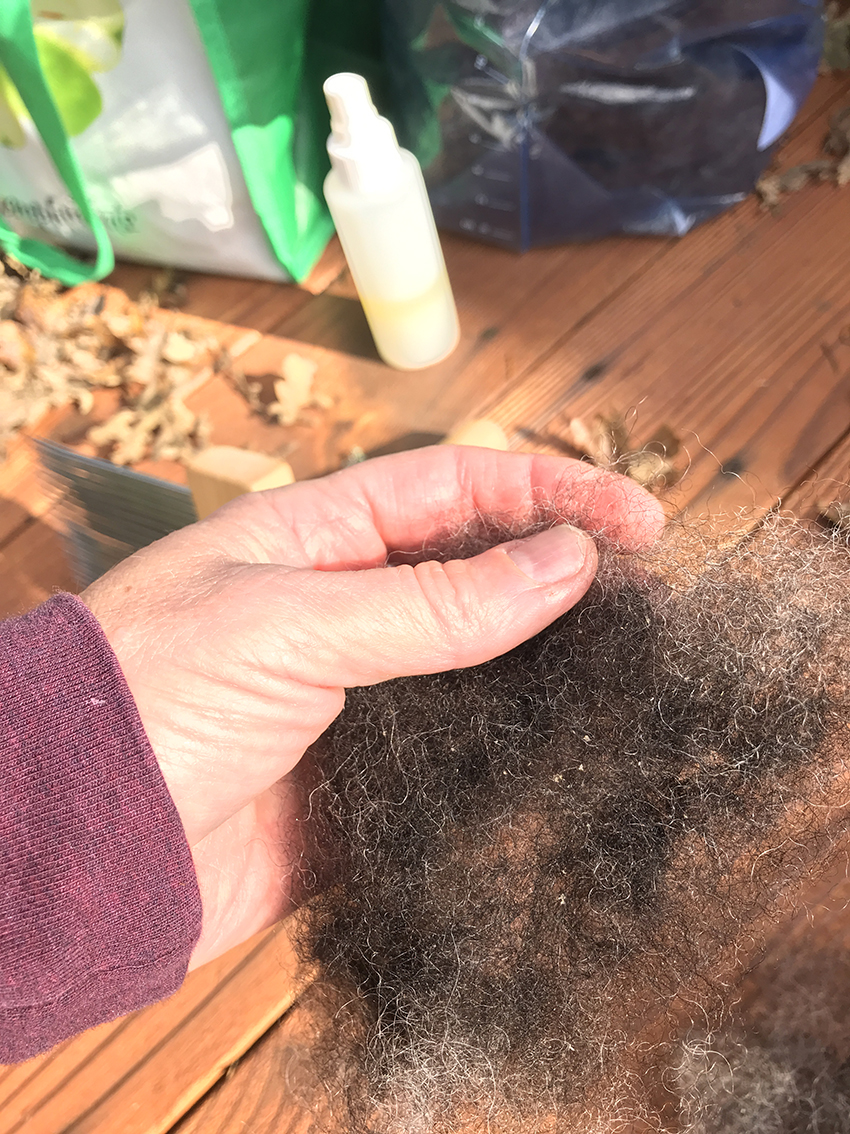
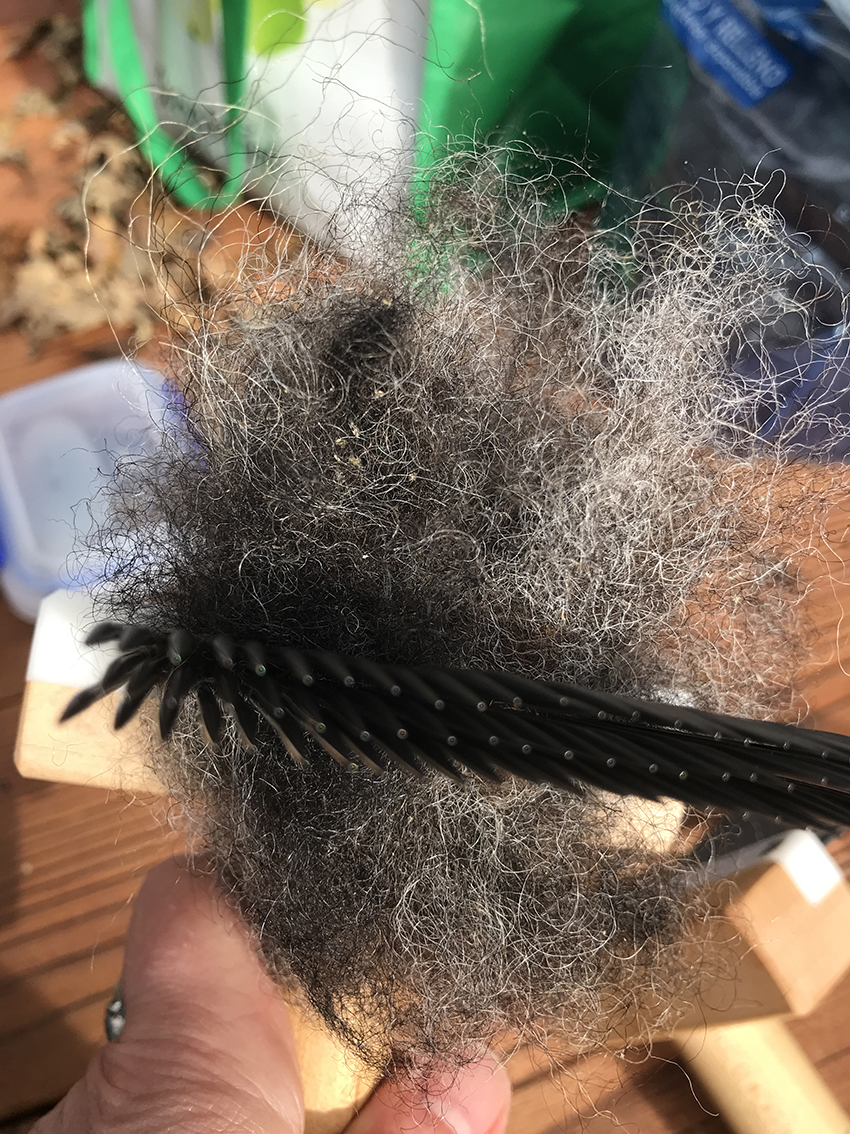
In the above photo I’ve pulled the small dark seeds off some tufts of fibre, which was quite difficult as the seeds are firmly attached, but there would be a lot of little dark lumps in the yarn if the seeds were not removed.
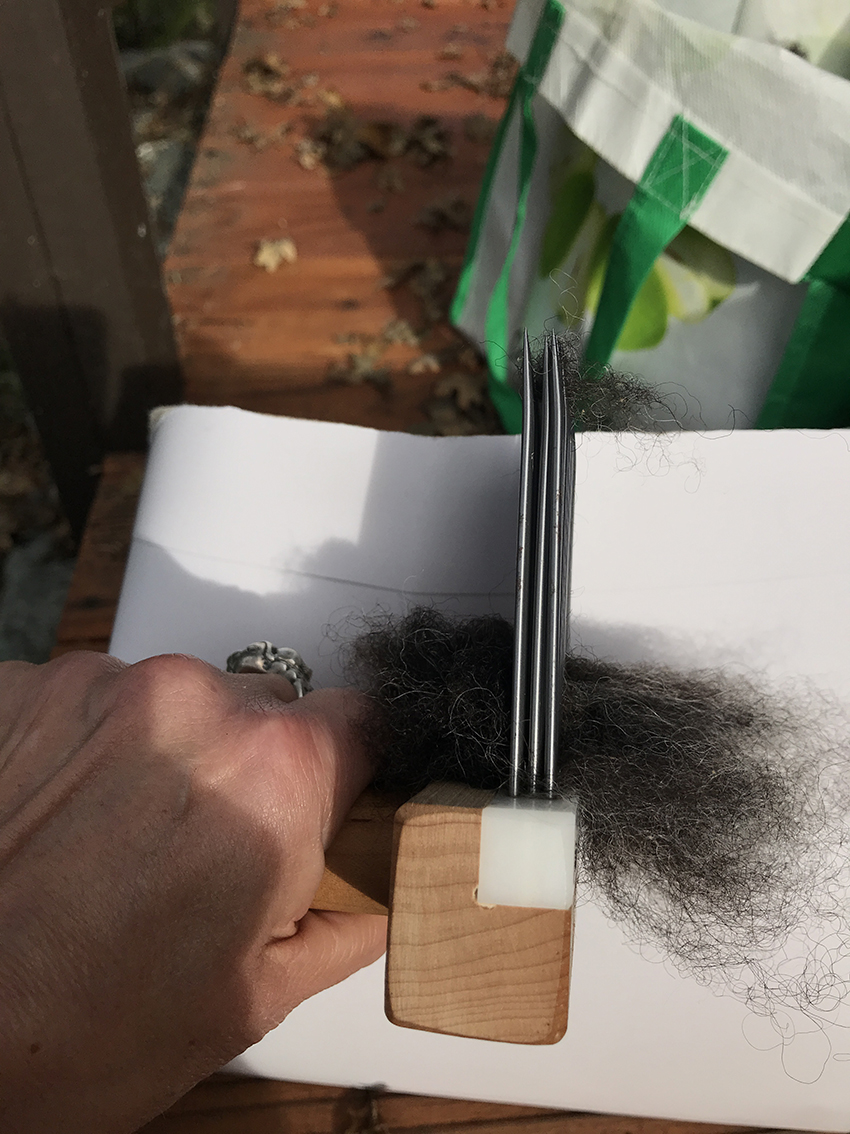
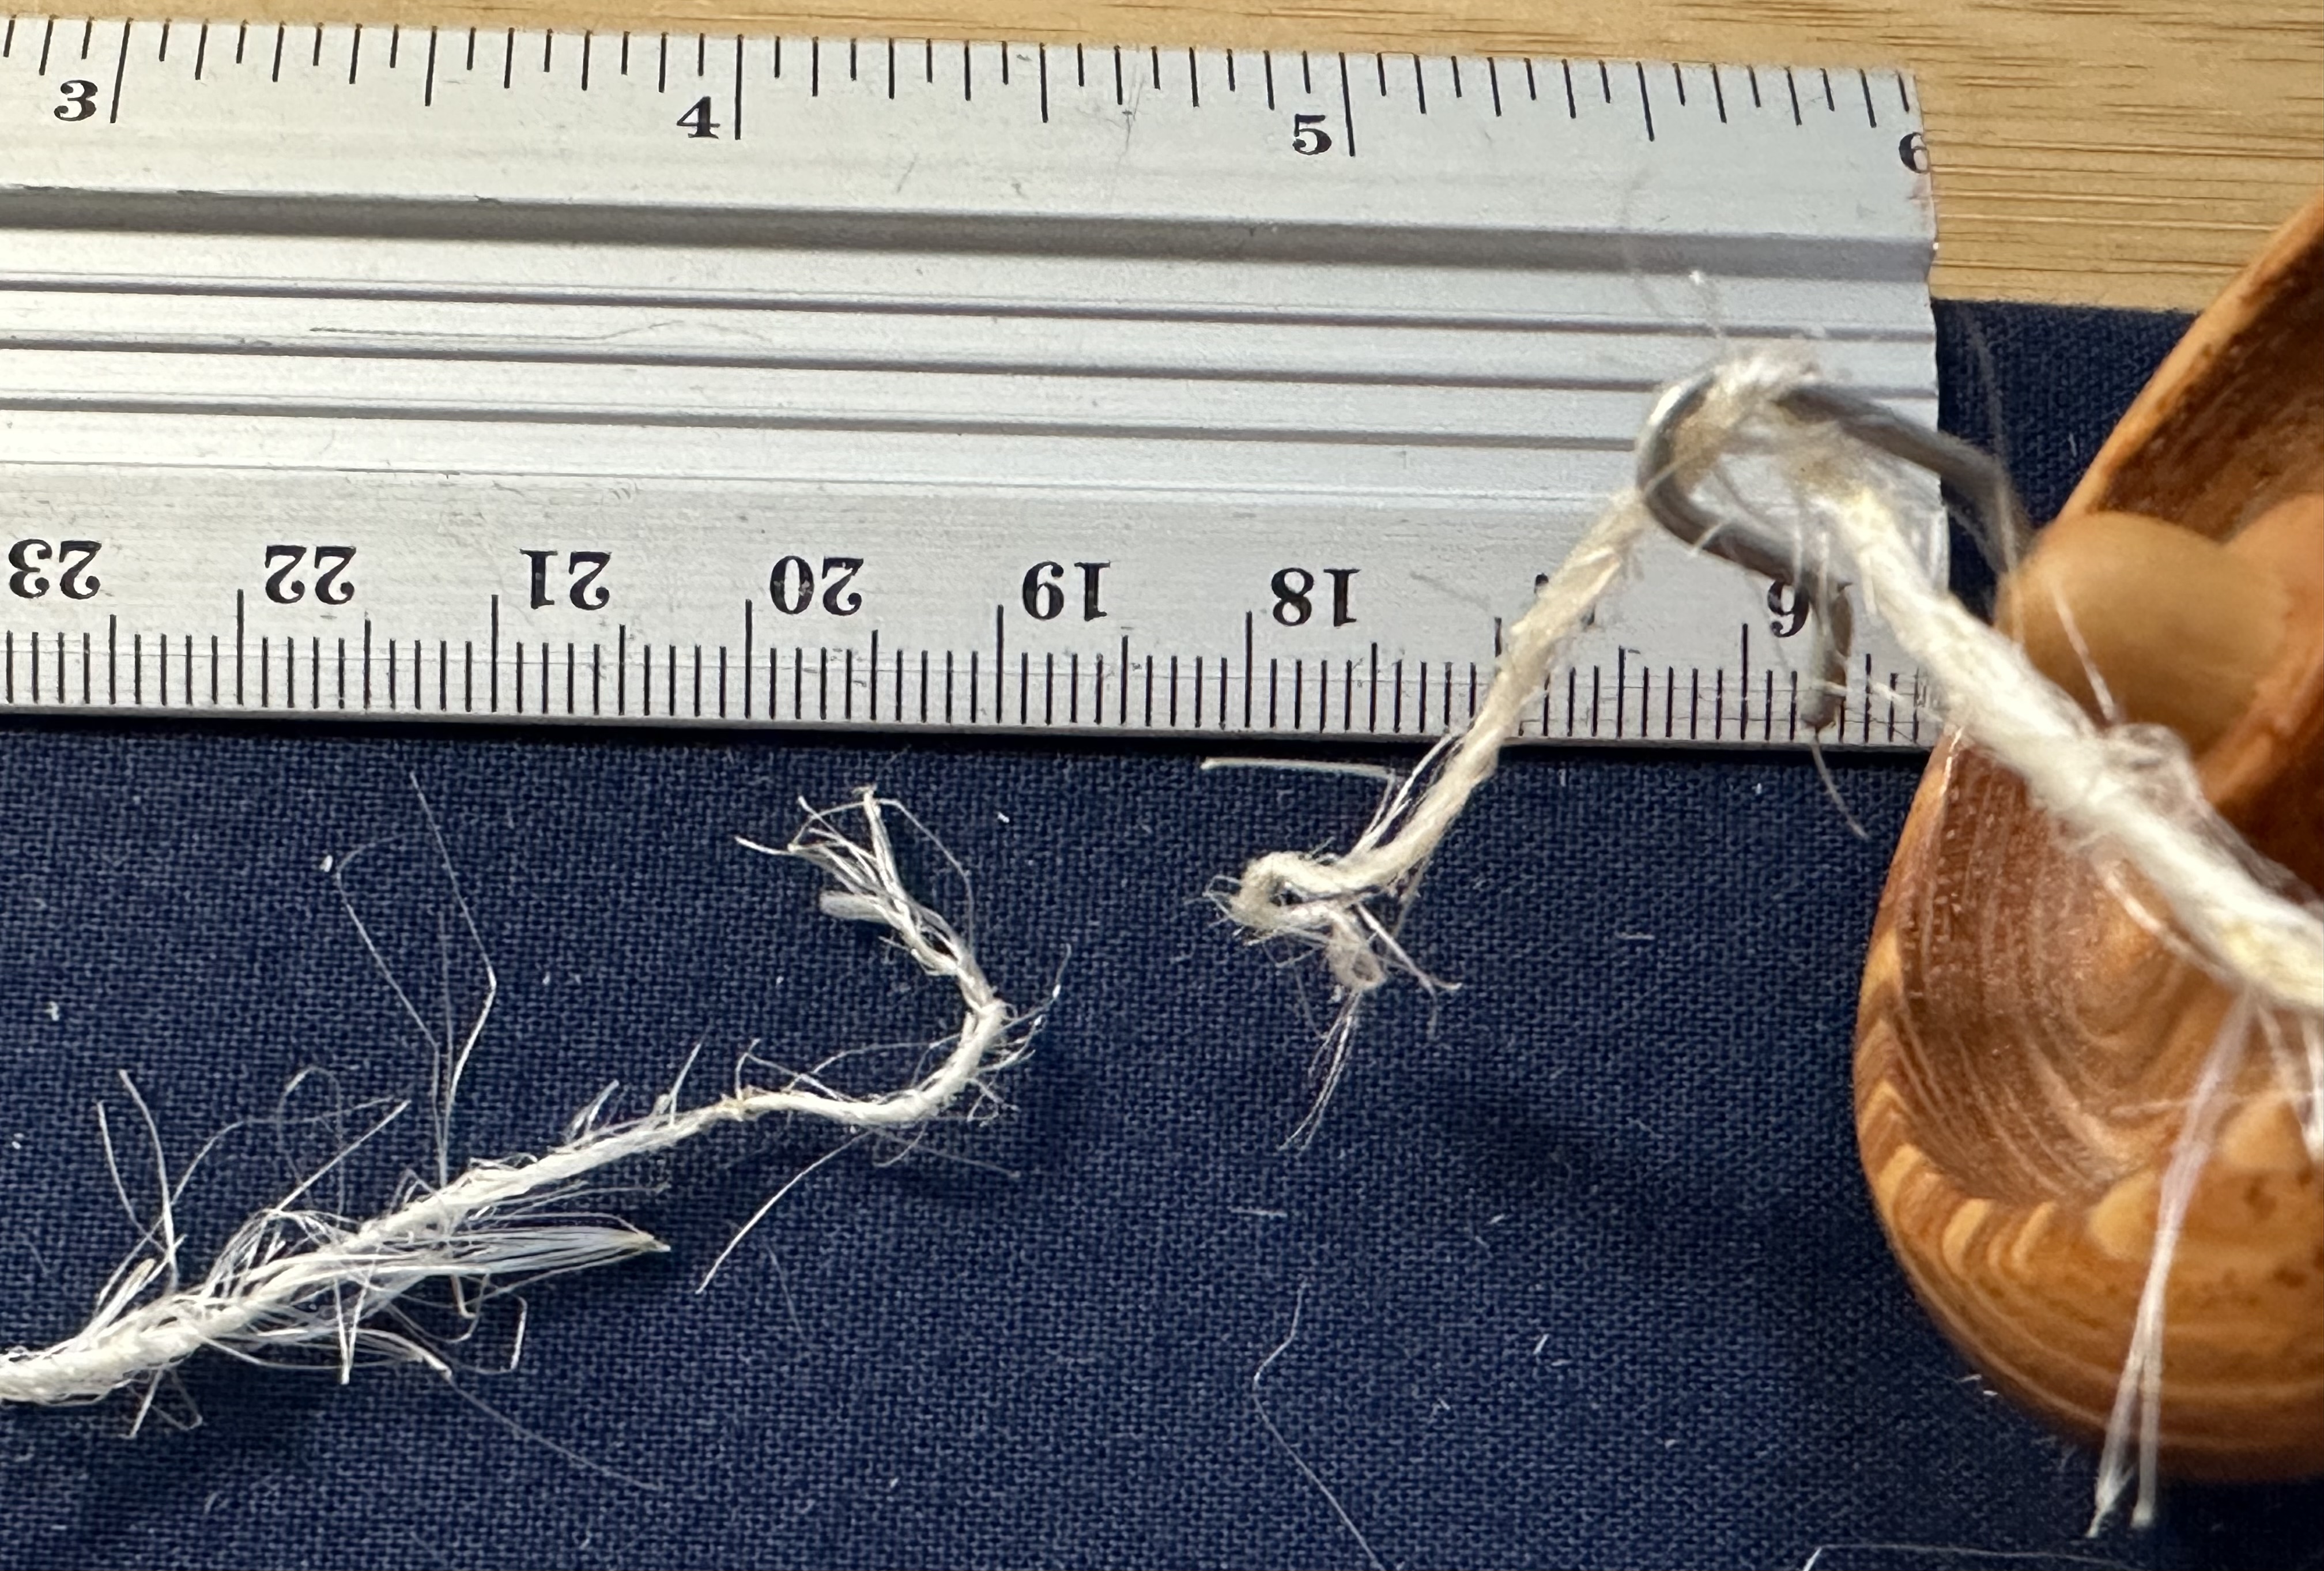
Look carefully and note that the fibres are significantly thicker at the base than the tips, meaning the tips will twist more easily. When I hand-twisted a couple of seeds-worth of fibre; the tips twisted but the fibres snapped before the twist could travel into the thicker bases (the bases and the twisted tips shown above). This demonstrates what is meant by ‘brittle’ in the description of the fibre: the seed fibres are both stiff and weak, completely inelastic, so they snap rather than twist.

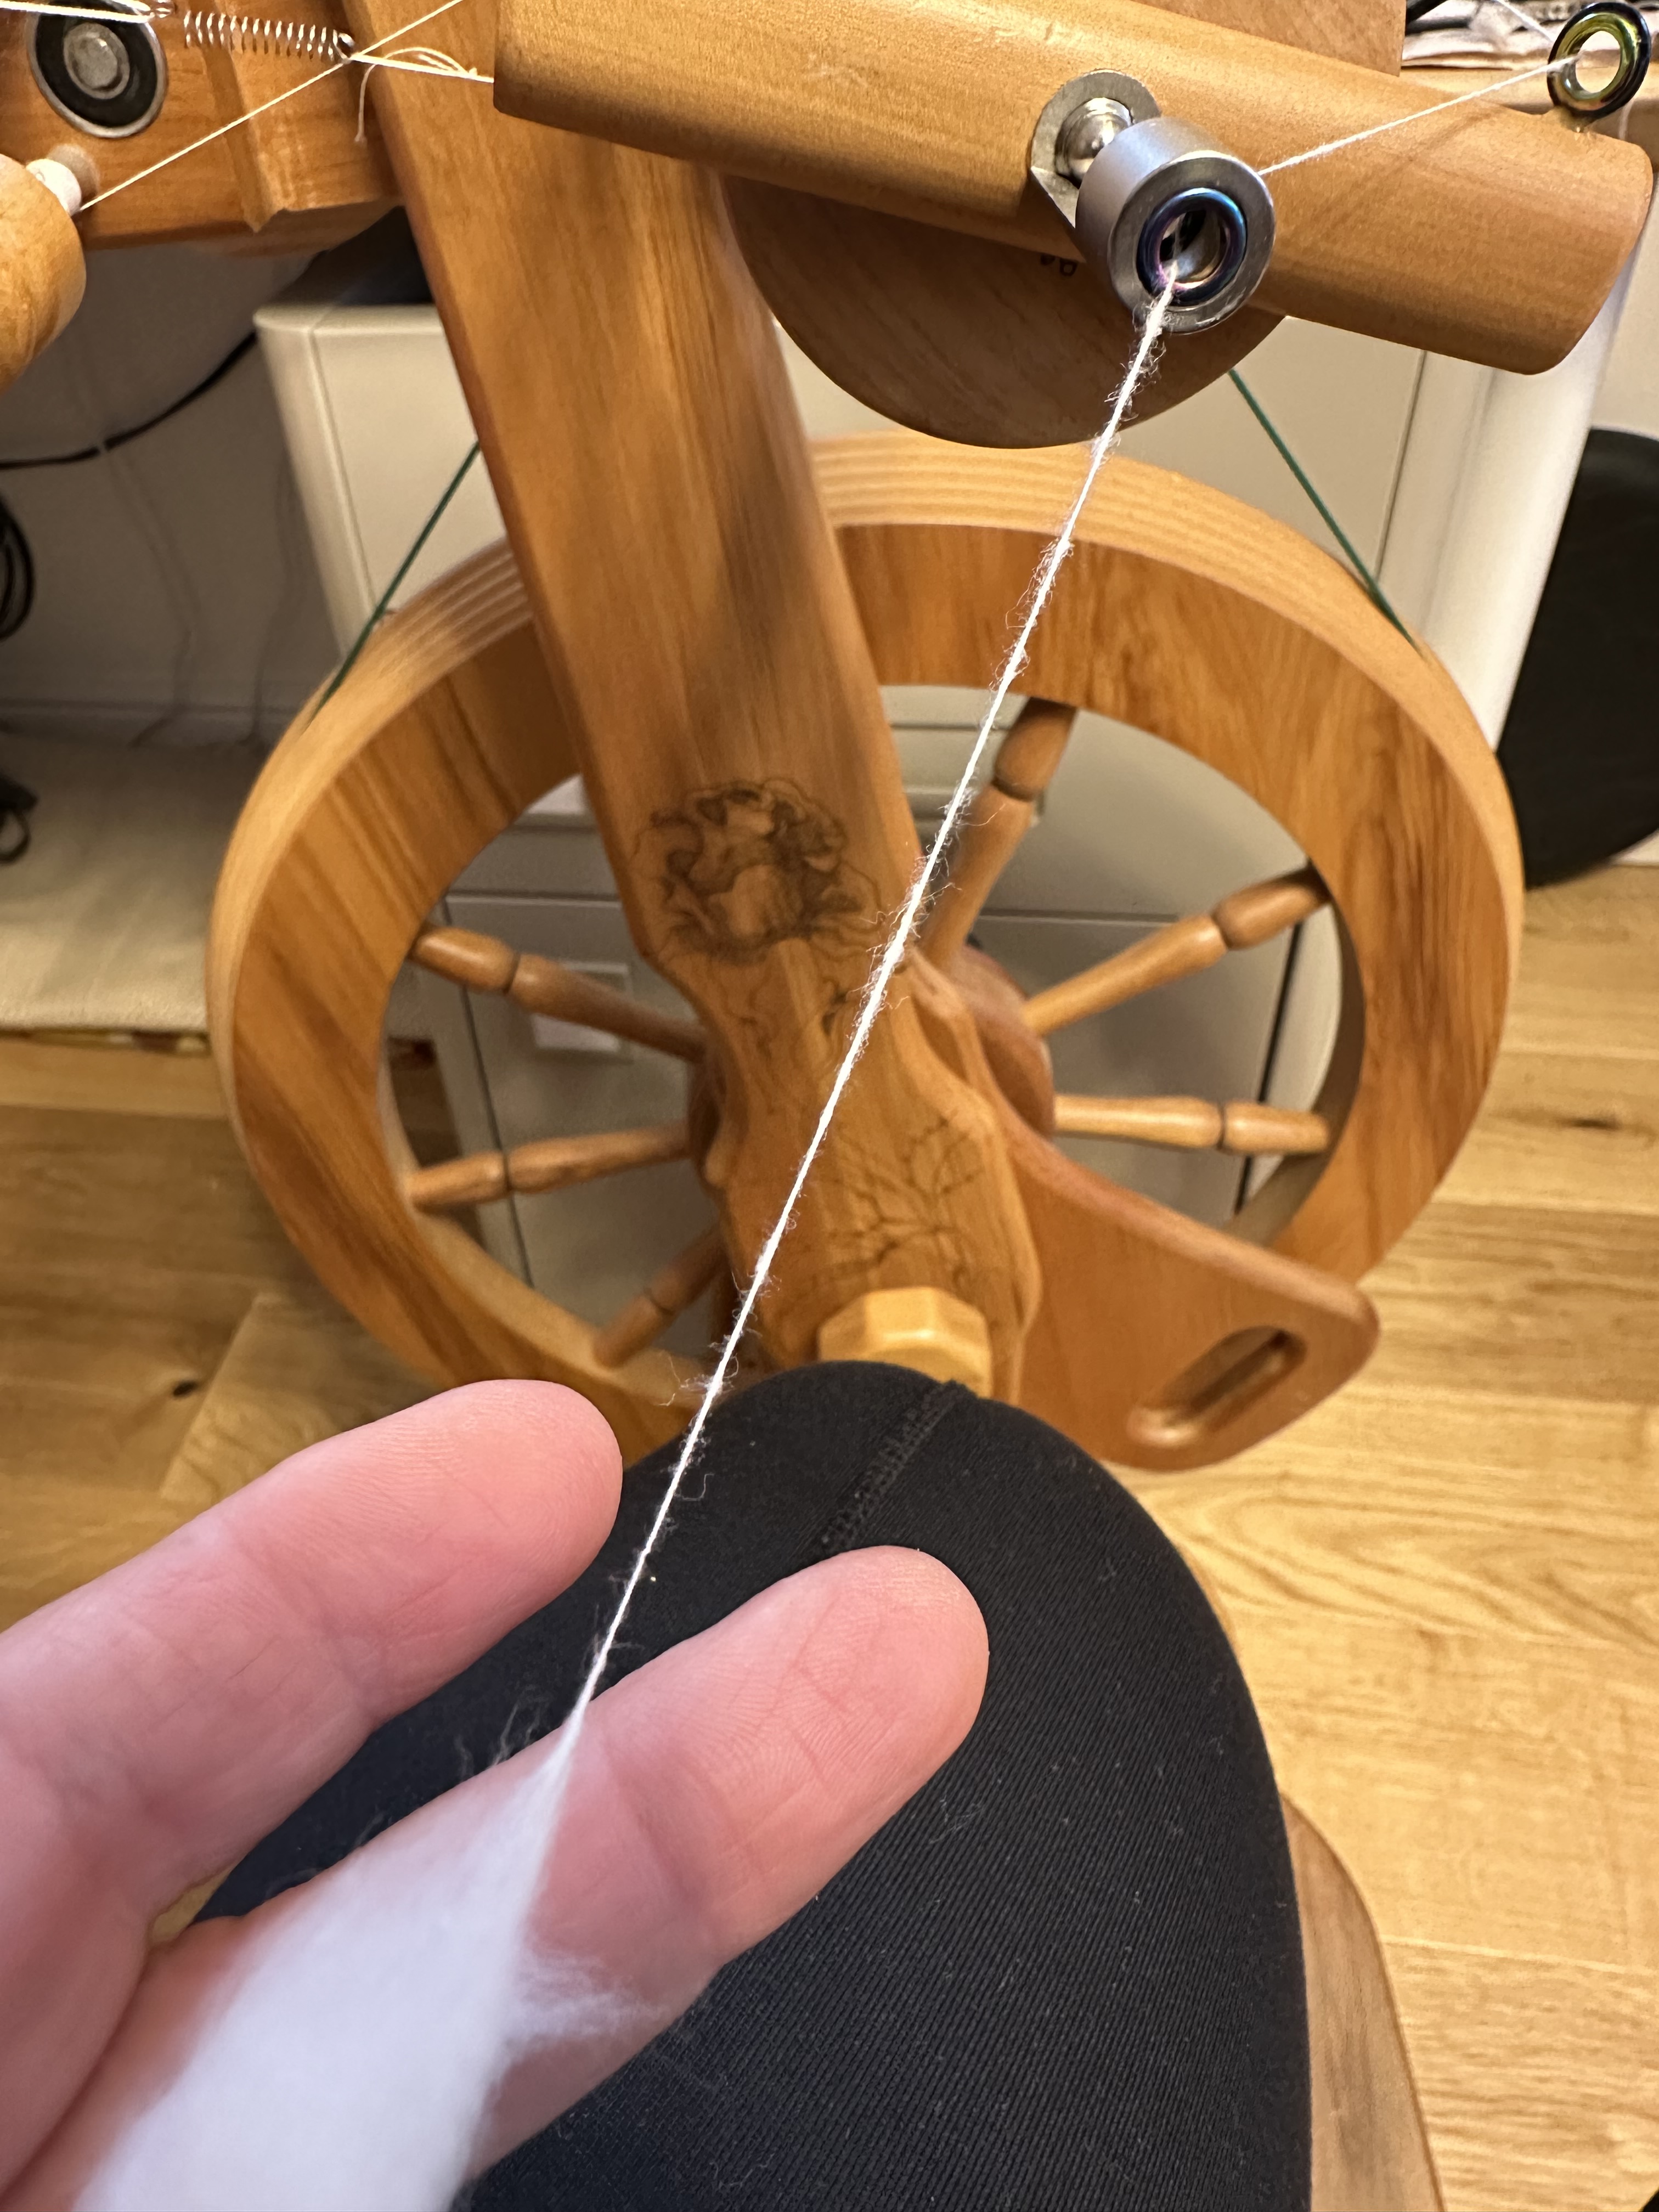
I tried spinning from several clouds of de-seeded fibre, both fresh (so slightly damp), dry (about a month after gathering), and re-wetted with a mister. The re-wetted were easier, probably because the droplets of water help to hold the fibres together: the moisture did not soften the fibres, which remained stiff and inelastic. It spun in the sense that the twist picks up fibres to bring them into the forming yarn, but because of the stiffness and the variation in fibre thickness the yarn is excessively uneven (see the tiny thin tightly twisted yarn on the spindle hook contrasted with far less twist in the thicker area above.
I could not spin a competent [yarn that does not lengthen under tension] singles. Rotating the spindle in my hand while pulling it away from the fibre mass allowed the twist to make a soft singles; adding more twist to prevent the fibres sliding on each other invariably resulted in the singles snapping before it became competent. When I tried to suspend the 10gm spindle on the singles either a slub slid apart (because the fibres are stiff and smooth) or a thinner area snapped (because the fibres are brittle).
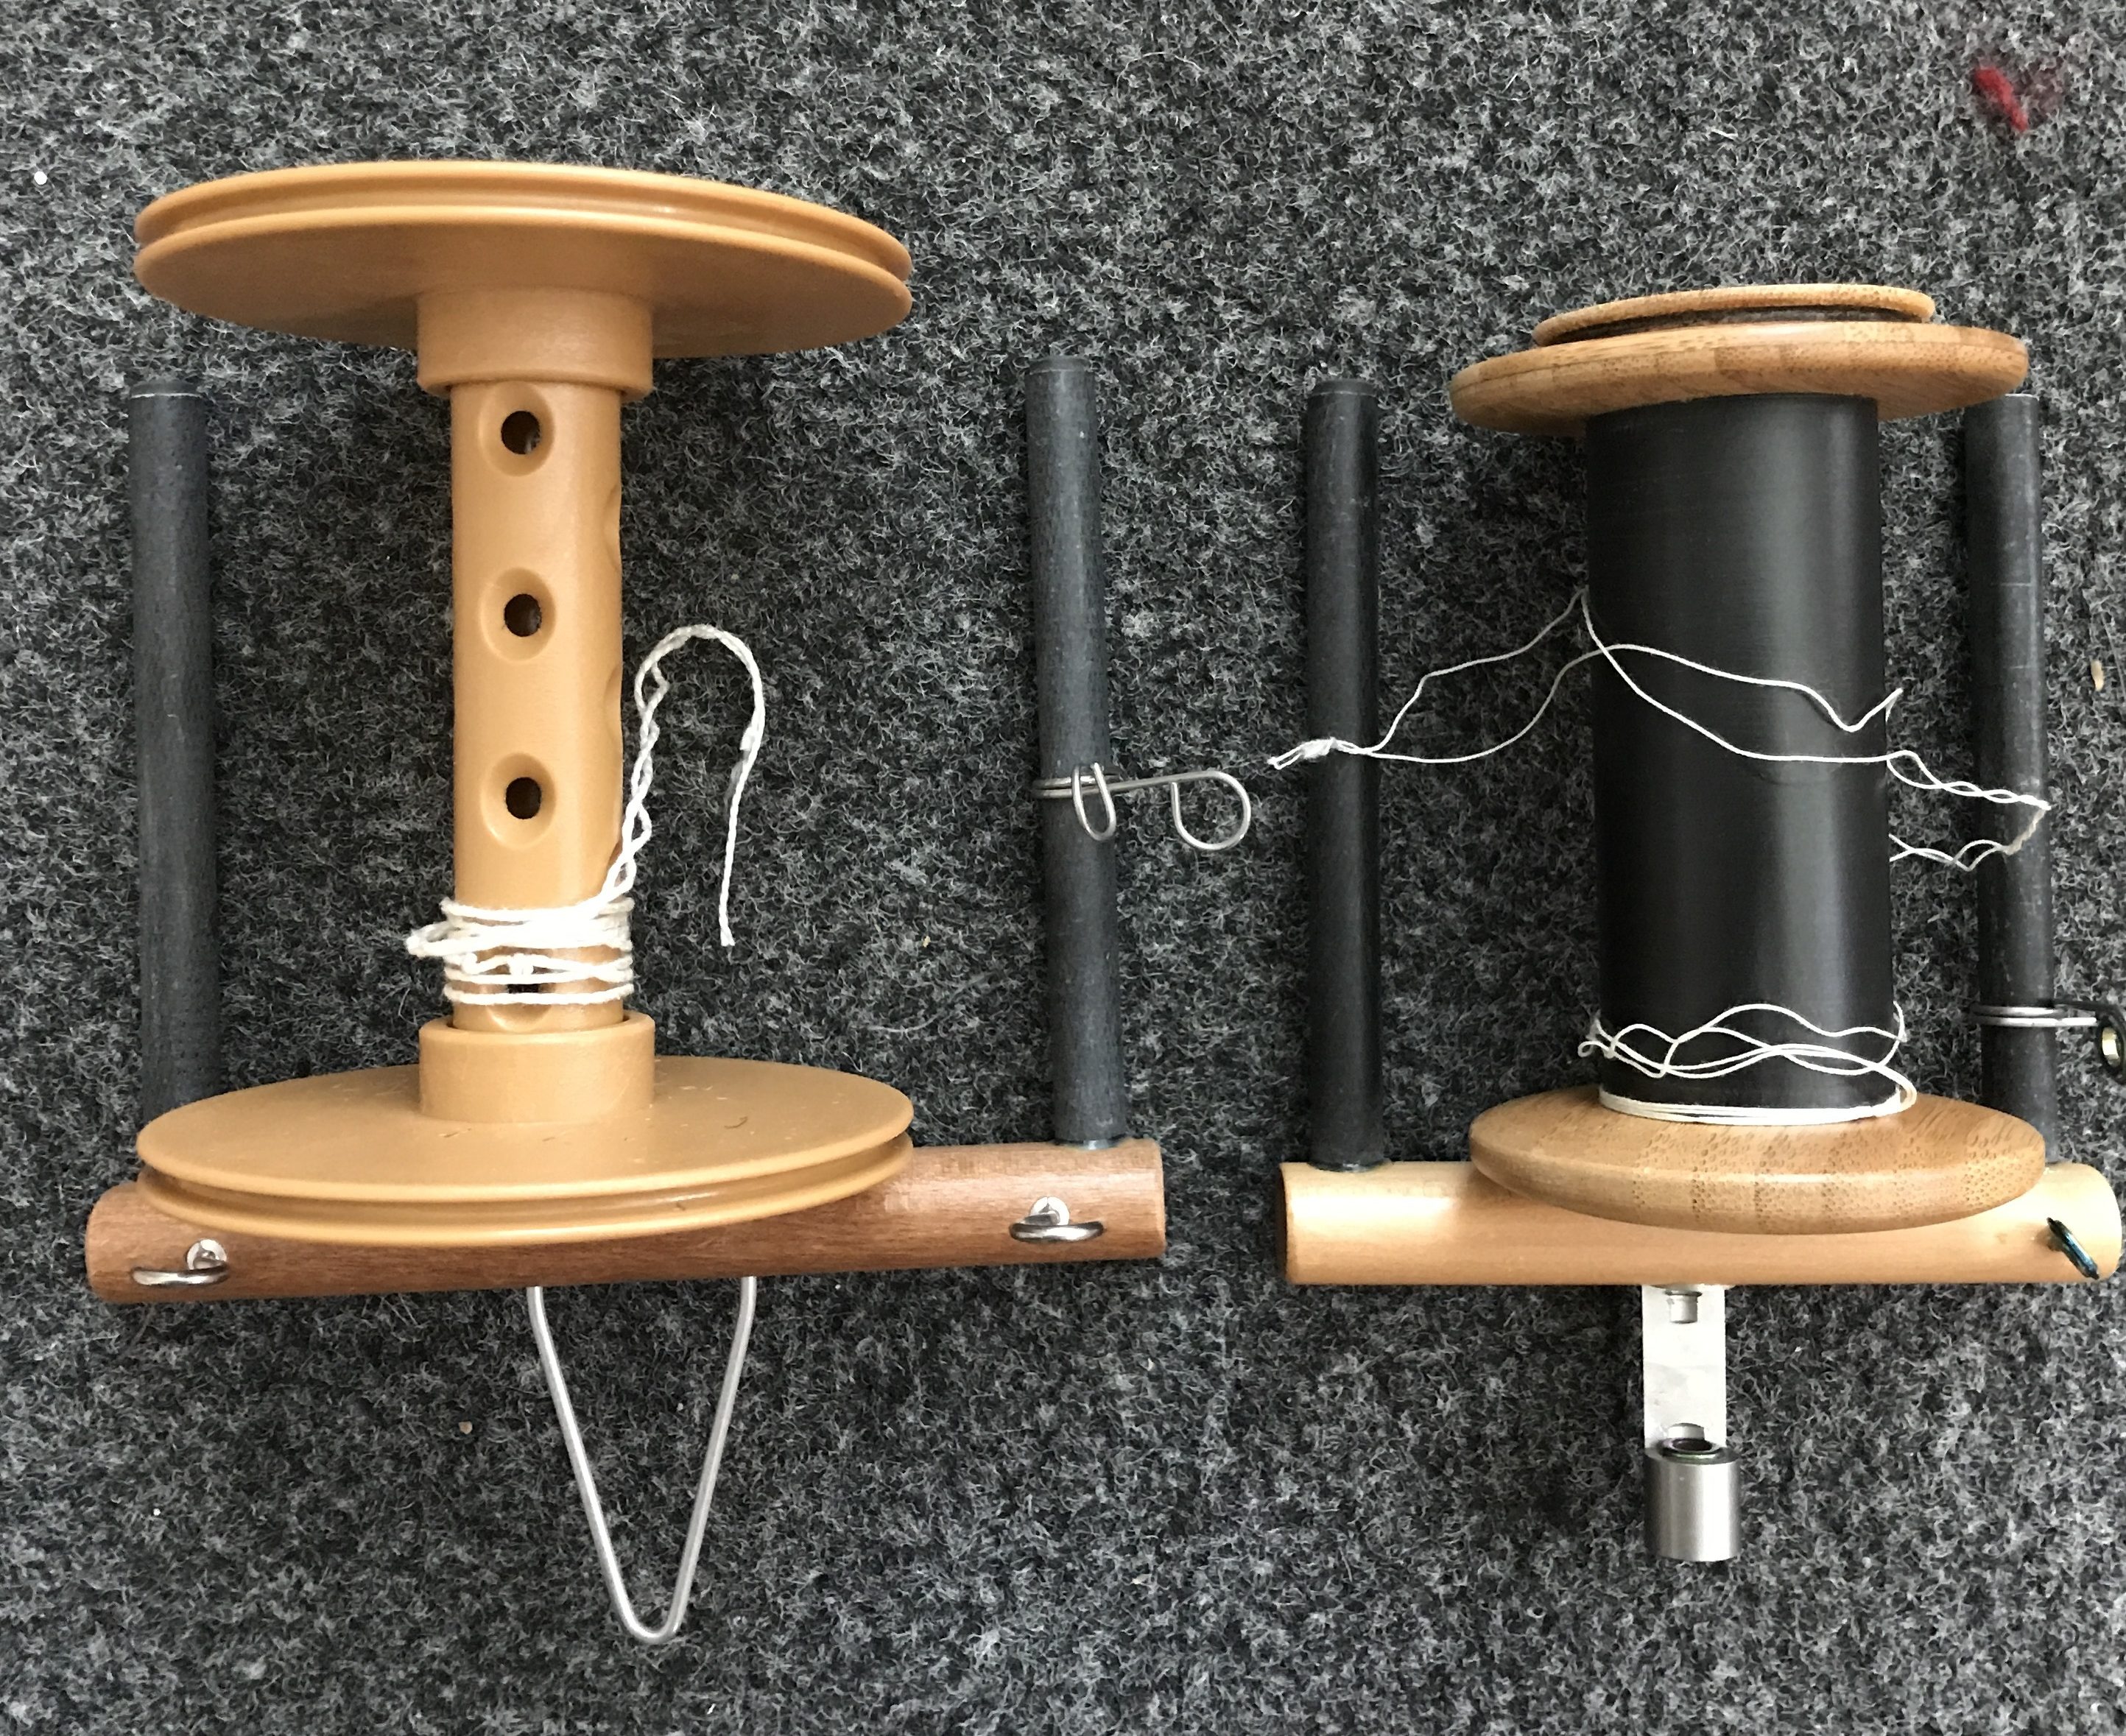
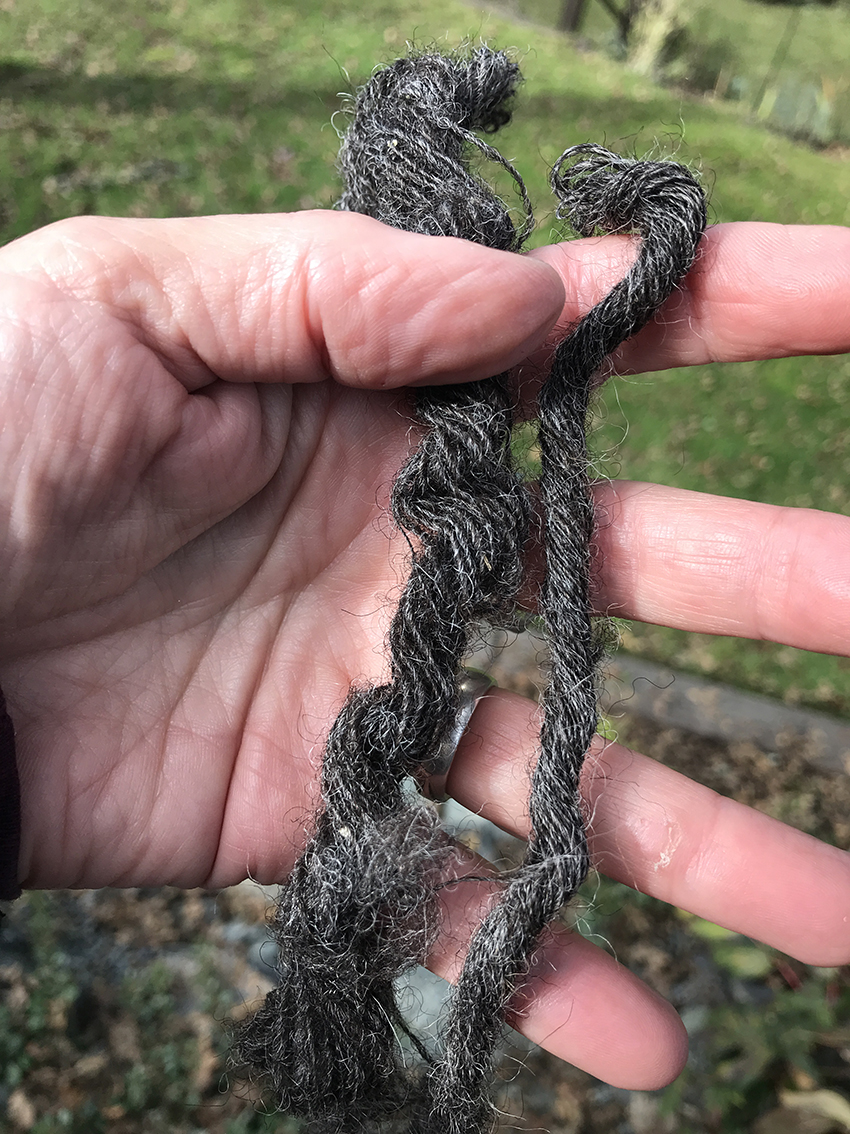
I spun an incompetent singles to make a 2-ply; the 2-ply yarn was almost competent (it lengthened under tension, but slowly) but was easily broken.

‘Almost’ competent 2-ply yarn held between the pins. I can imagine it as candlewick, when the first wax dip would glue the fibres together. But how well would it work? Would it burn?
I put three tea lights in a cast iron pan on low heat on the hob and, when the wax was liquid, I disembowelled one to extract the metal wick holder. I put a length of the cotton grass 2-ply yarn in the holder, put the holder back in the tea light, topped up the wax level and rigged something to hold the rest of the wick upright while the wax cooled. I put another short length of 2-ply to soak up a puddle of wax.
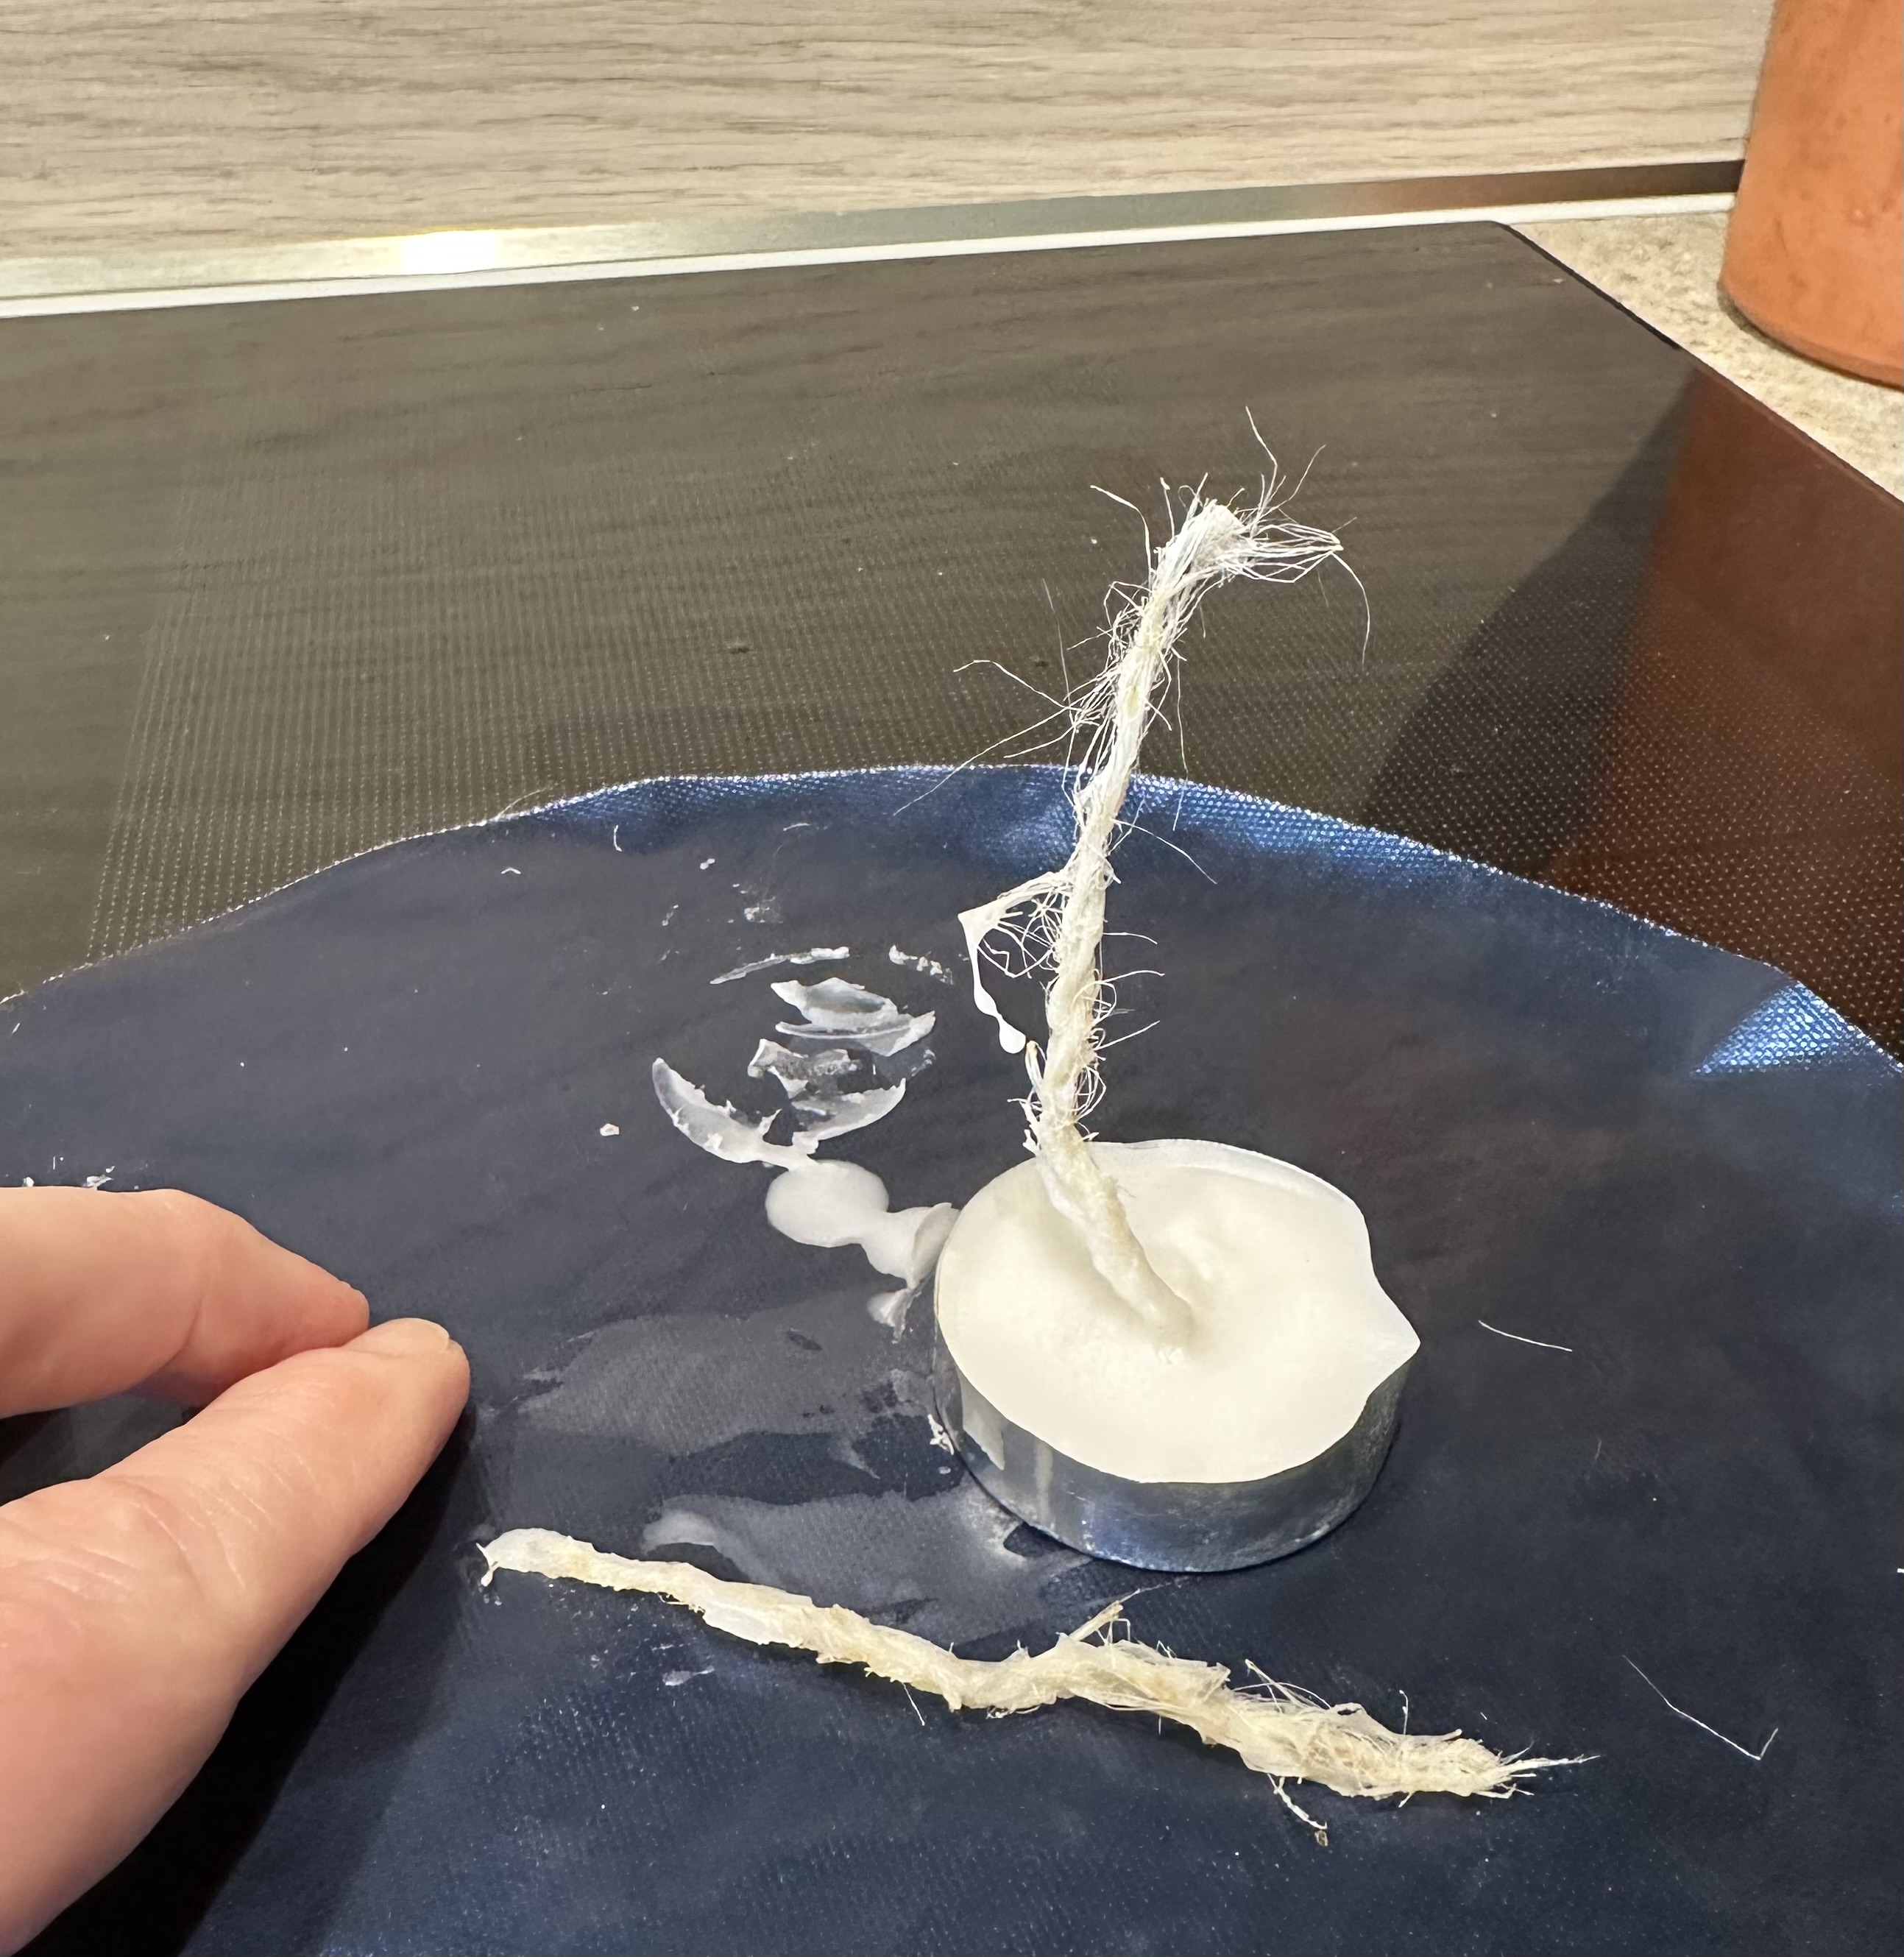
So the fibres hold wax. I trimmed the tea light wick short, asked my husband to take pictures, then struck a match:

It works well. There was quite a lot of black smoke as the flame grew larger, but I’ve seen that from ‘real’ tea lights.
In conclusion: bog cotton is indeed too stiff and brittle to be a good spinning fibre, and probably wouldn’t make a good pillow or paper for the same reasons, but it can be spun into a fragile yarn suitable for candle wicks.