The blue horse is finished. It had been taking shape in my head for several months while we sold the house and a lot of other things in Canada, packing to move back to the UK. Ever since September 2022, when I found the blue horse in my mother’s house.
My mother was a hoarder and had slowly slipped deeper into dementia over decades. It’s not a good combination. Now she was in hospital, unlikely to leave. I flew to Edmonton to help my brother with the initial clearance of the food and other perishables; five full days of emptying cupboards of decades-old food, filling bags with decades of recycling, sorting waist-high stacks of paper, clothing, stained or disintegrating, into ‘keep’ or ‘dispose’ to wait until he had authority to remove things other than rotting food.
I will never forget the smell, the mundane horrors in every room, the repeated shocks as long-forgotten finds brought long-buried memories to the surface. Three bottles of the awful purple liqueur she bought for teenage me, now leaking crystallised sugar into Chinese lacquer cabinets. The Ernestine Tahedl that hung above the couch in St Albert, then on the stairs in the next house. A glass like the one she threw at my stepfather, scotch running down the wall. And in a kitchen drawer, battered but still familiar, the precious blue Dala horse that had lived out of reach on top of the refrigerator in St Albert. I remembered the shape so clearly, the bright colours, the blue. I wanted it so much but at the same time I wanted to possess nothing from that house, nothing to tie me to the present horror. I cleaned the horse and left it.
@@@
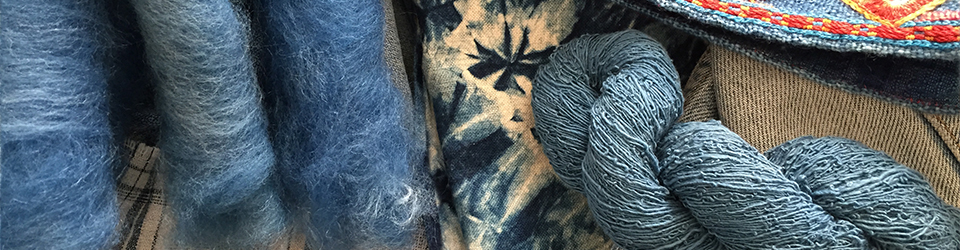
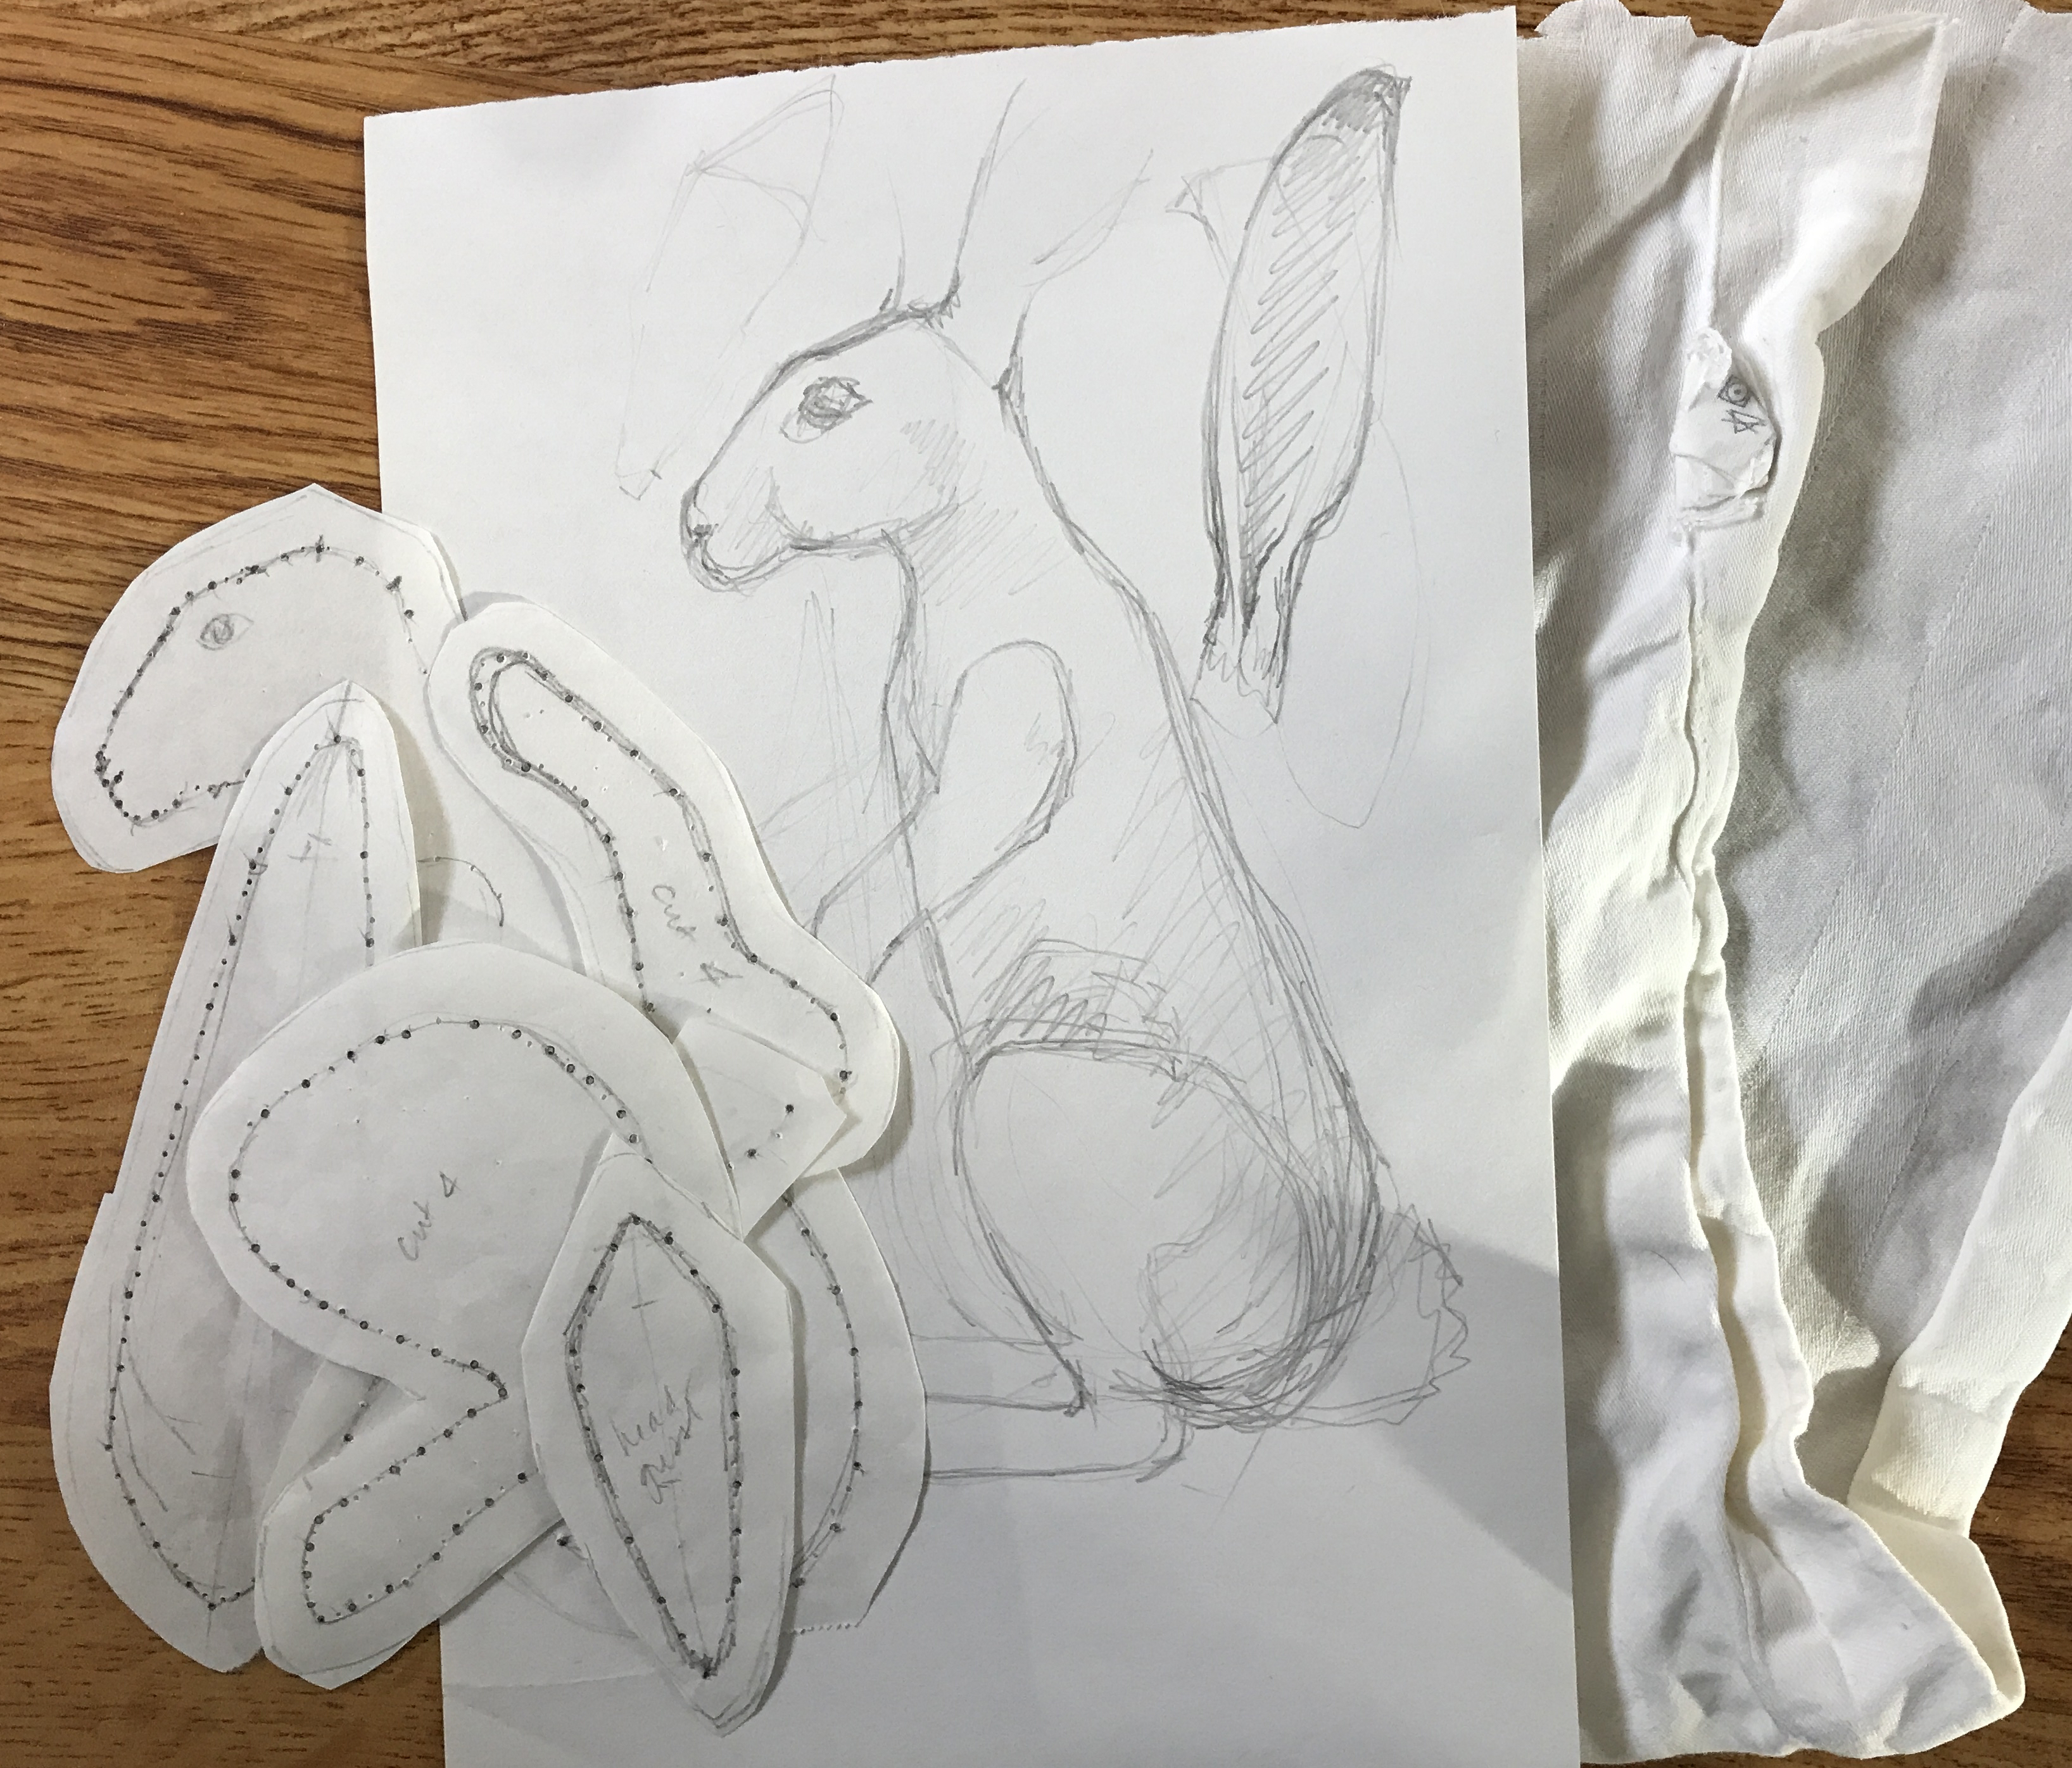
I thought about how to make a blue horse. It would be fabric, because that’s what I’ve taught myself to shape. What sort of fabric, how to cut the pattern pieces to make the right shape. While we hunted for a house in the UK, moving from holiday let to holiday let, I concluded it should be some sort of wool and bought a metre of remaindered blue boiled wool coating from a fabric warehouse. It’s not the blue I was looking for, but it was blue enough. I drew the shape I wanted as a side view, then imagined the pieces needed to make it three-dimensional and drew those. I cut the main pieces to start, the body sides and the back, adding a seam allowance as I cut.

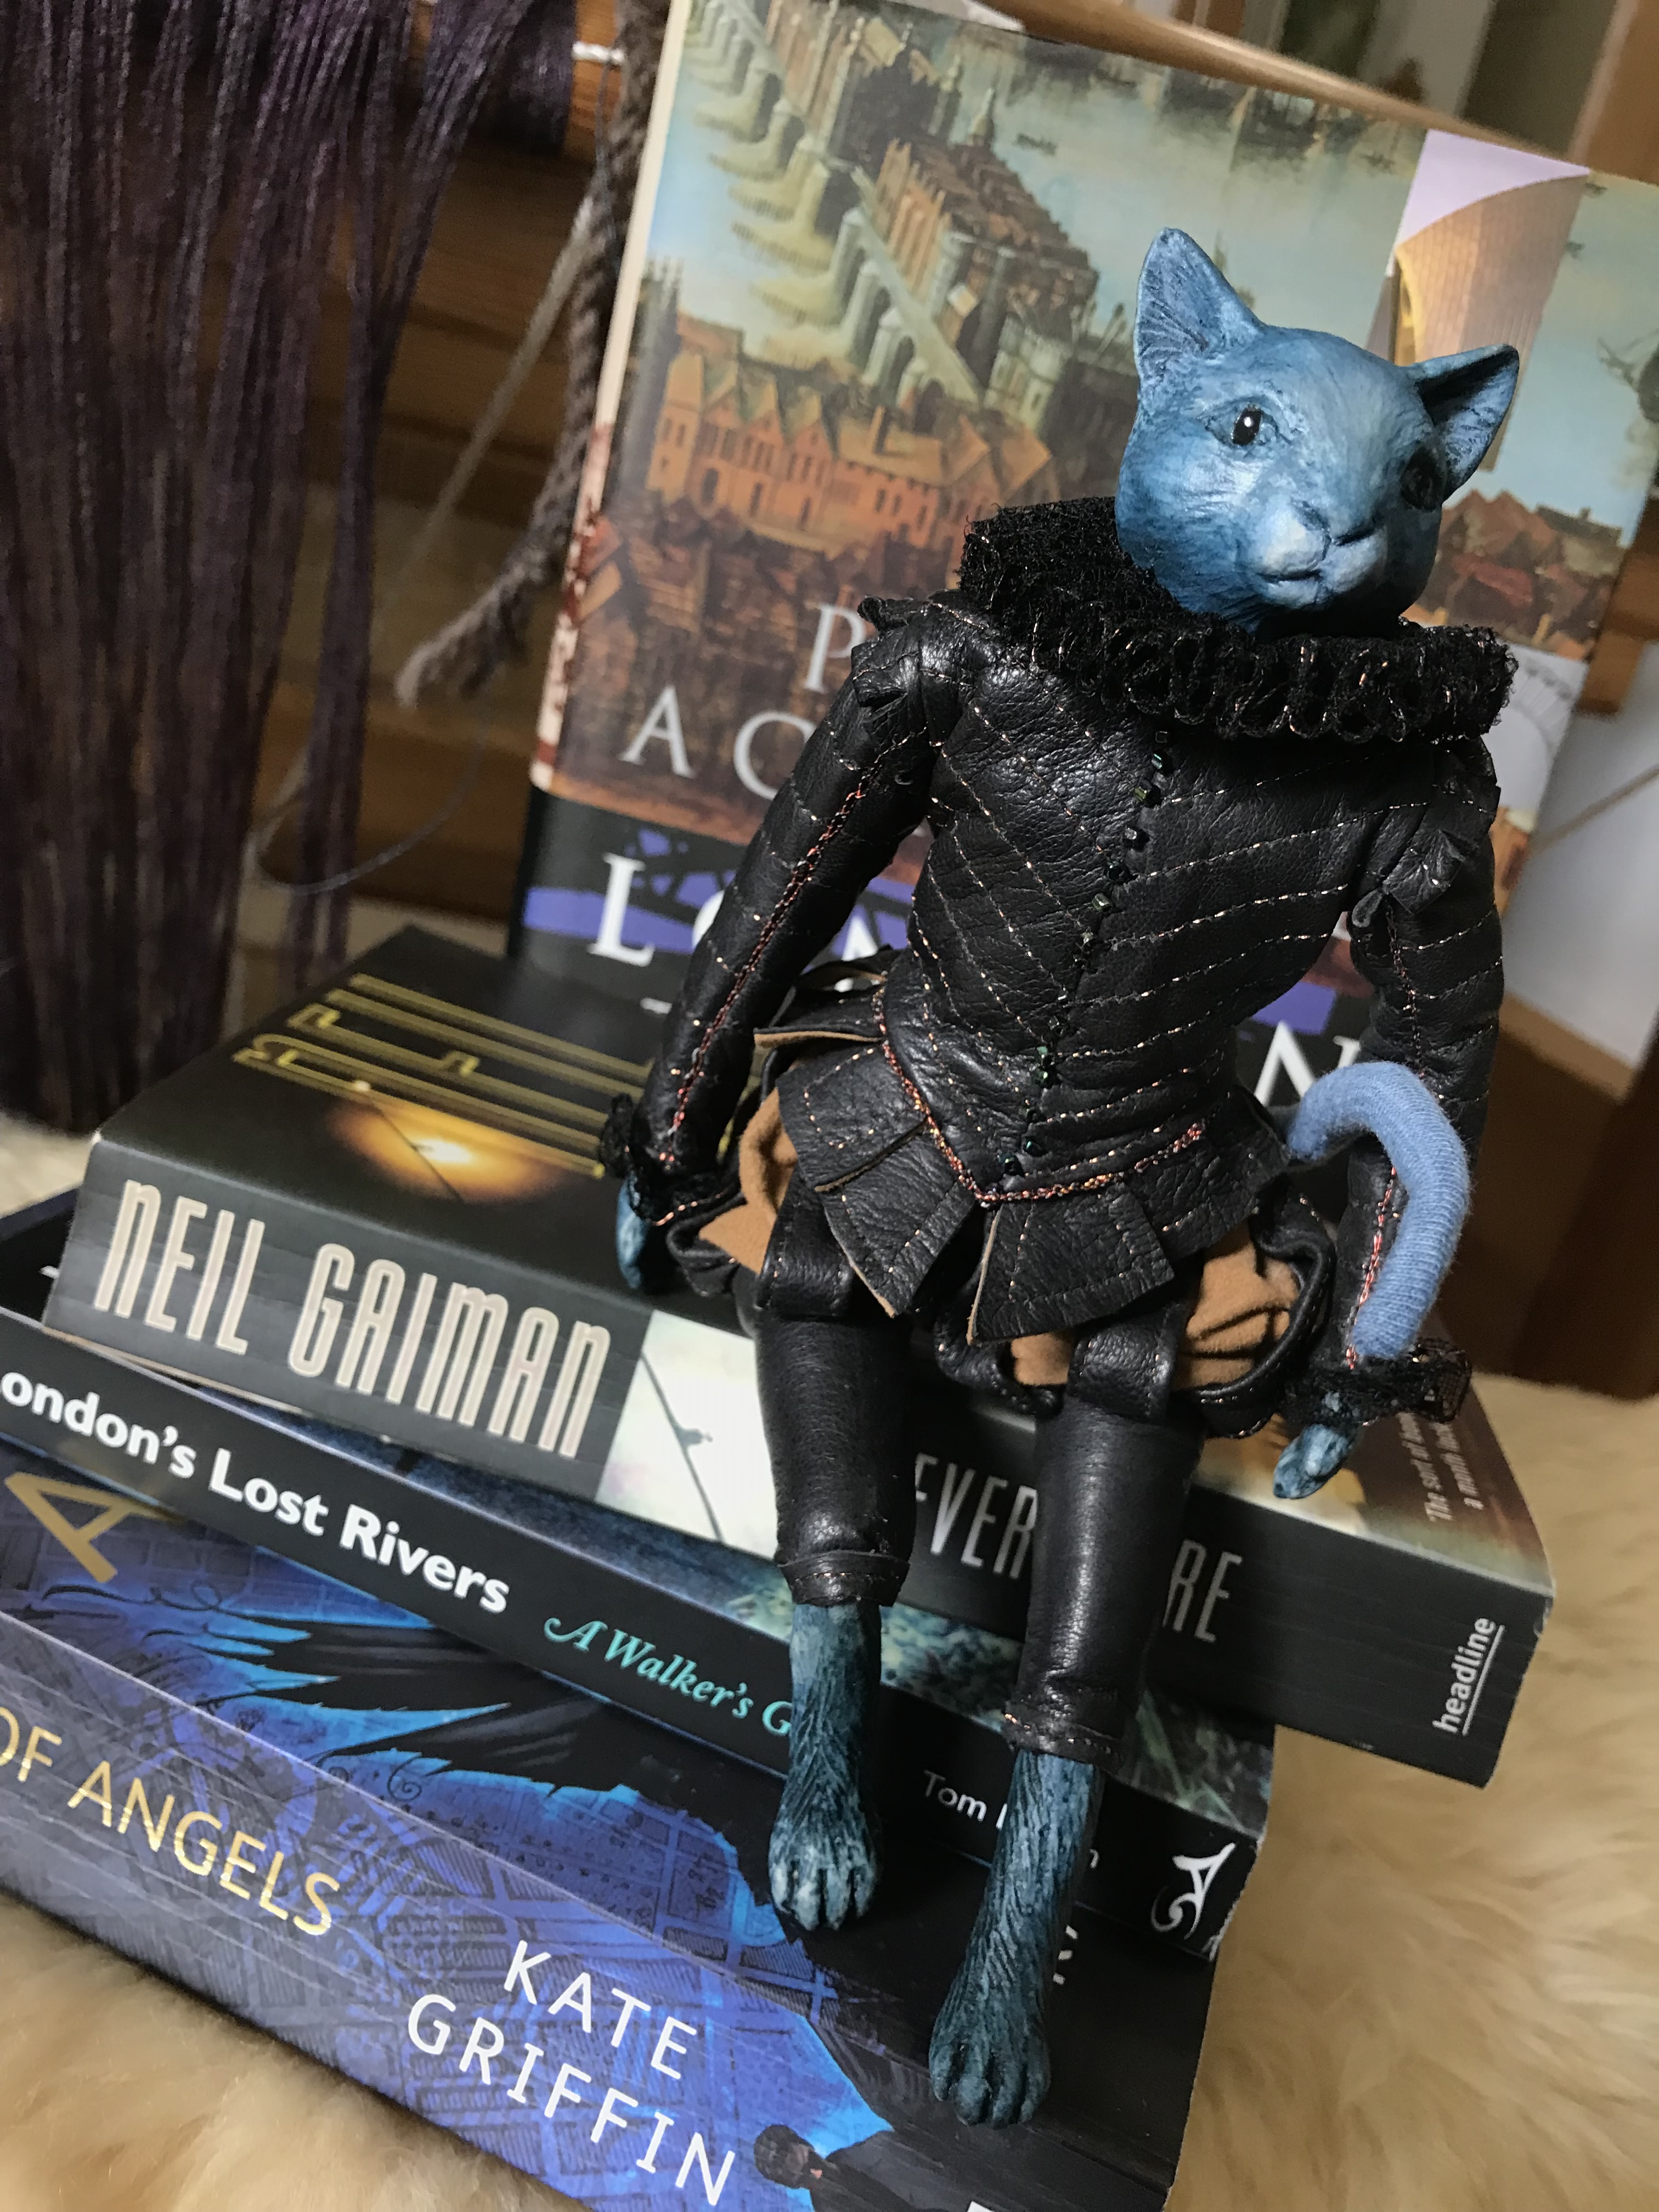
Sample stitching made clear that a ‘normal’ seam stitched along the figure outline with seam allowances turned inward was far too bulky for this, so I carefully trimmed off the seam allowance and looked for alternative stitches to secure the pieces held edge-to-edge. The one I chose from Pinterest may be a variant of ‘Open Cretan’. I had a small selection of embroidery floss brought for a different project; I chose a slightly variegated blue that mostly matches the fabric. The stitches show; it’s a slightly Frankenstein horse, but it’s honest. And it came alive in my hands as I worked. Not the stolid wooden real horse but a lively softer horse, its head tilted as it looks at something interesting.

Dala horses are folk art from Sweden (there are similar horses from other Scandinavian countries). The 20th-century versions are glossy, brightly-coloured with swirling painted decoration in white, green, yellow, red and blue. I tried to replicate the paintwork on mine; it was wrong, too bright, too much a bad copy. I tried some artistic primitive decoration, copper silk spirals; it might work well for another horse, another time but was insufficiently Dala. I thought again. This isn’t a REAL Dala horse, it’s a memory made real. A ghost, of sorts. So I stitched hints of the Dala decoration in shades of blue suitable for a memory. Chain stitch is easy to work on felt and is extremely effective. On the neck of the horse the curves not only flatten the area that is the mane, but make the fabric wave as if it were moving.

My much younger sister sent me a text when she saw one of the progress photos, unembellished, on Facebook. “That looks like the blue horse!” she said, “I found it in the kitchen of mum’s house and brought it home, I remember it in the kitchen when I was little”. She sent me pictures of the battered and worn blue horse, a memory of her childhood as it is of mine. Now there are two blue horses.

I thought perhaps the blue horse should have a rider, but once the rider was shaped (felted merino, no armature) enough to offer up it was clear the horse carries only memories. So now the rider waits for me to think of something else to do.

I have a lot of blue boiled wool left. Something else is bound to want to become real.


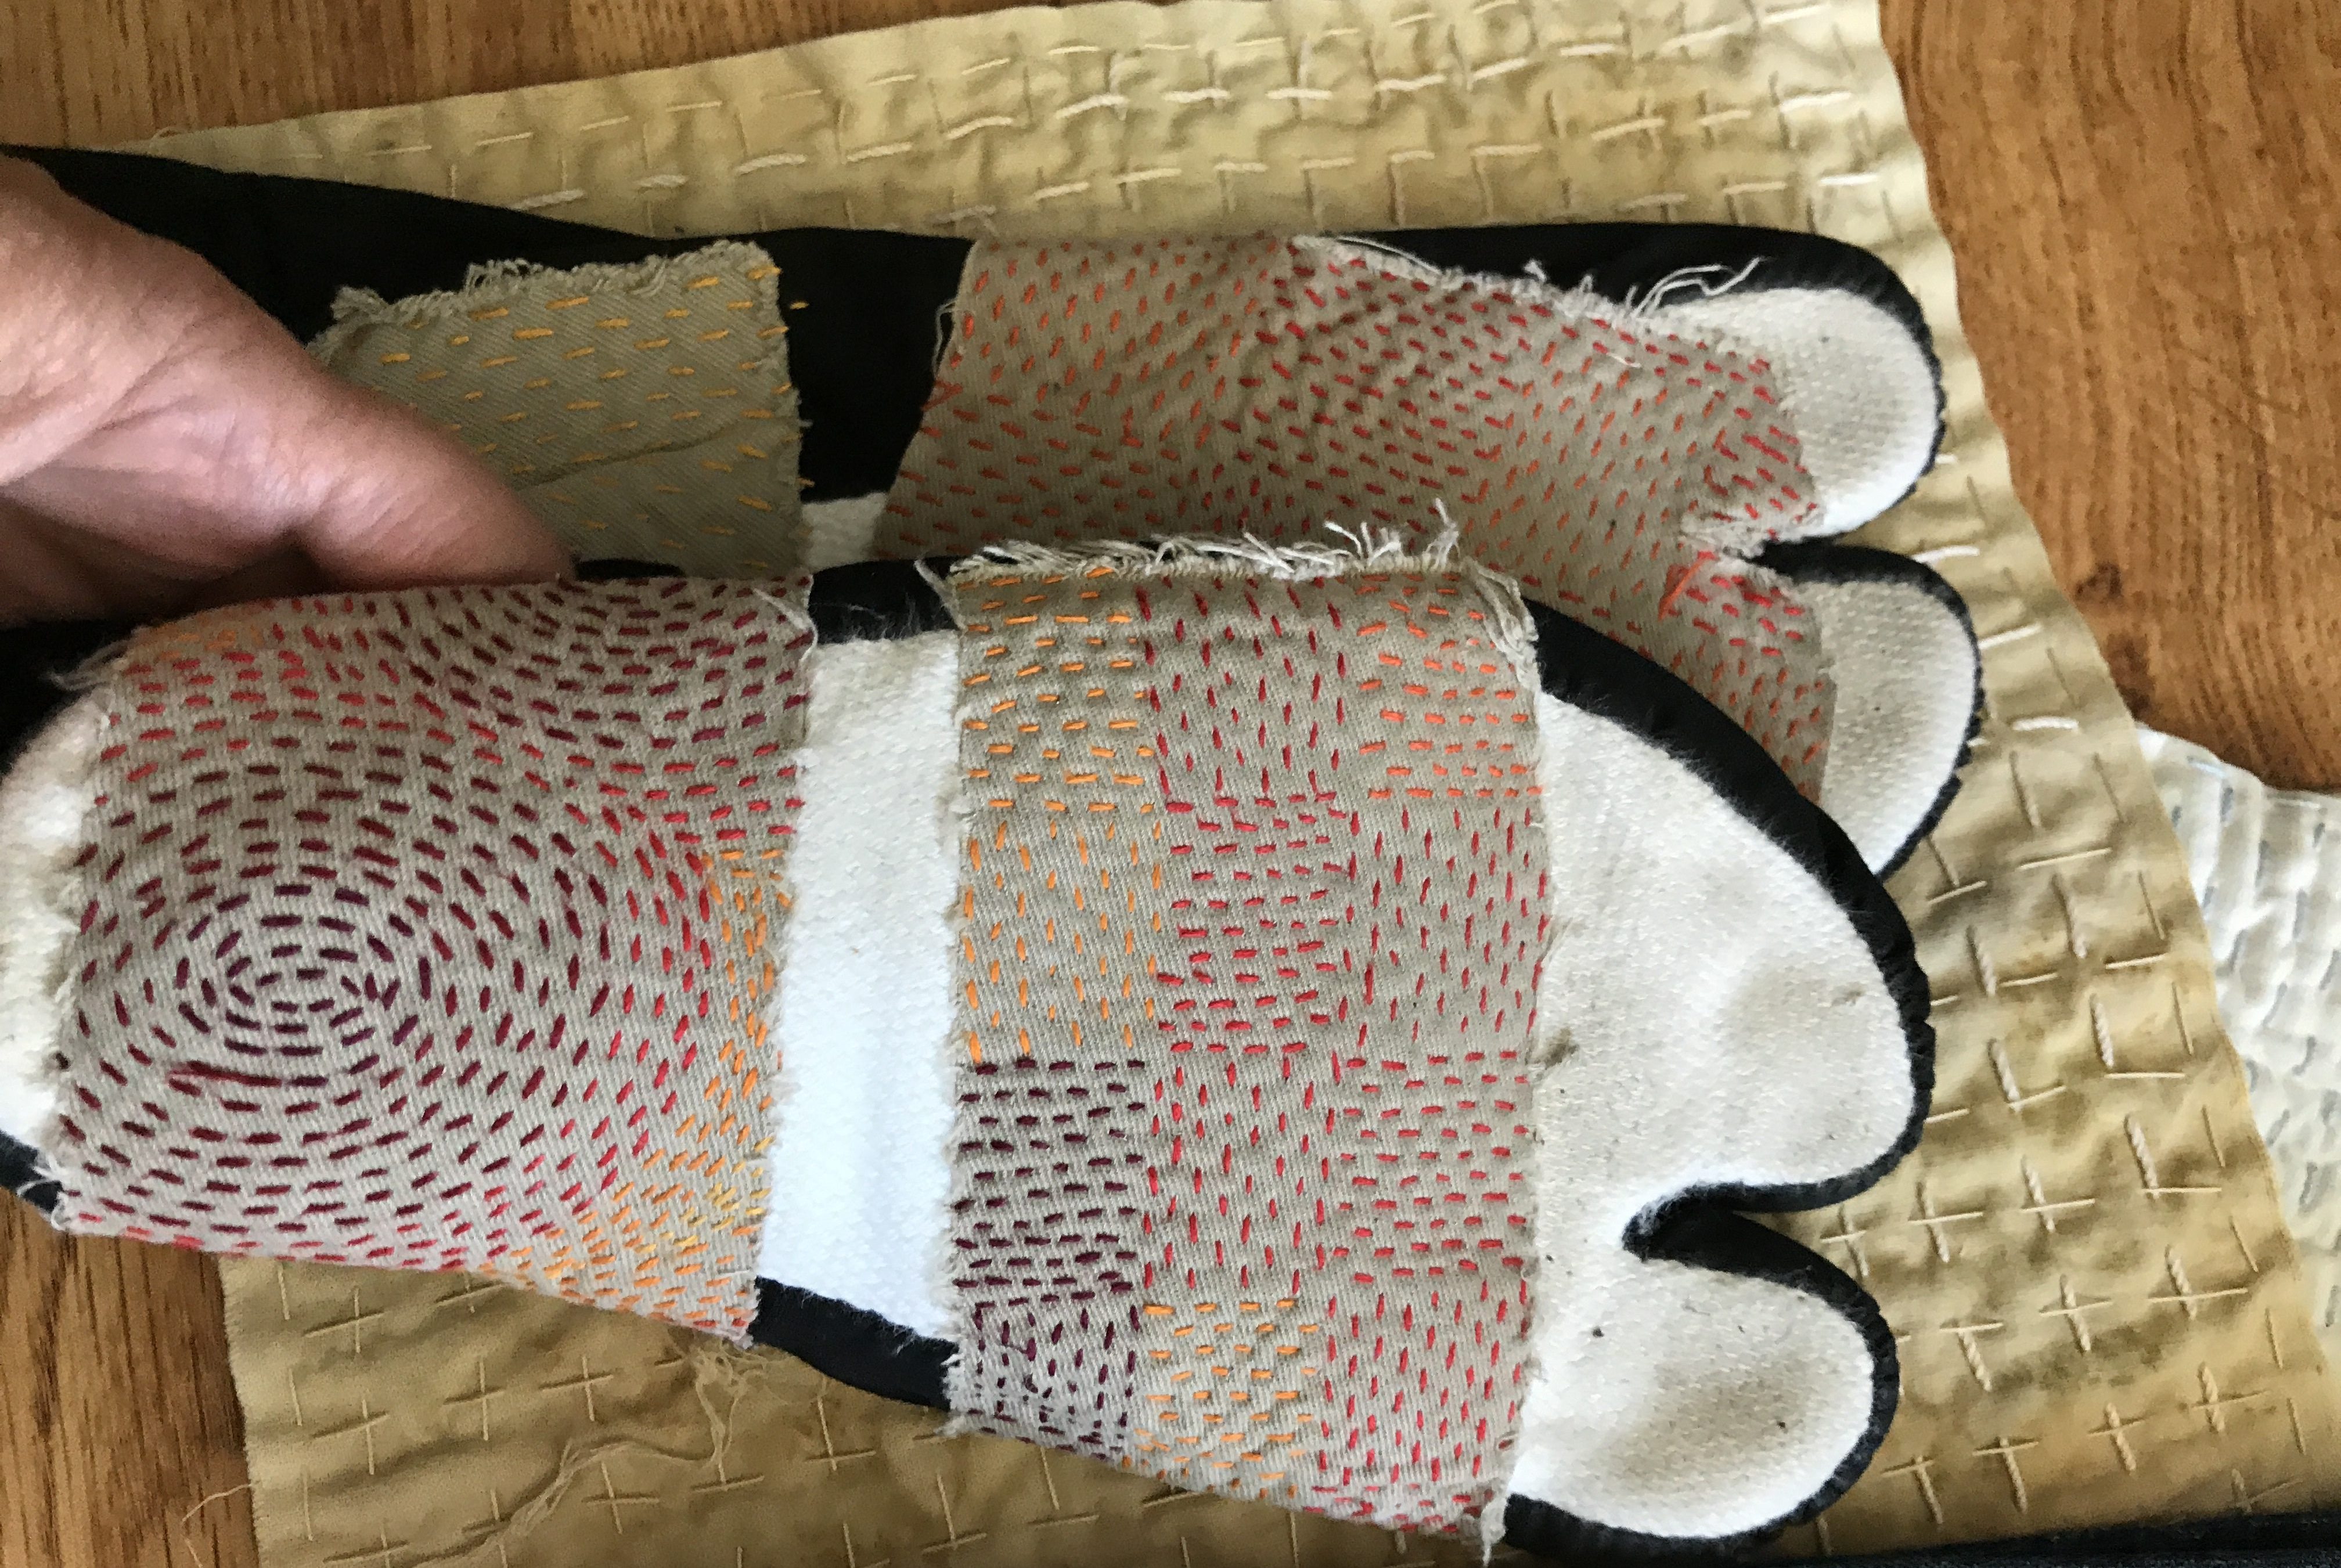


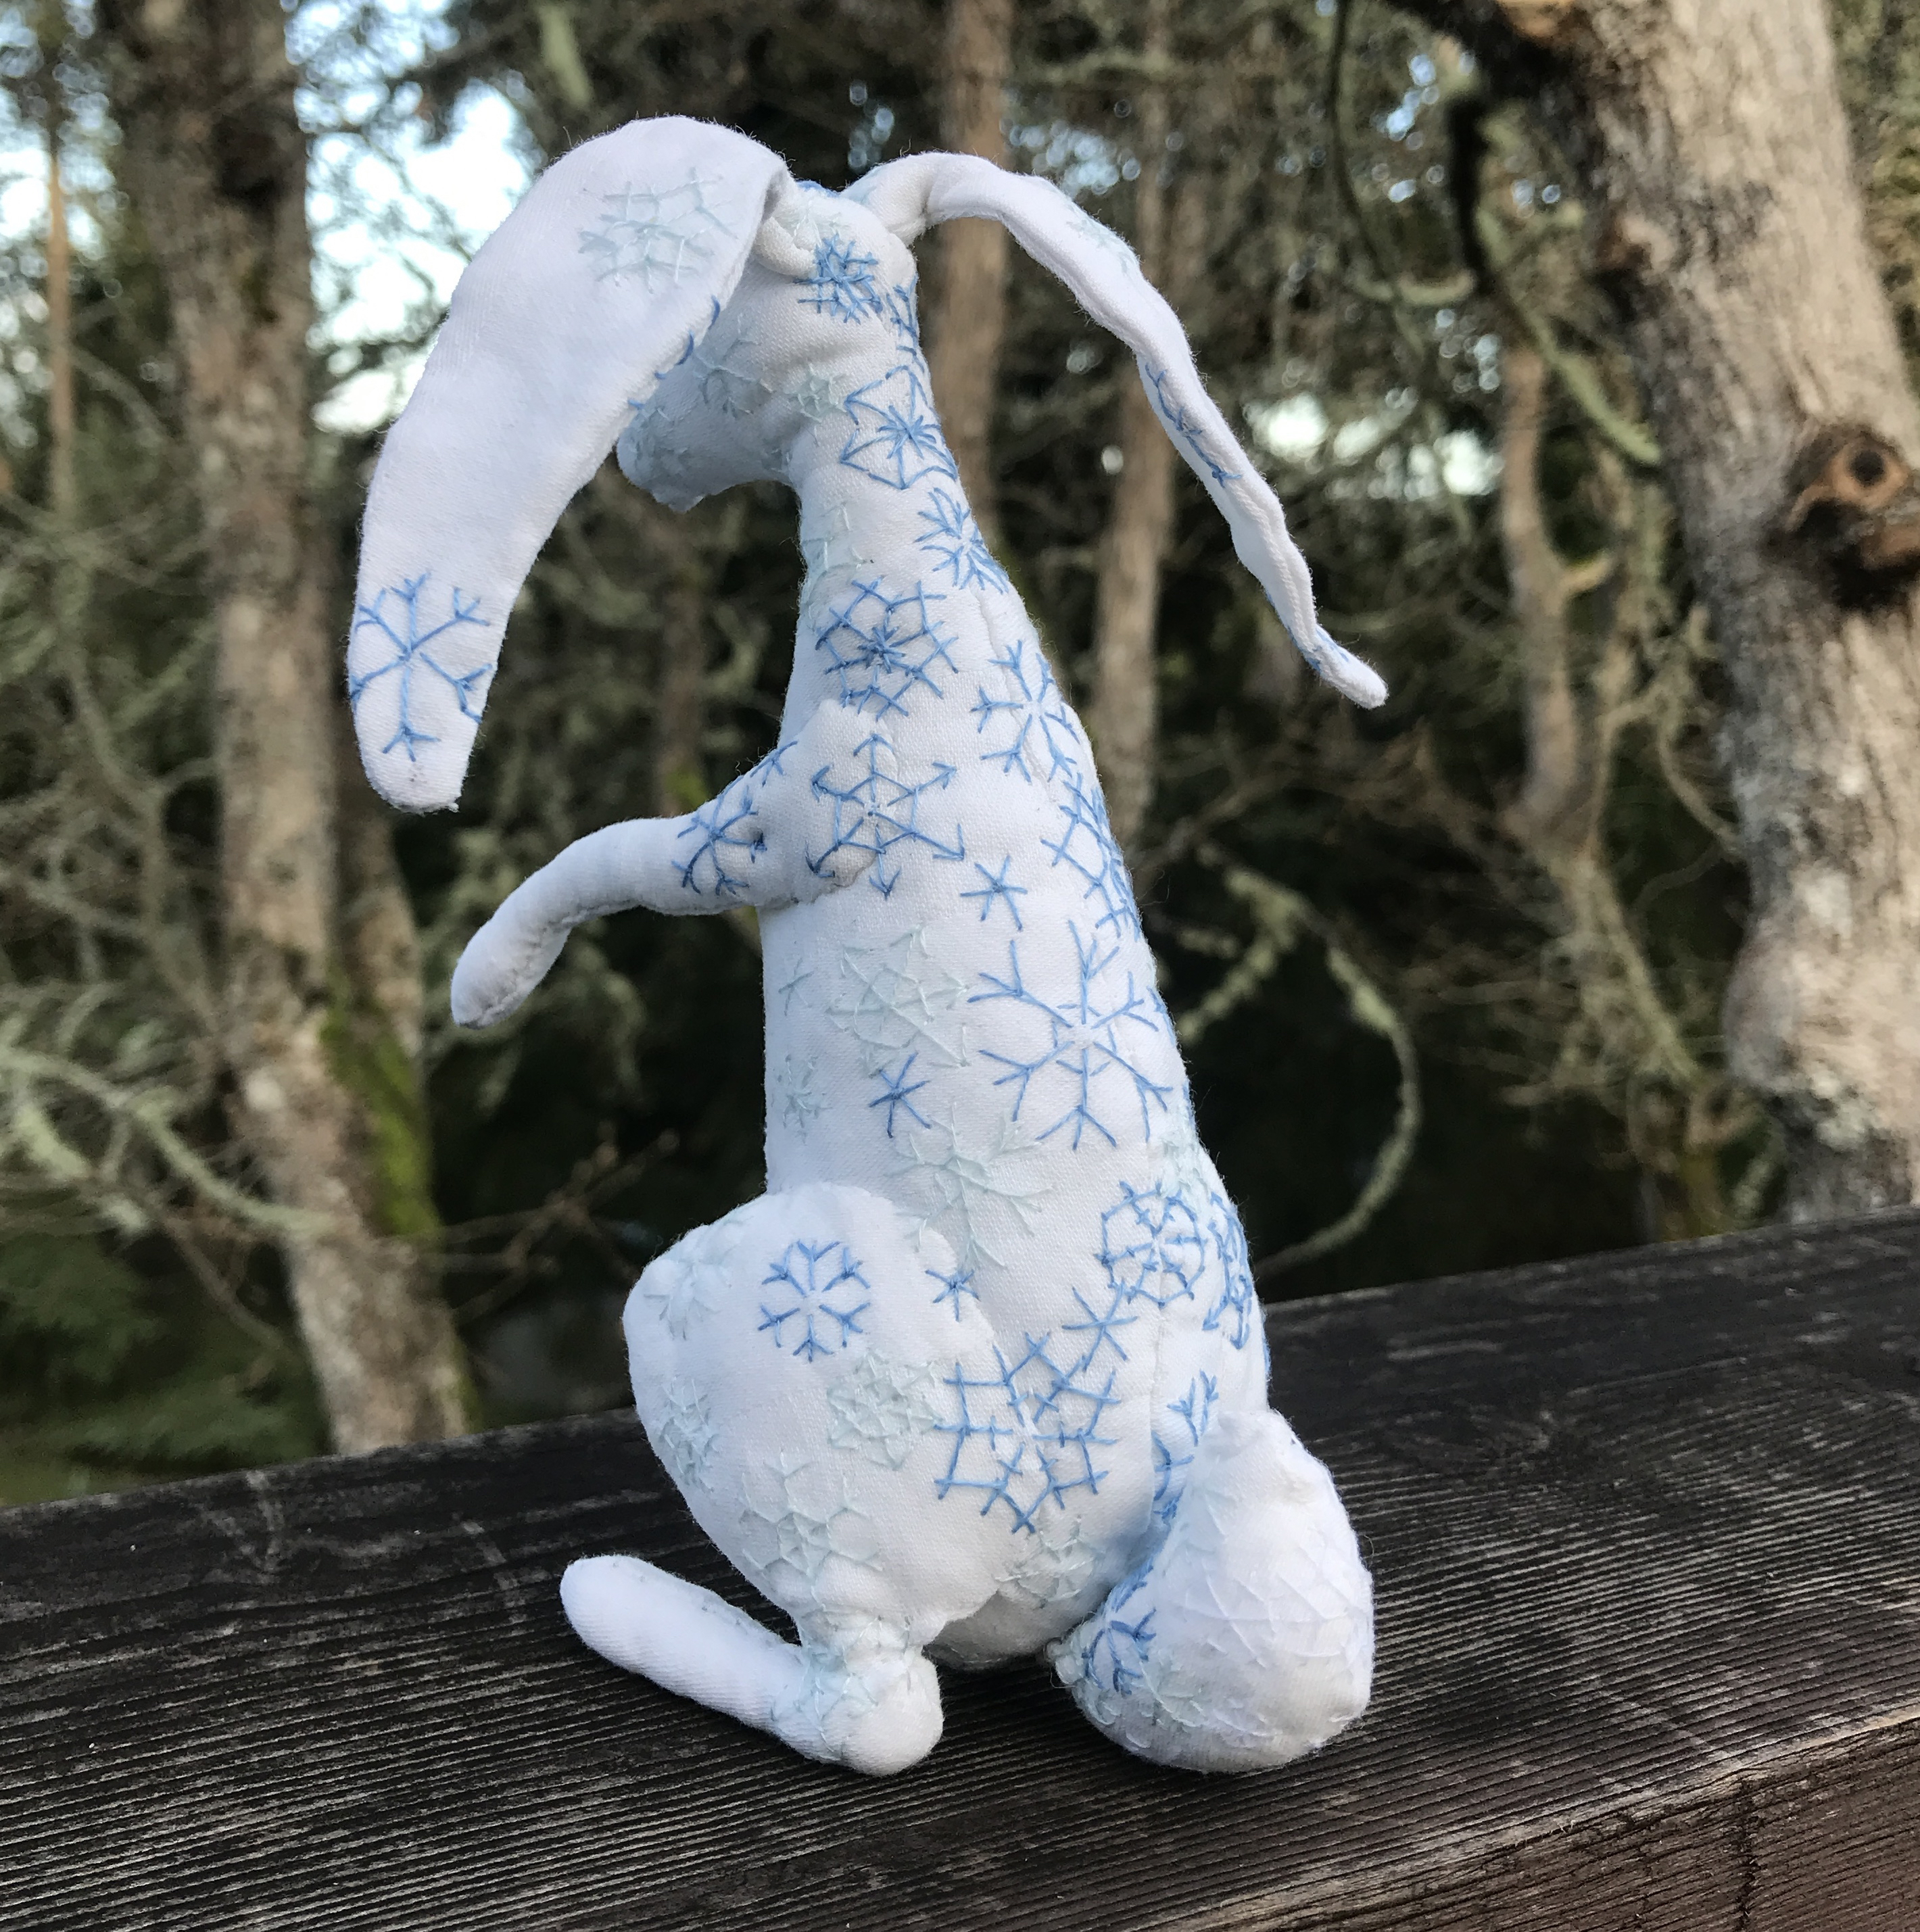


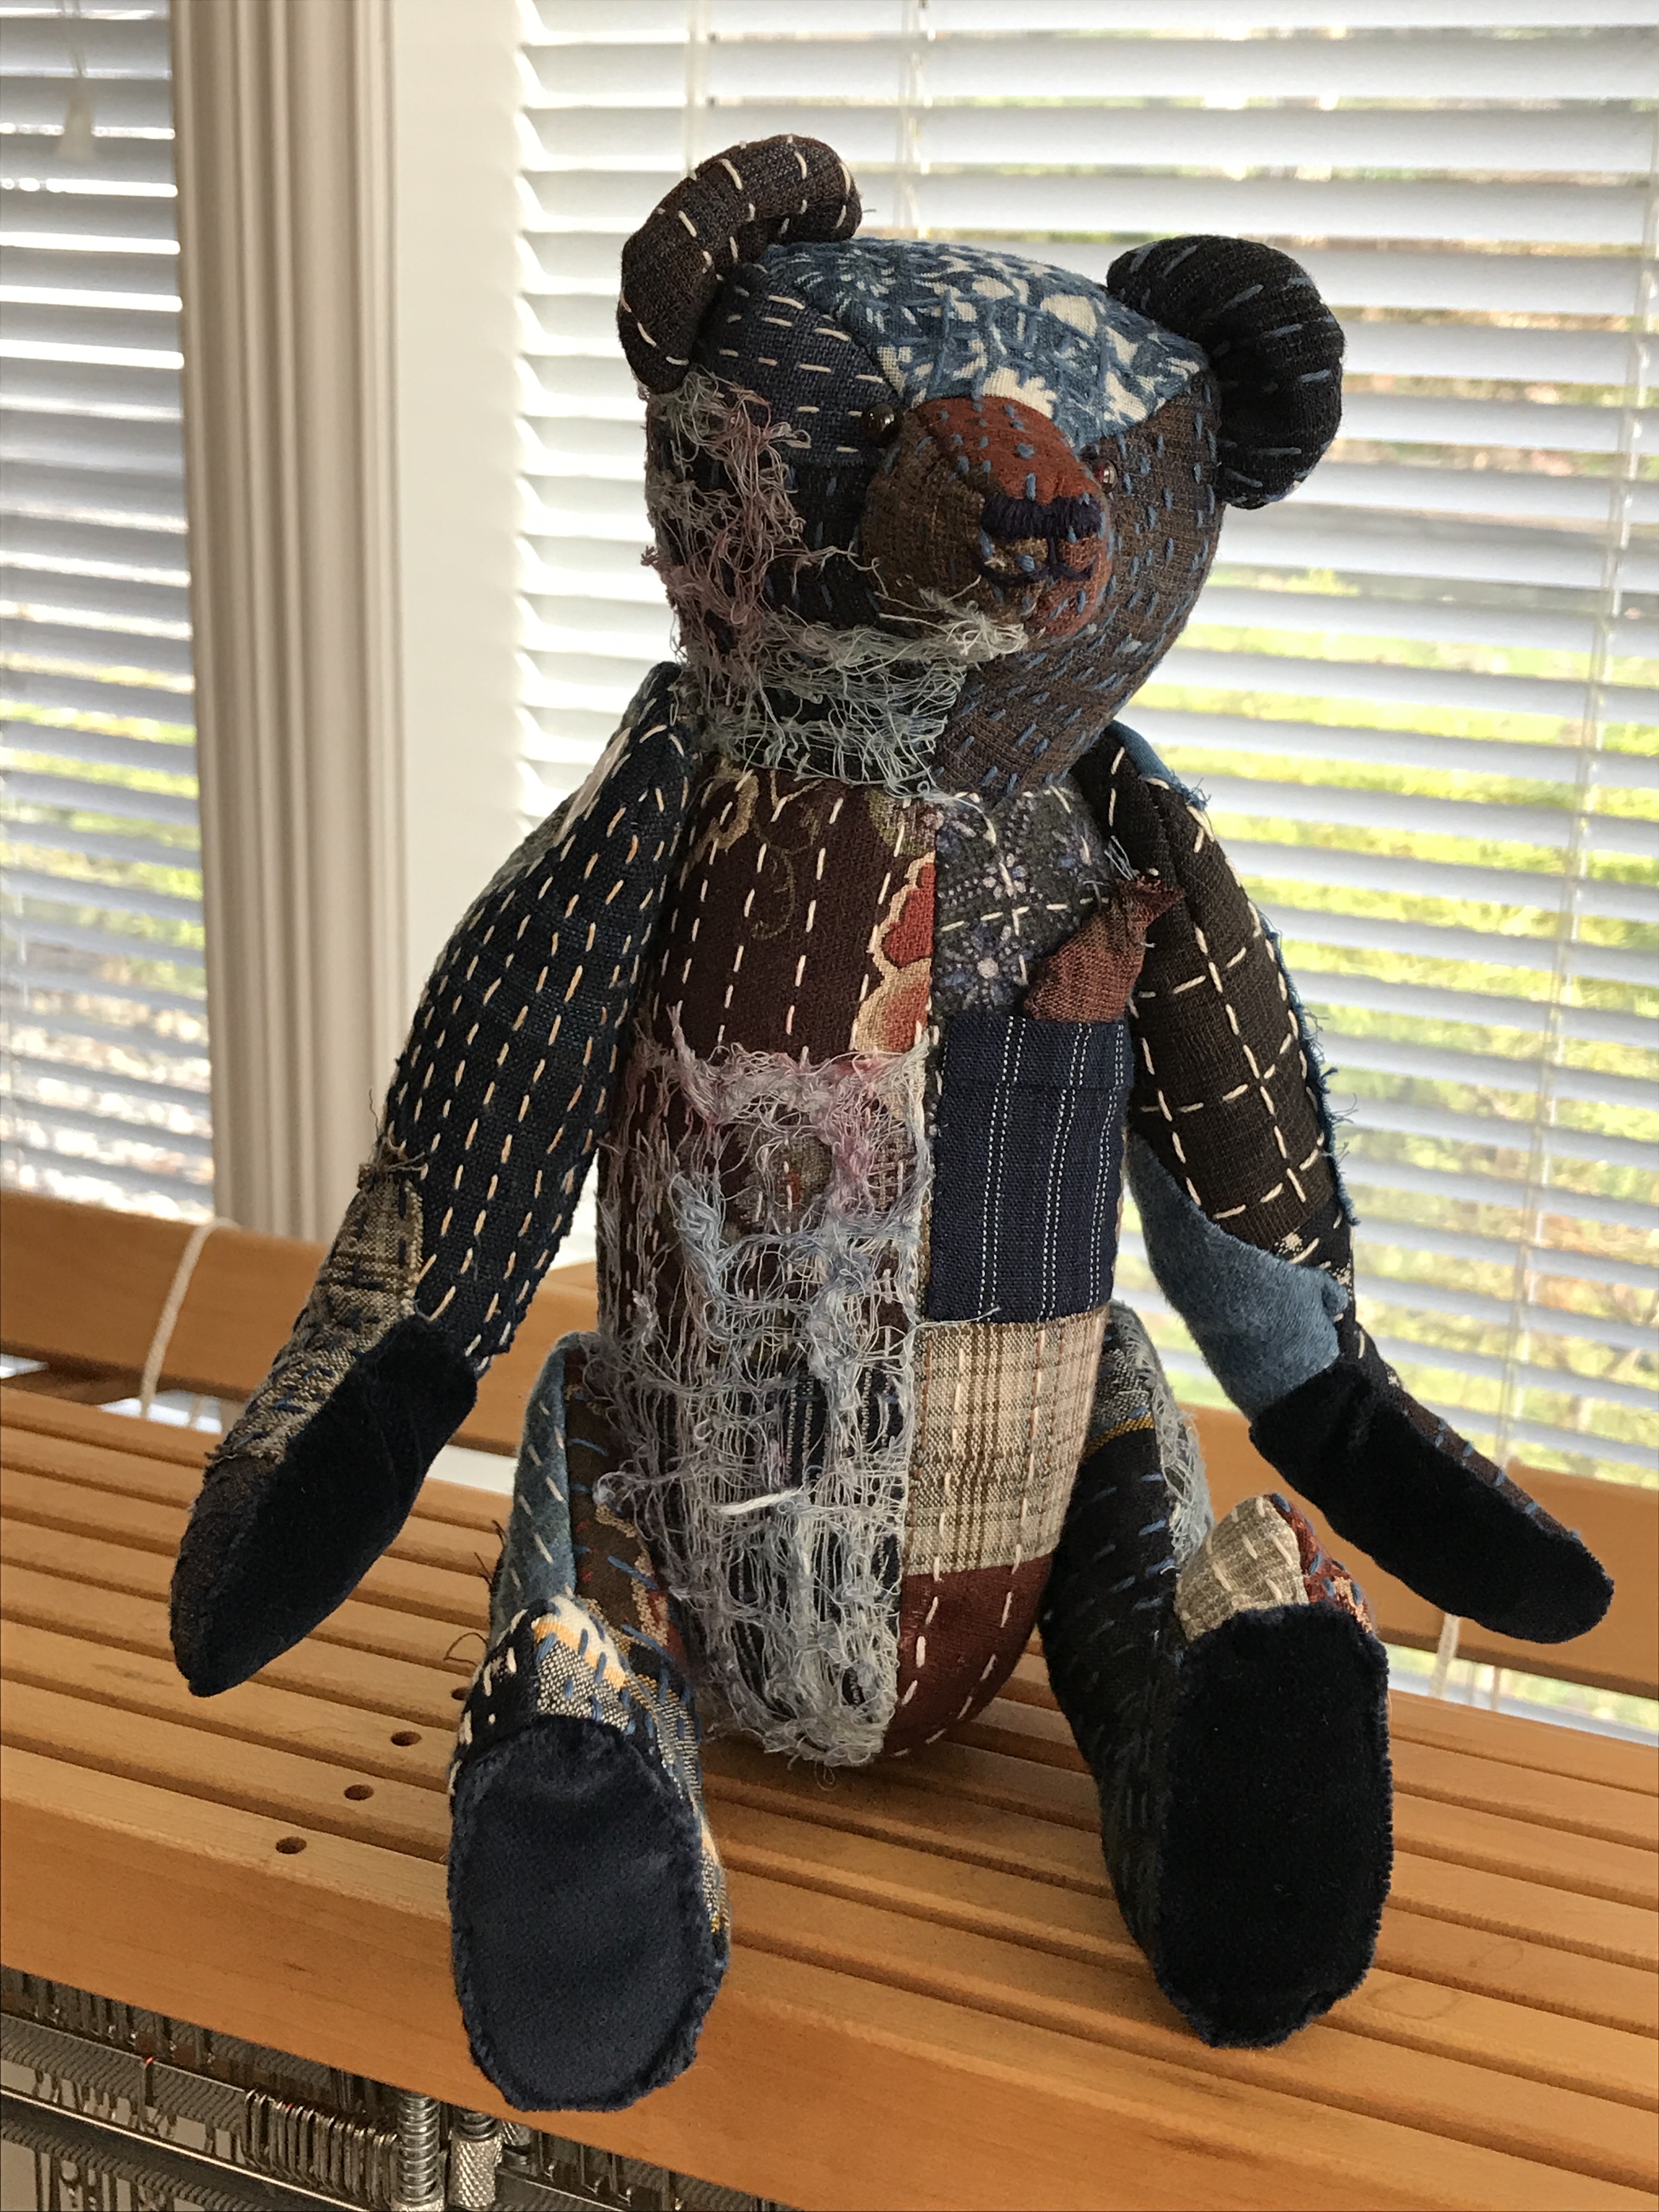


 Various shades of blue embroidery thread in blocks of stitching. I included one of the remaining fragments of my favourite fabric, and left a circle clear of stitching for a semamori motif.


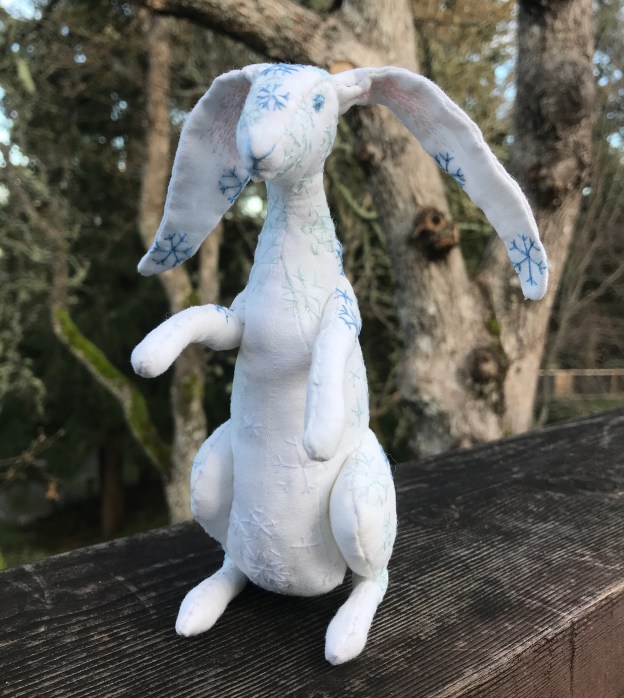
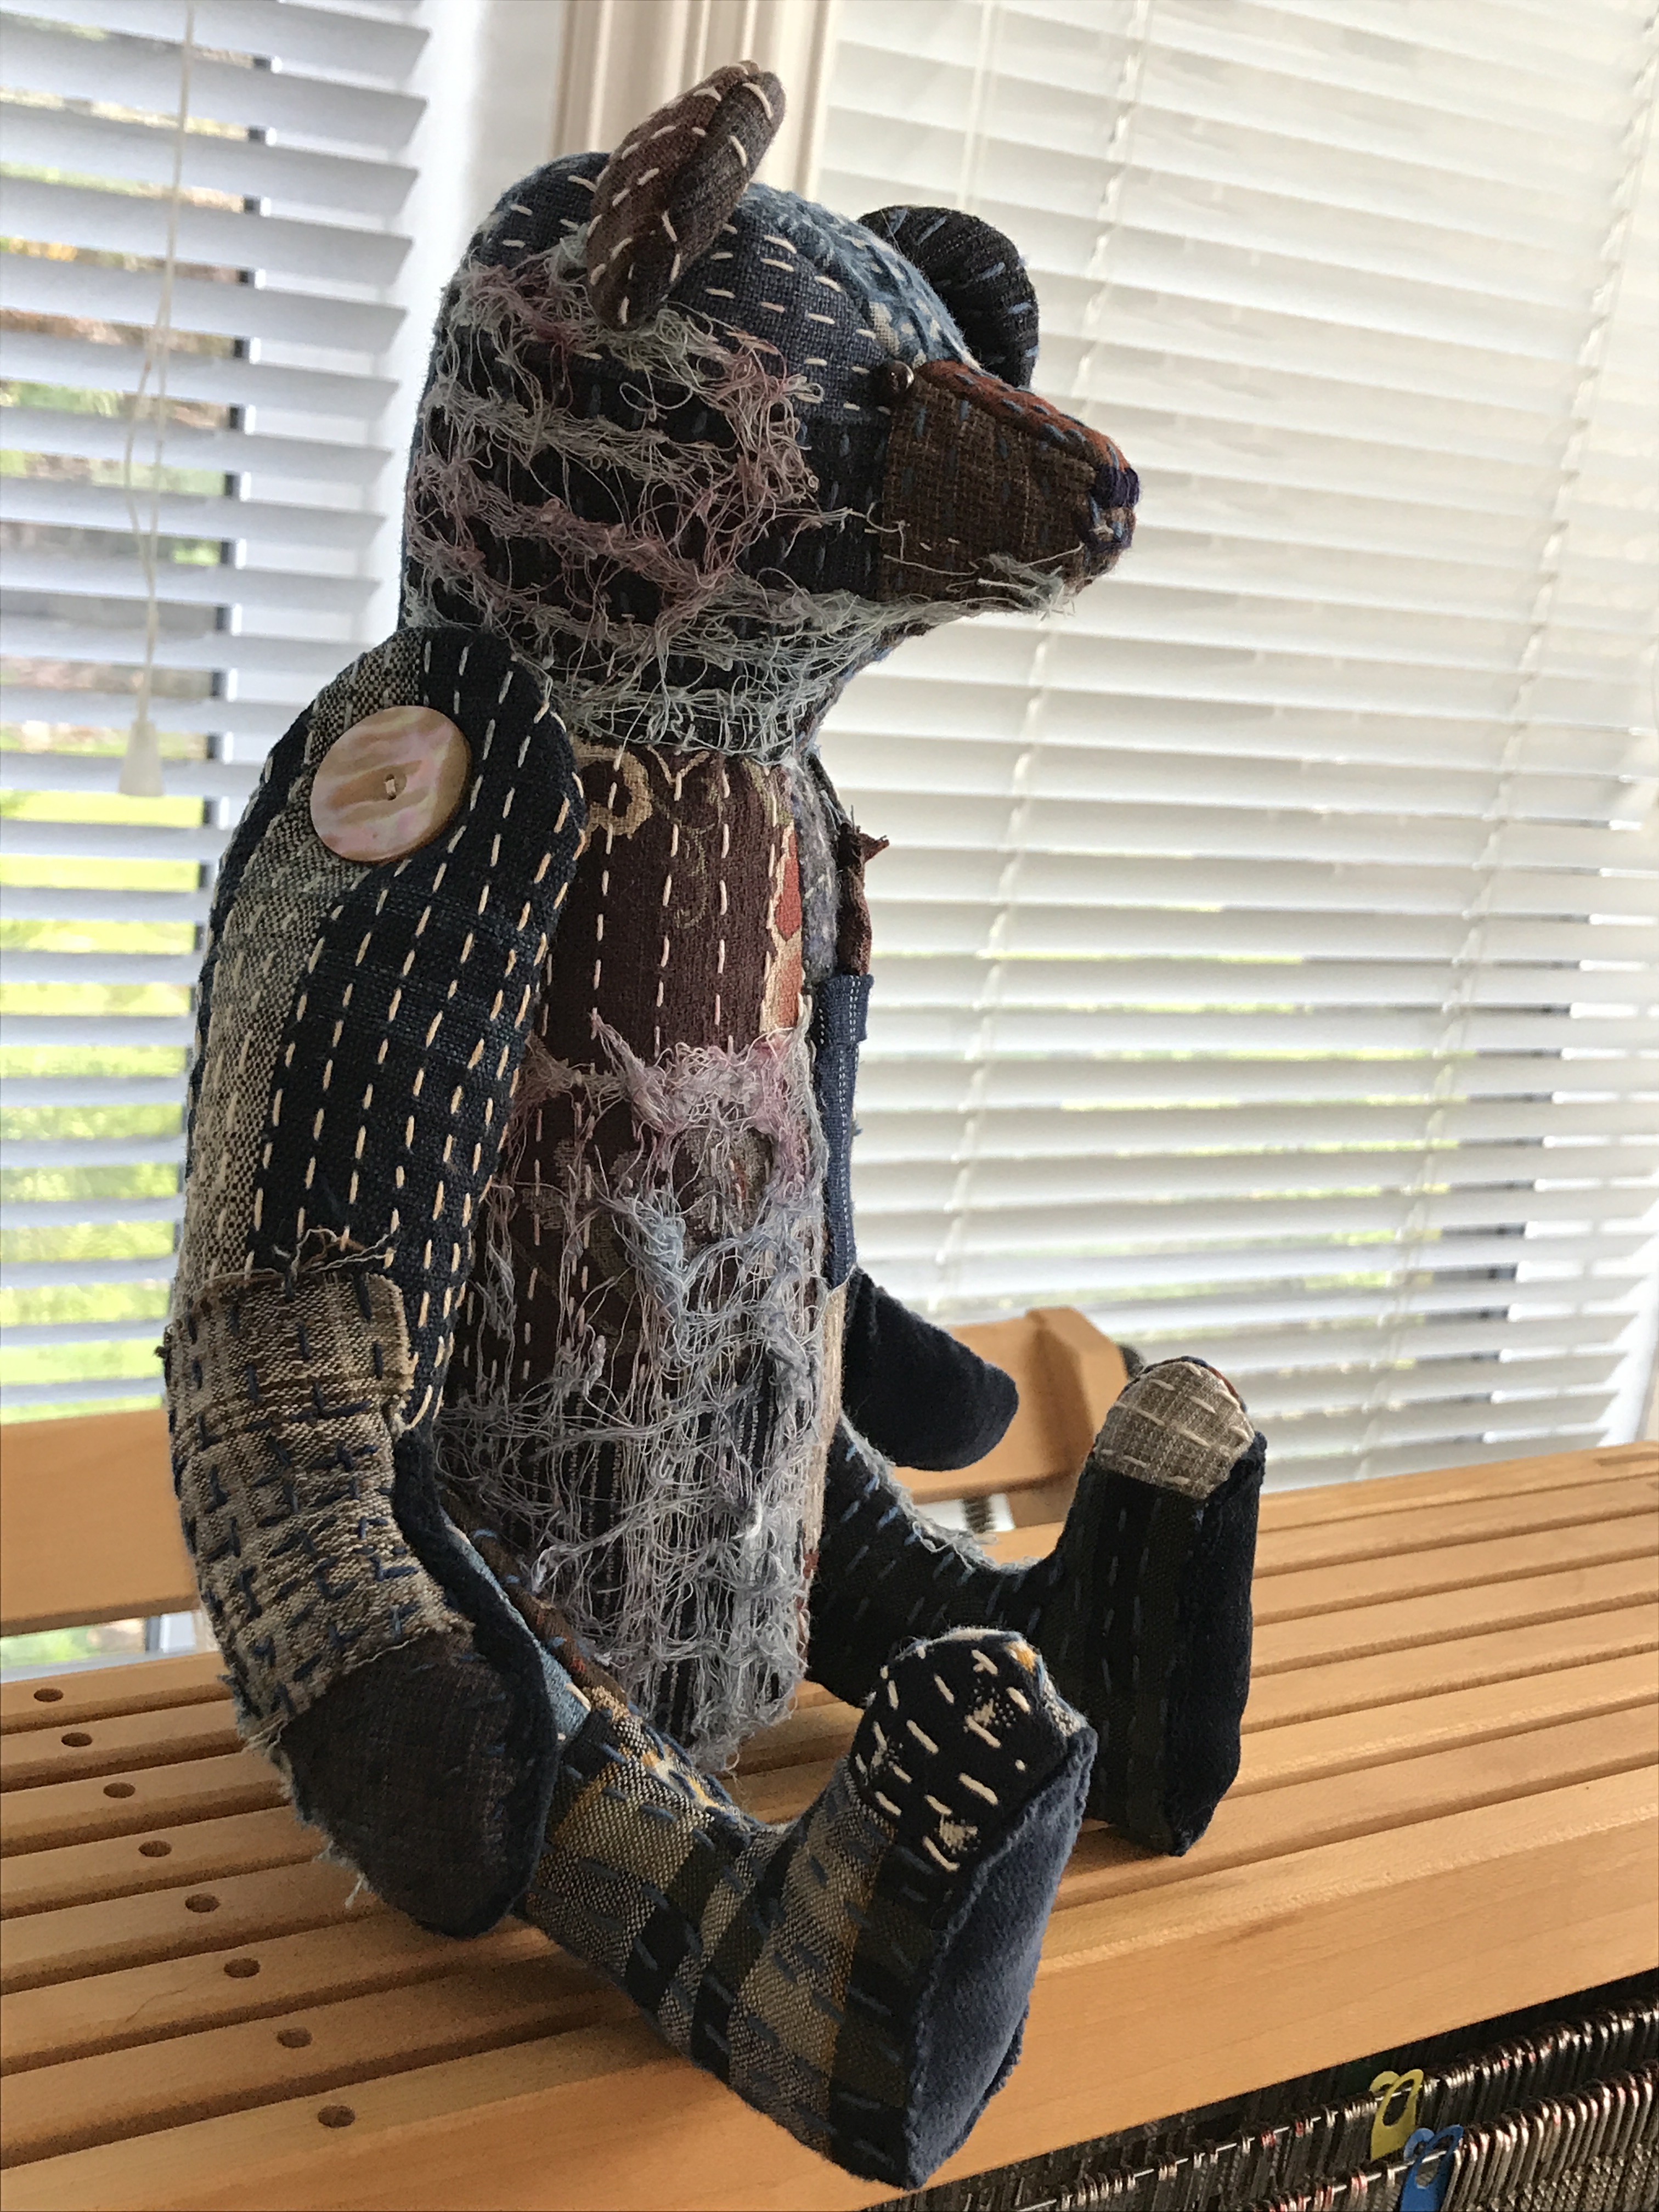
 This shows the details but the colours are dark and lifeless thanks to the dim British winter light.


