In March 2020, just before COVID, he and I went to New York, sharing one carry-on bag (we travel light and fast). I’ve just checked my calendar to see how long we were there; in my memory it’s both forever and no time at all, but in fact it was an intense fun- and food-filled ten days. One was spent walking from our hotel in The Bowery to see Japanese textiles at Sri Threads, with lunch at a Polish restaurant that we still remember for fabulous food and our first Żywiec beer. I’d been following Stephen @Sri for years and his collection did not disappoint. The wisteria bast fabric, the museum-grade boro were beyond my means, but I brought home some wonderful and meaningful textiles including a worn but very beautiful sakiori obi. My plan was to cut it and make a series of small bags to showcase the fabric, but I found I just could not put the scissors to it. Not just because it’s a wonderful long beautiful thing, but because it was still a thing. It wasn’t so worn that it couldn’t be used in its entirety. And also because this was made by someone’s hands as that single thing. Someone dismantled the garments for fabric, cut strips, wound that warp, warped the loom, chose or simply took strips to weave as weft. There is no repeat. When I’ve woven random yarns like this I’d sometimes pause to admire some unexpectedly beautiful progression: did the person who wove this pause, and for which colours?
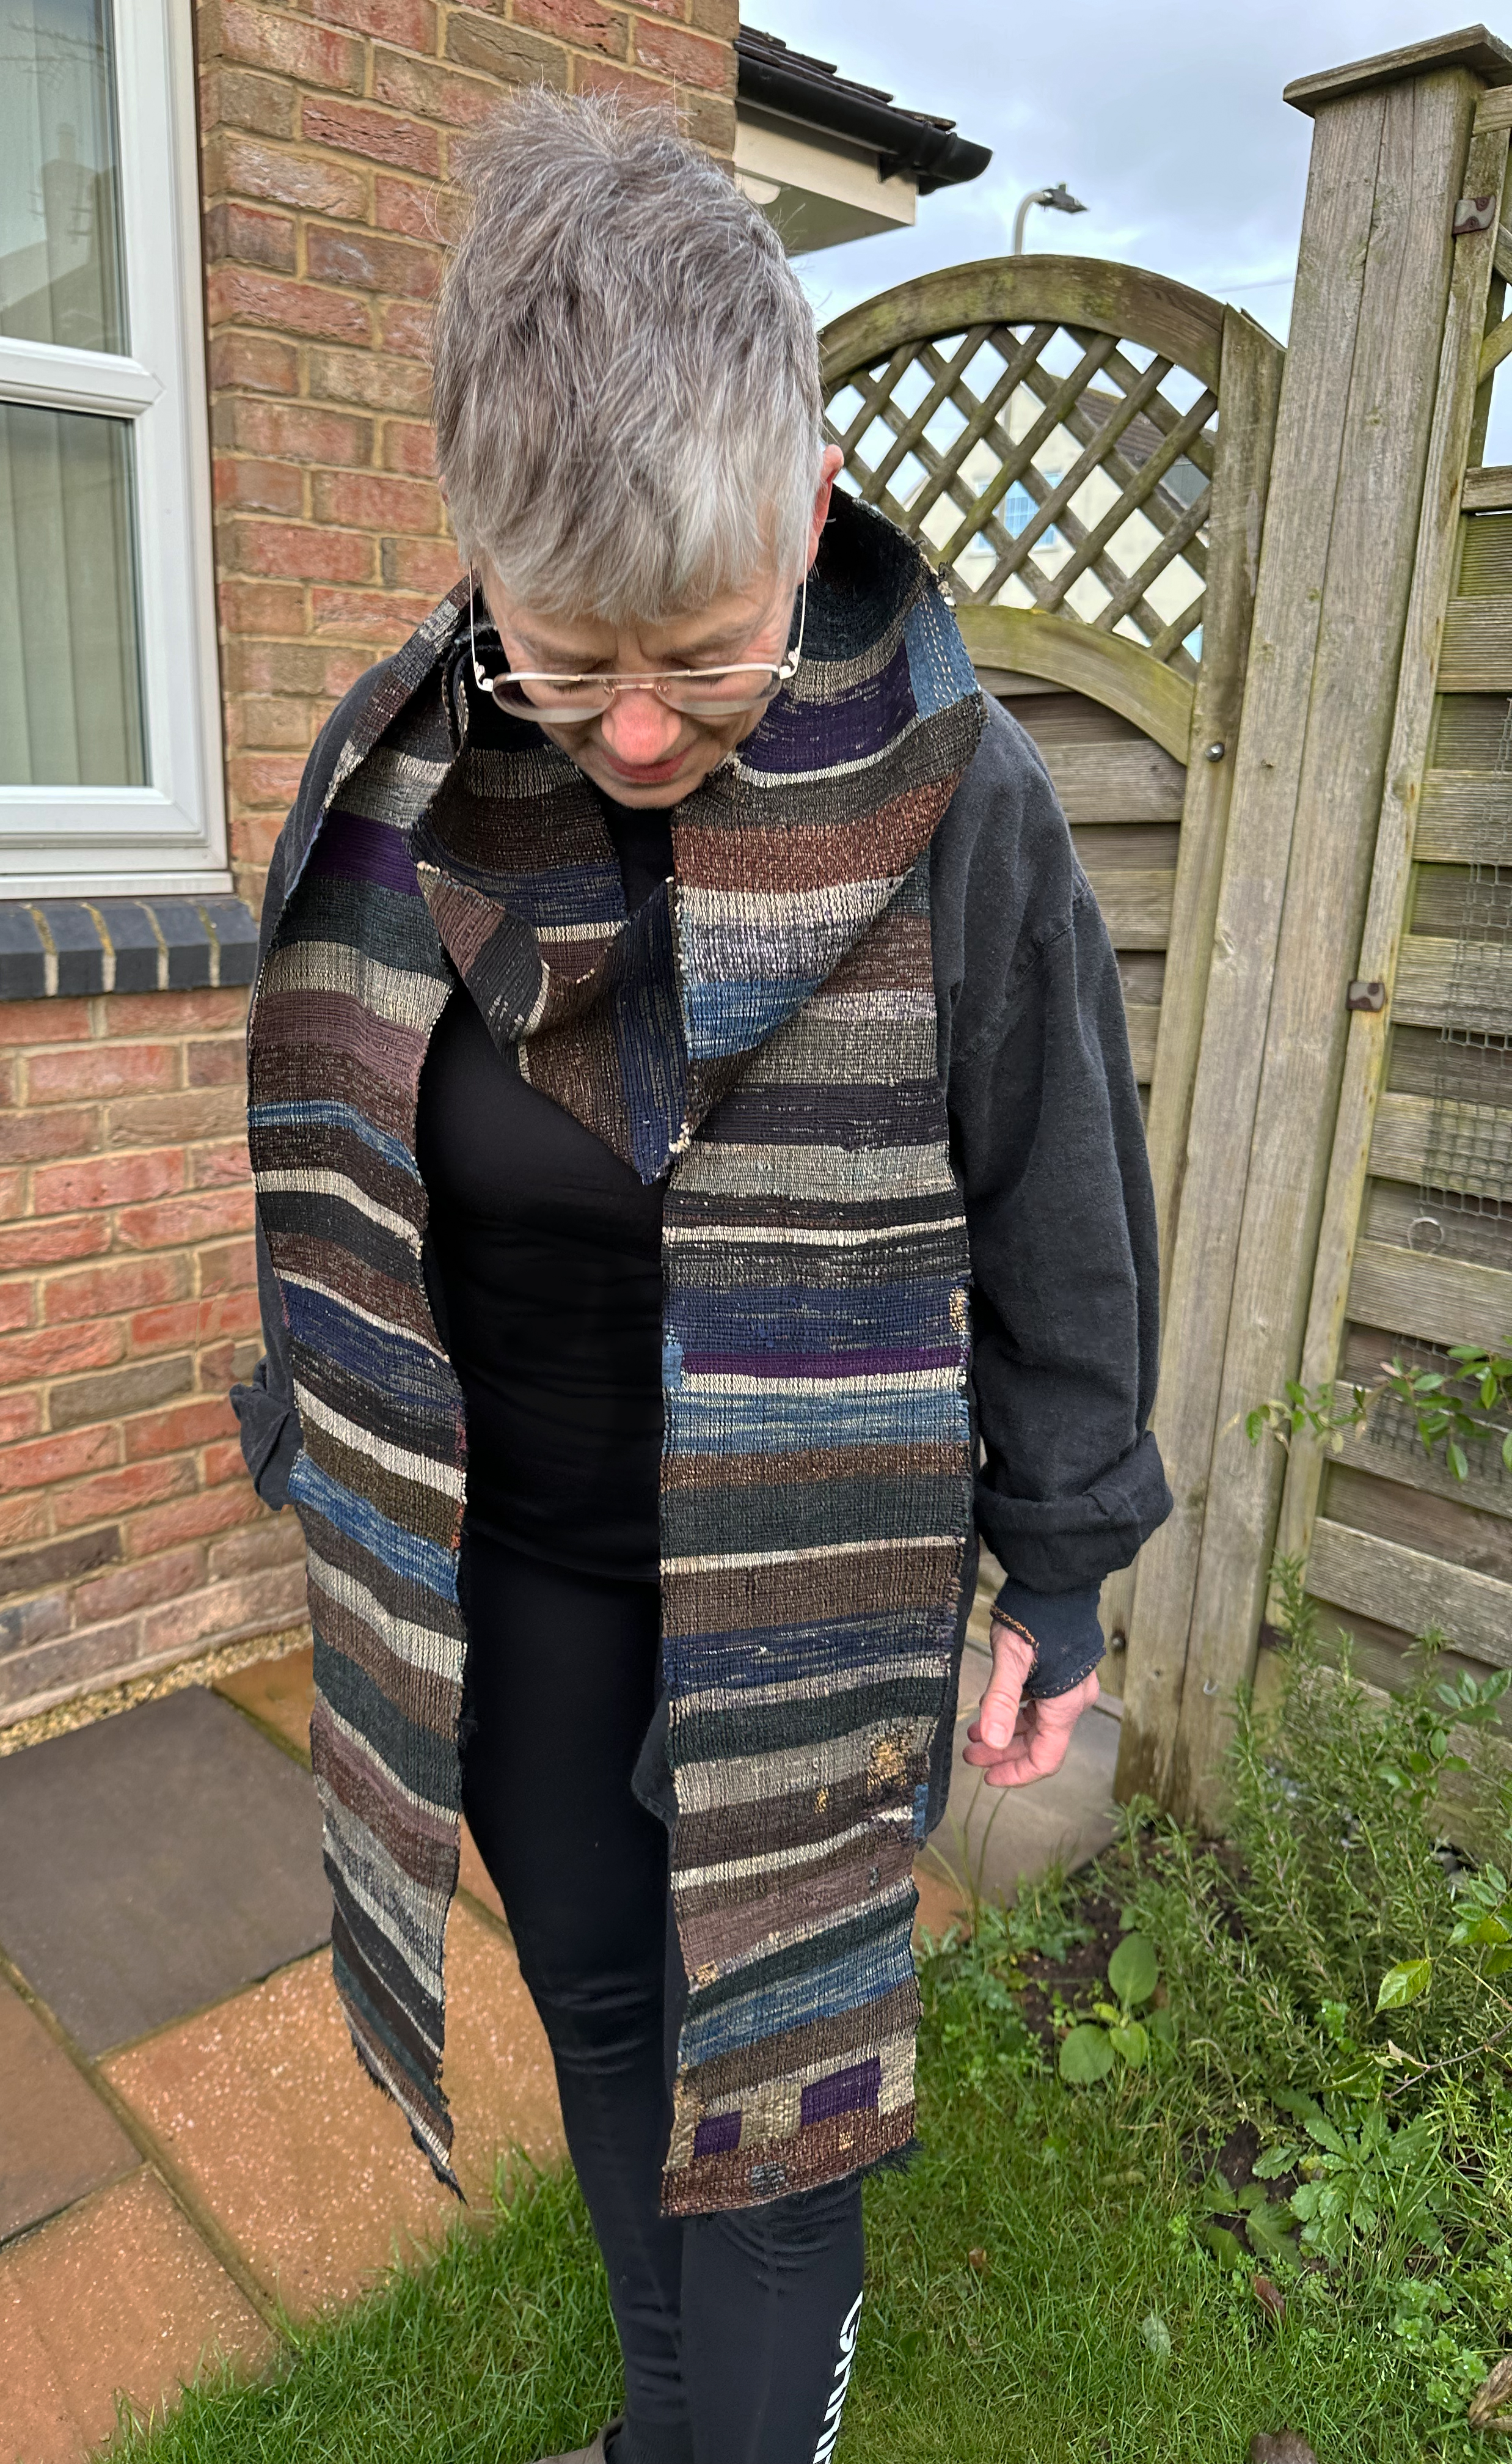
Packing my workroom for the move made clear to me how many unfinished projects require my attention. They weigh me down: i am finishing some and disposing of others. This beautiful thing could become a striking if somewhat long scarf to be loved and admired into the future if I repaired it to withstand light use.
Obi?
An obi is a Japanese belt, traditionally a woven fabric but modern obi may be made of many materials. There are obi (several types) for women and for men; men’s obi are narrower, longer (men wrap three times around the waist, women two) and usually more sombre in colour than those worn by women.
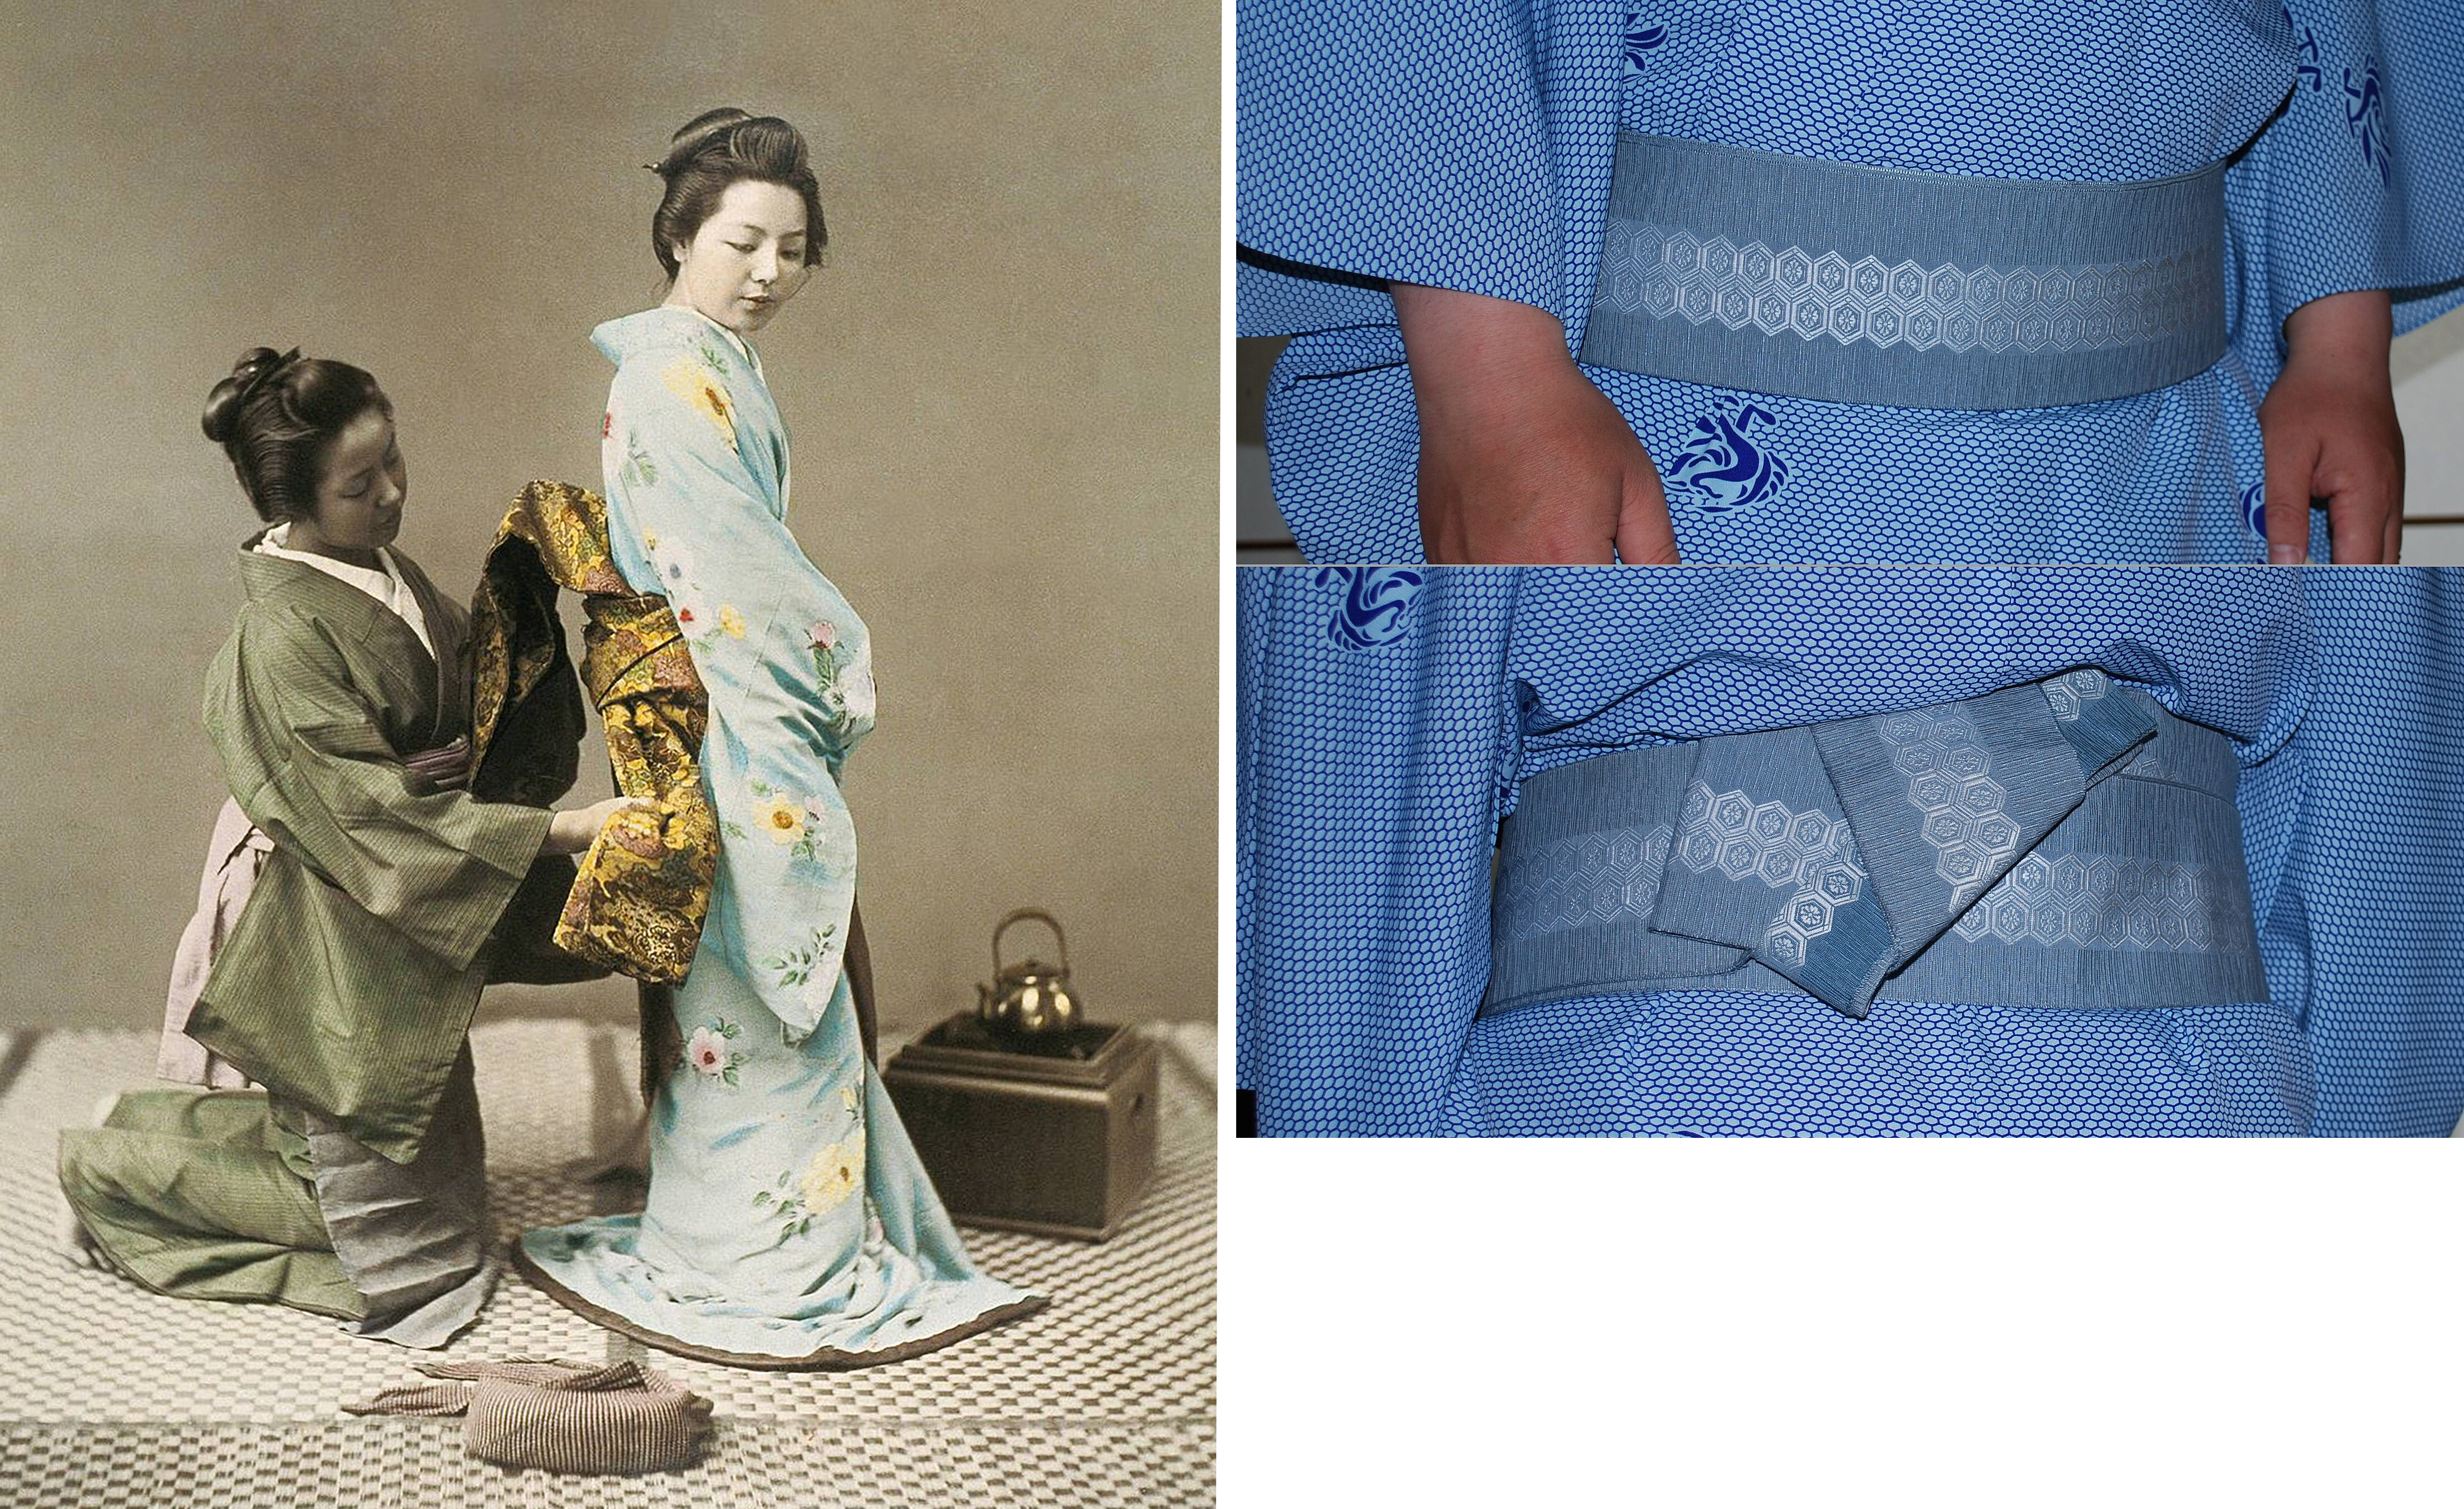
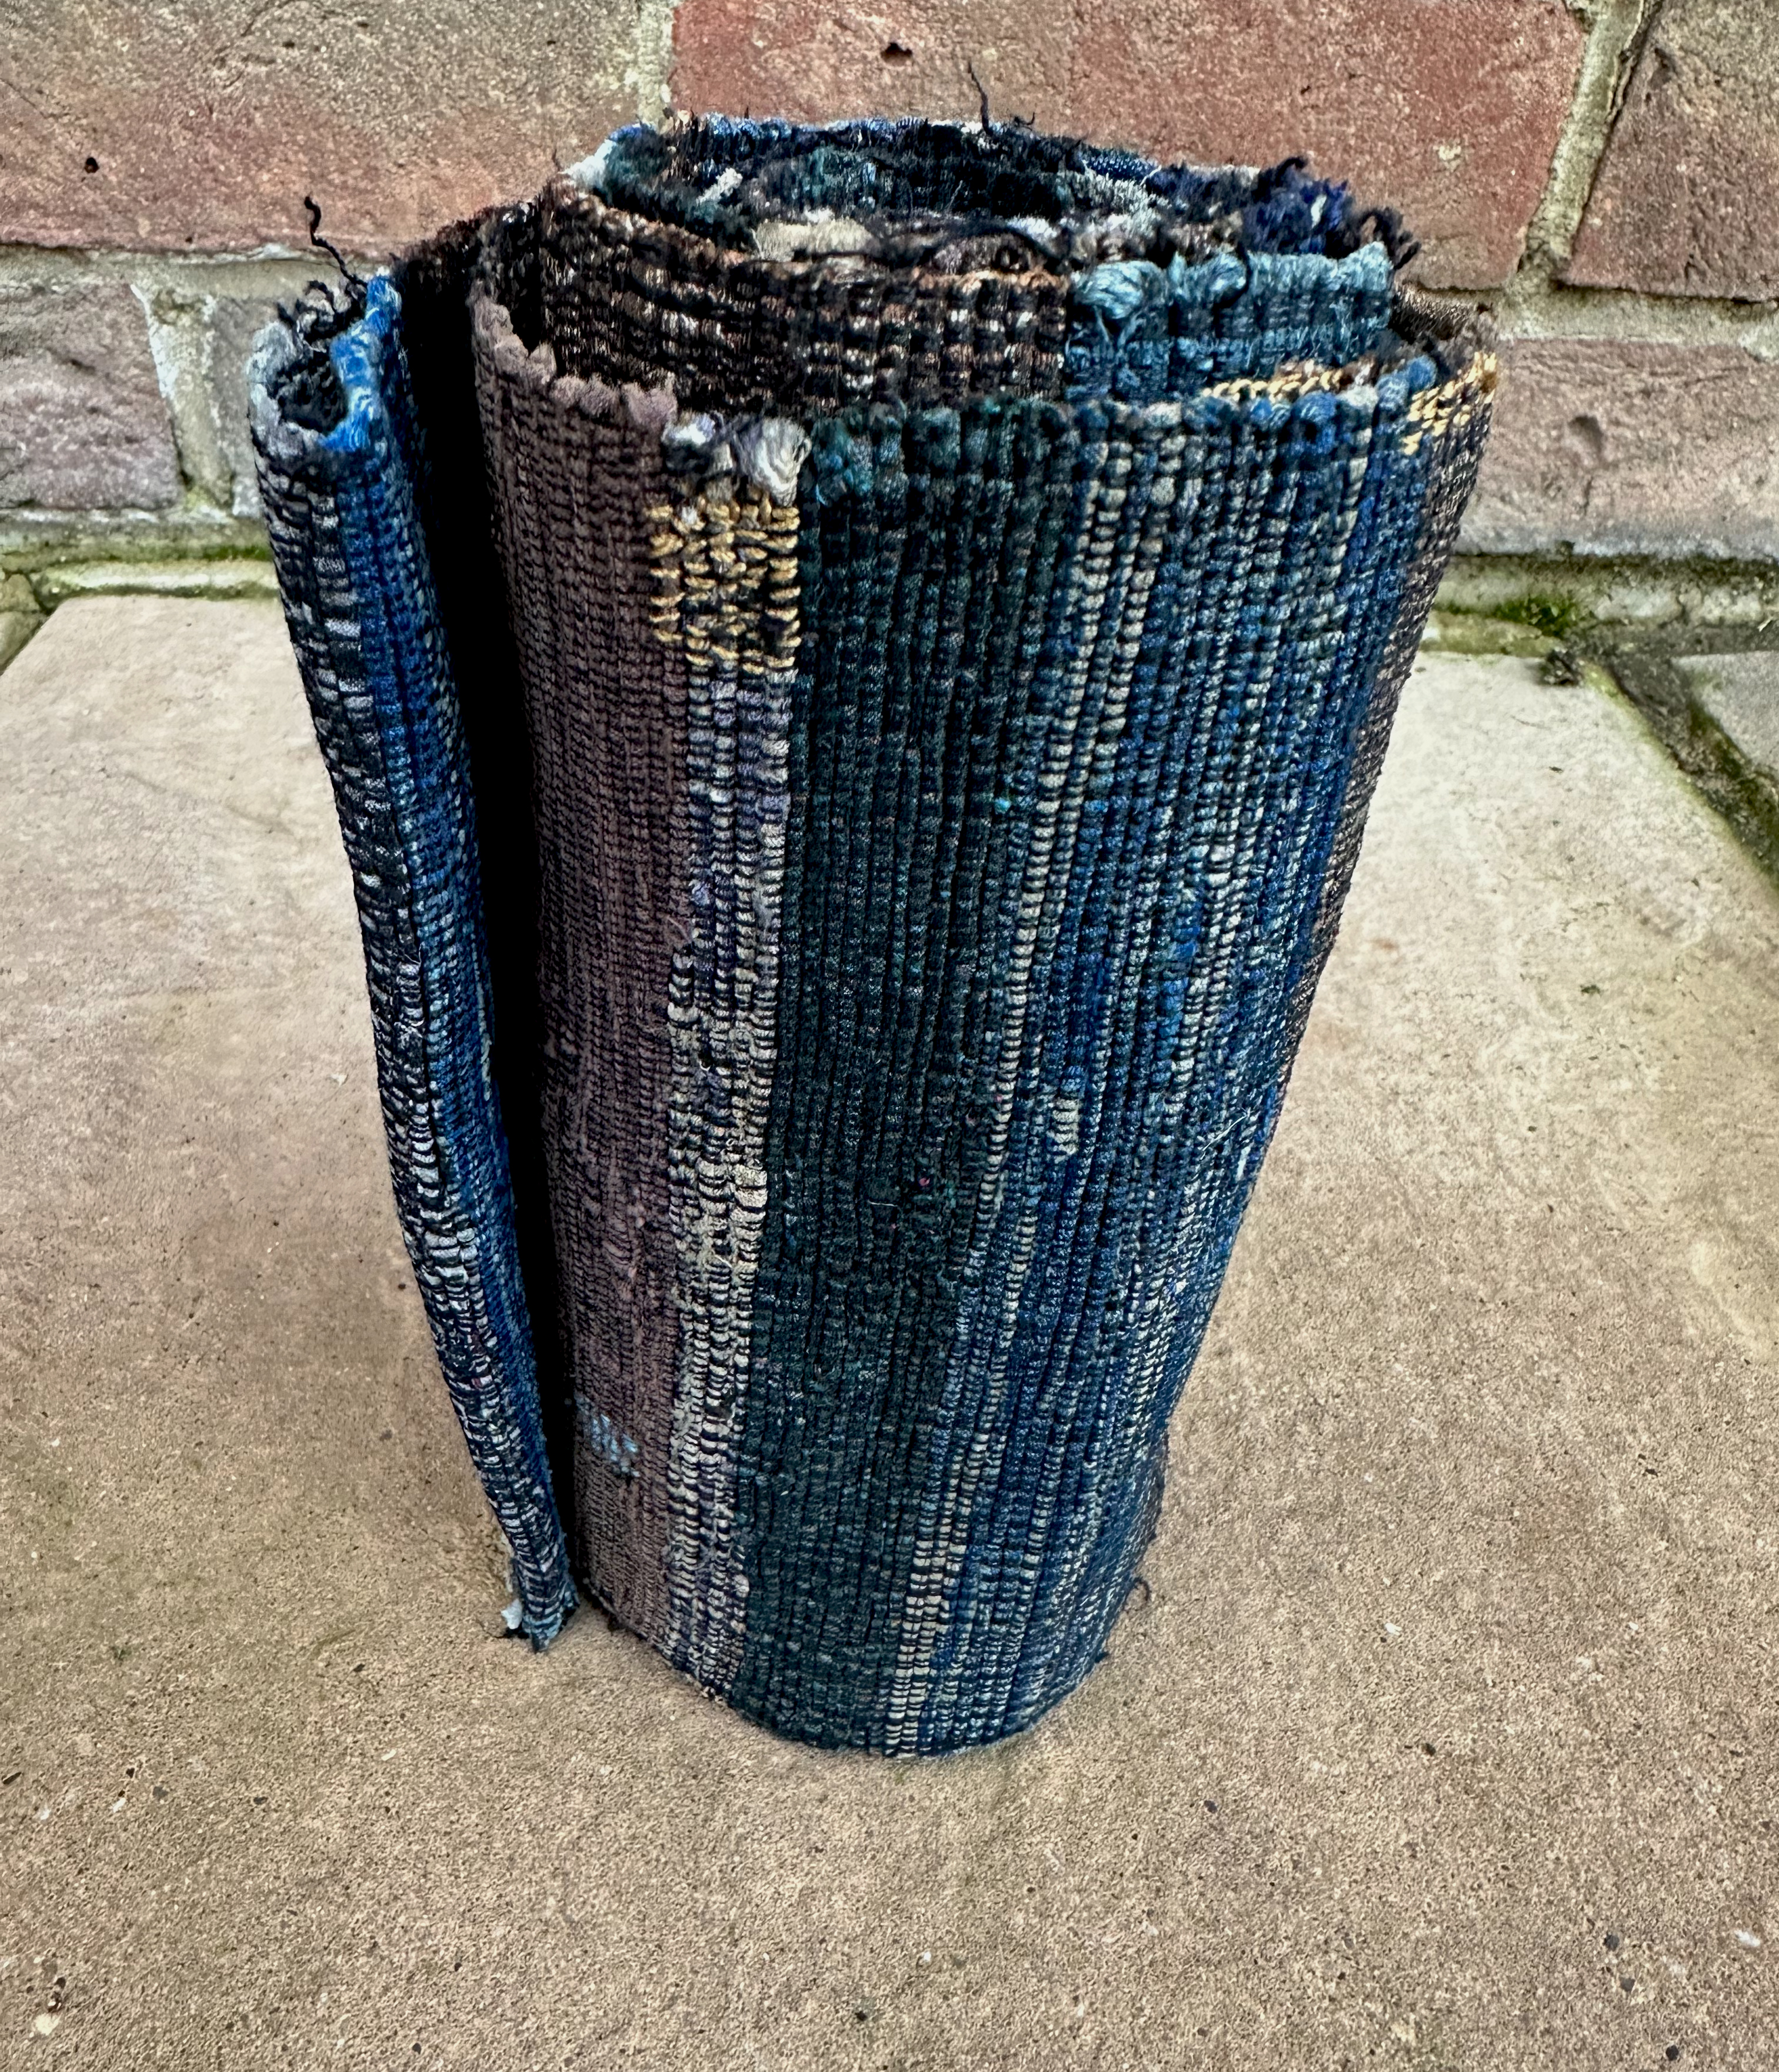
My obi is roughly 15cm/6″ wide and 3m/9.8′ long, the standard dimensions of a hanhaba or ‘half width’ everyday casual woman’s obi. If that’s what it is, given the age of the obi, it would have been wound unfolded twice around the waist then tied with a simple over-and-under knot.
Sakiori: an examplar of mottanai
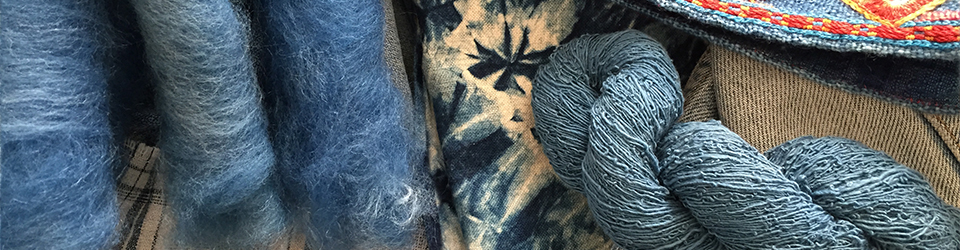
Meaning something like ‘what a waste/shame’ in the sense of ‘don’t be wasteful’, mottanai is a Japanese philosophy born of poverty and respect for crafts and materials. There is no need (it is inappropriate and disrespectful) to buy new if the old can be repaired, re-used or recycled. Garments can be repaired and remade for further use and when repair is not possible the fabric itself still has value: it can be cut into strips for use as weft in a new woven fabric (sakiori) or even unravelled, sound weft thread by weft thread to be re-used as weft in a new zanshi (‘leftover thread’) fabric.

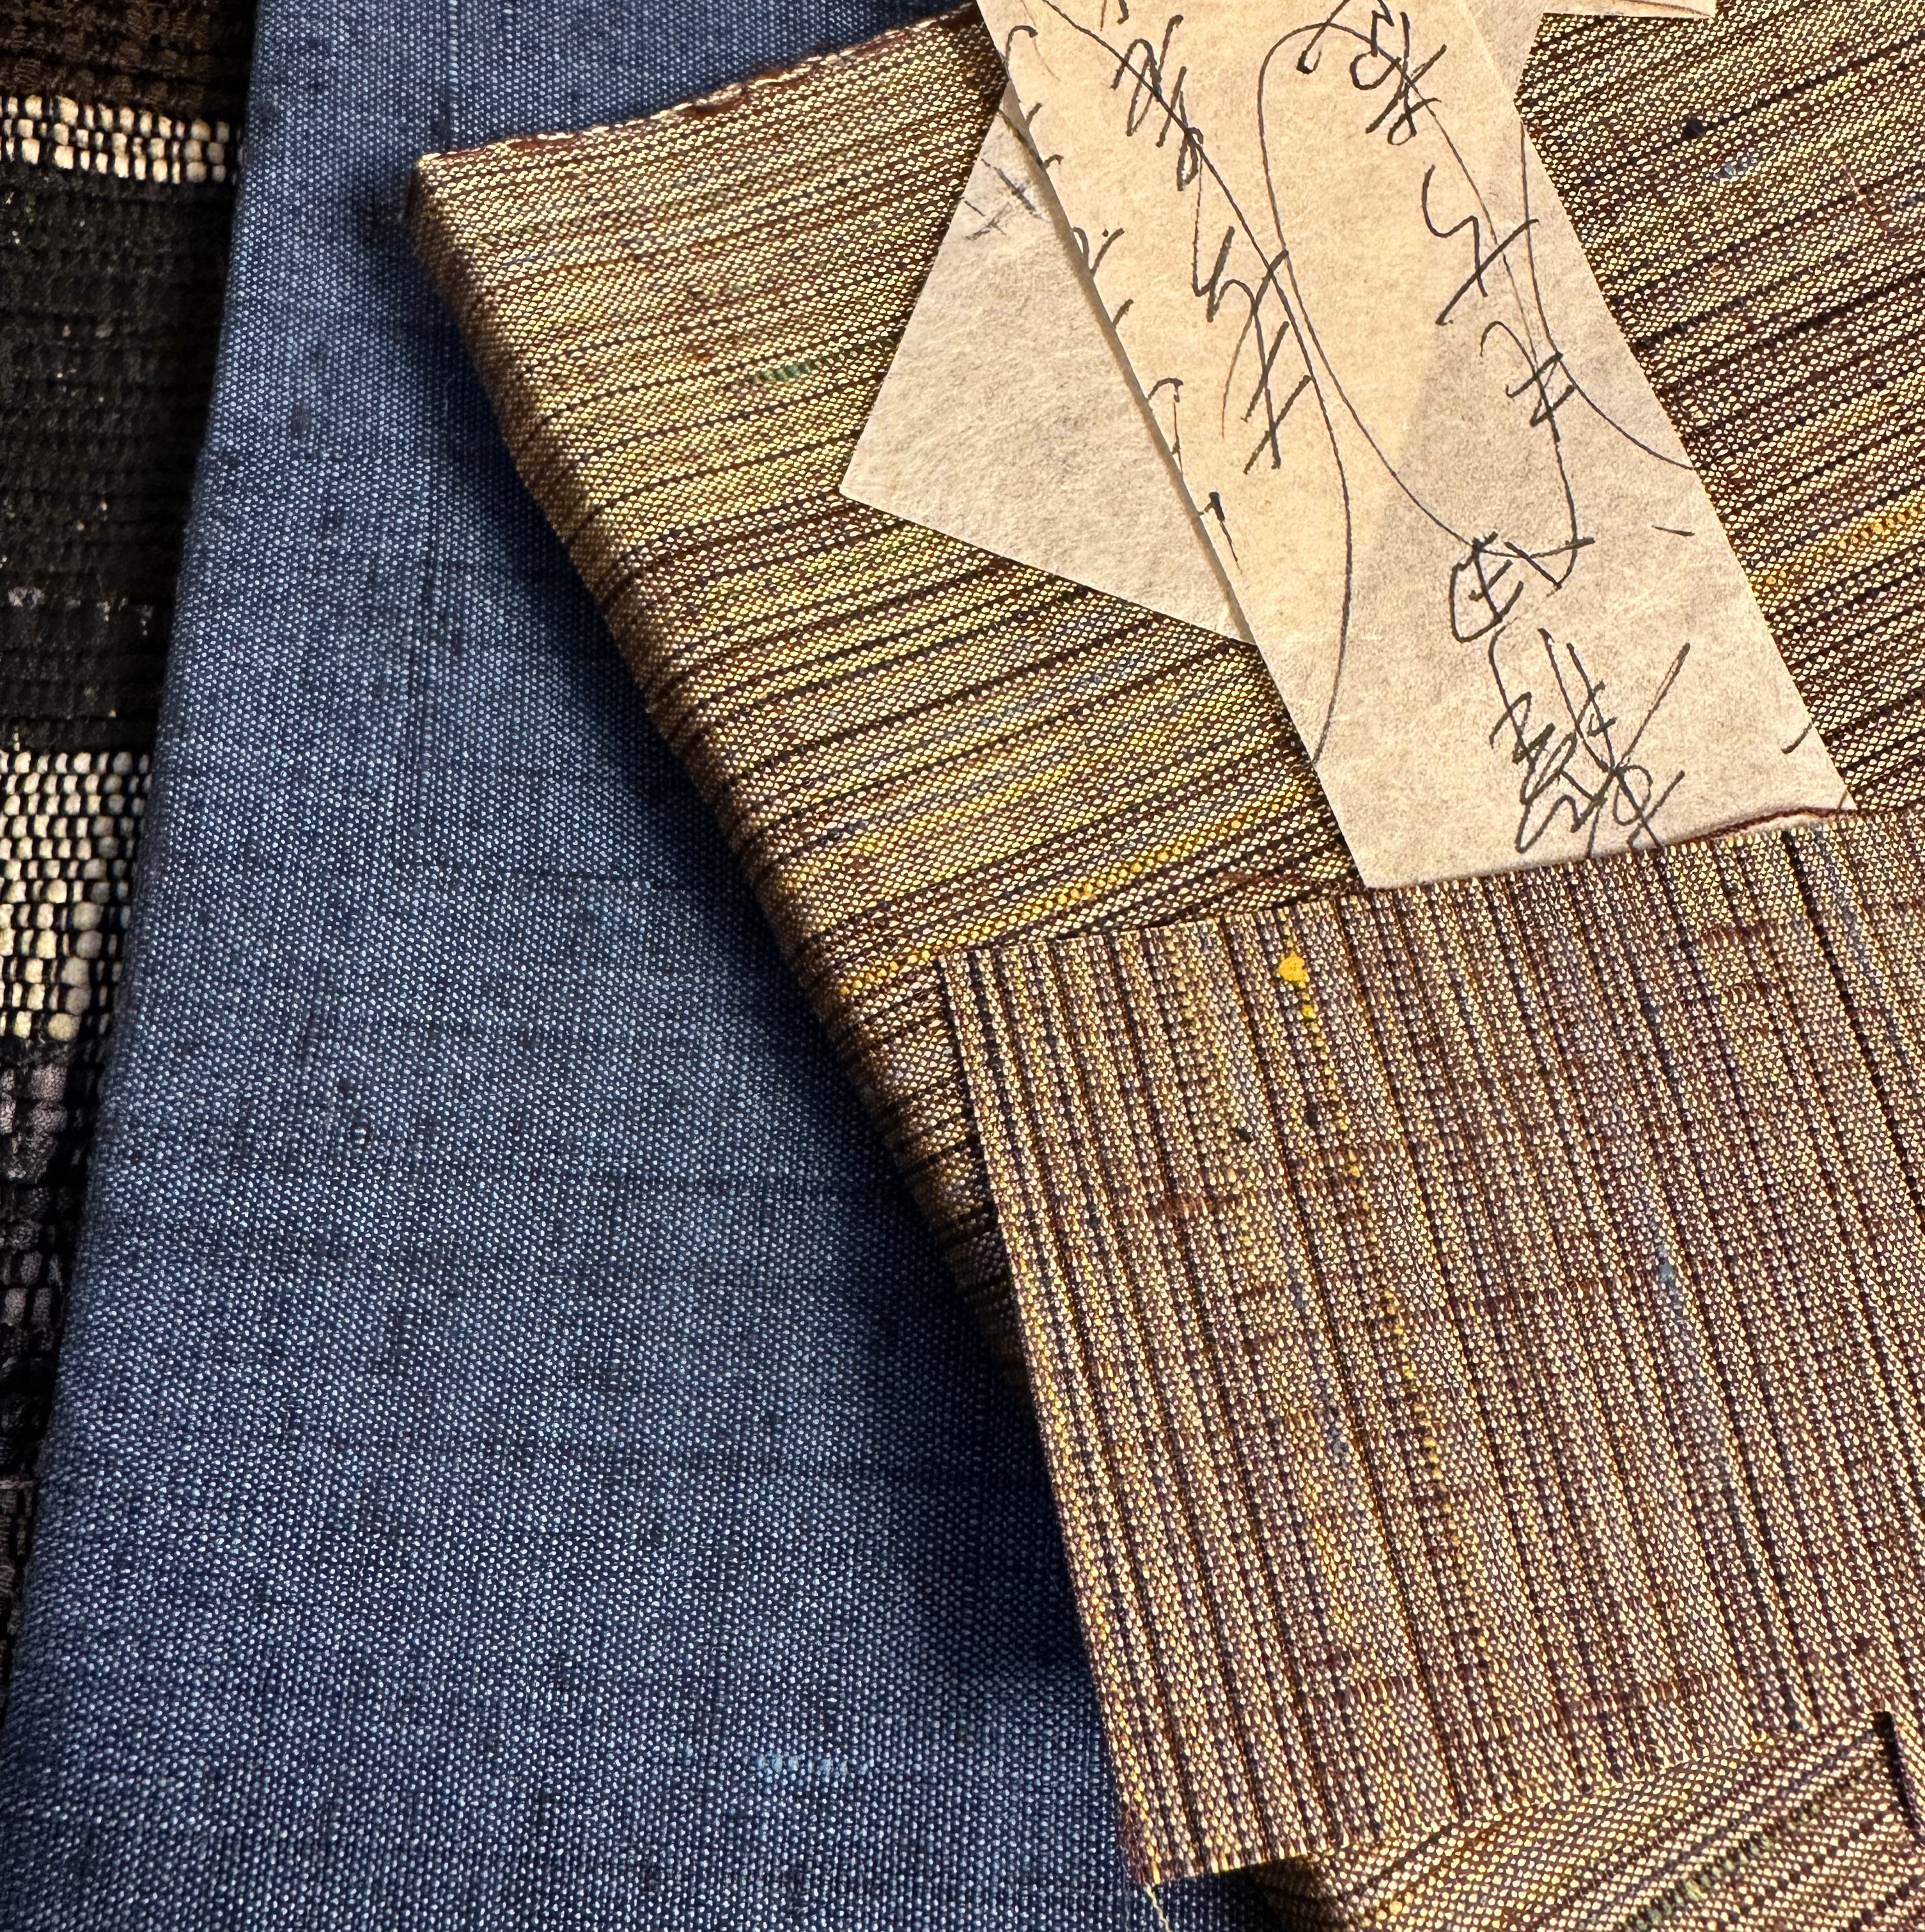
A burn test suggests the black warp is silk; it burned briefly and sullenly with the scent of burnt hair. The wefts are strips of at least 23 different silks ranging in colour from palest grey to various blacks with grey patterning. The narrowest weft stripe is 3 passes of a pale grey similar to that in the middle of the image above (but the strip is thinner); the widest is 26 passes of a blue and white silk similar to that near the bottom of the image. A true vivid deep purple is the least common colour, only 5 stripes. Most of the silks are rich shades of brown combined with greys and blacks.
Think for a minute about the possible age of these fabrics. Folk textiles are difficult to date, but sakiori fabric is no longer widely woven. The obi is worn beyond use, from long use. As were, probably, the garments dismantled and woven into it. If it was woven at the beginning of the 20th century, the fabrics may date from the 19th century. All those years, all those people making and wearing the garments.
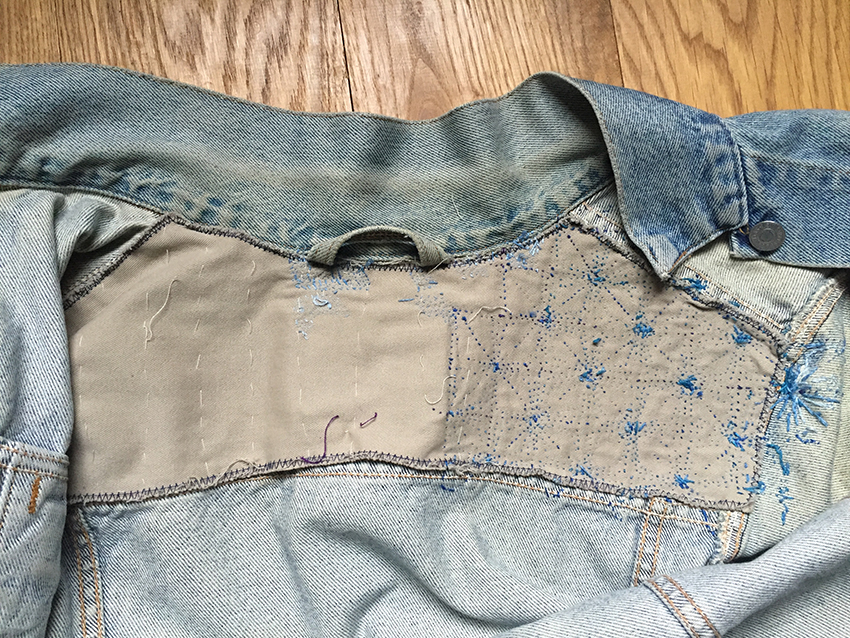
The photo above shows some of the damage. The worst is the selvedges, in many areas eroded to nothing but worn ends of weft strips. Within the body of the obi the warp is worn or has disappeared entirely over bumps in the weft, creating weak points where the weft strips part. There is no central wear line, so it was not folded in use. At one end there are large open holes several cm wide. It might be that this is the result of wear due to knotting, or it could simply be moth or beetle damage.

I tried various blanket and buttonhole stitches on the damaged selvedges, then unpicked most of them leaving only two small areas to remind me that they don’t work, the pattern and texture is inappropriate. In the end I repaired the edges as I did the weak areas in the fabric, re-weaving the warp over-and-under. I worked as close to the edge of the obi as I dared before locking every second or third stitch back into previous stitches. Where the weft fabrics were too badly damaged to hold the new warp I stitched patches of vintage silk, indigo blue or zanshi multicolour and gold. I used 60/2 grey silk where I did not want my stitching to show and Sajou Fil au Chinois where I wanted the repairs to glow like kintsugi gold.

I like the end result enough that I thought of signing it but that seems disrespectful to the person or people who made the obi. Instead I stitched a yatagarasu, the three-legged lucky crow-guide that may be sent by the gods, on the largest patch. Everyone can do with luck and guidance these days.


 Various shades of blue embroidery thread in blocks of stitching. I included one of the remaining fragments of my favourite fabric, and left a circle clear of stitching for a semamori motif.


 This shows the details but the colours are dark and lifeless thanks to the dim British winter light.