That’s a gripping title if ever I saw one. Thanks to Freyalyn, who named the hat during the ‘Spinning for Weaving’ workshop on Saturday as I put it on to call the class to order. It’s hard to miss, especially as the coins and charms chime as I move.
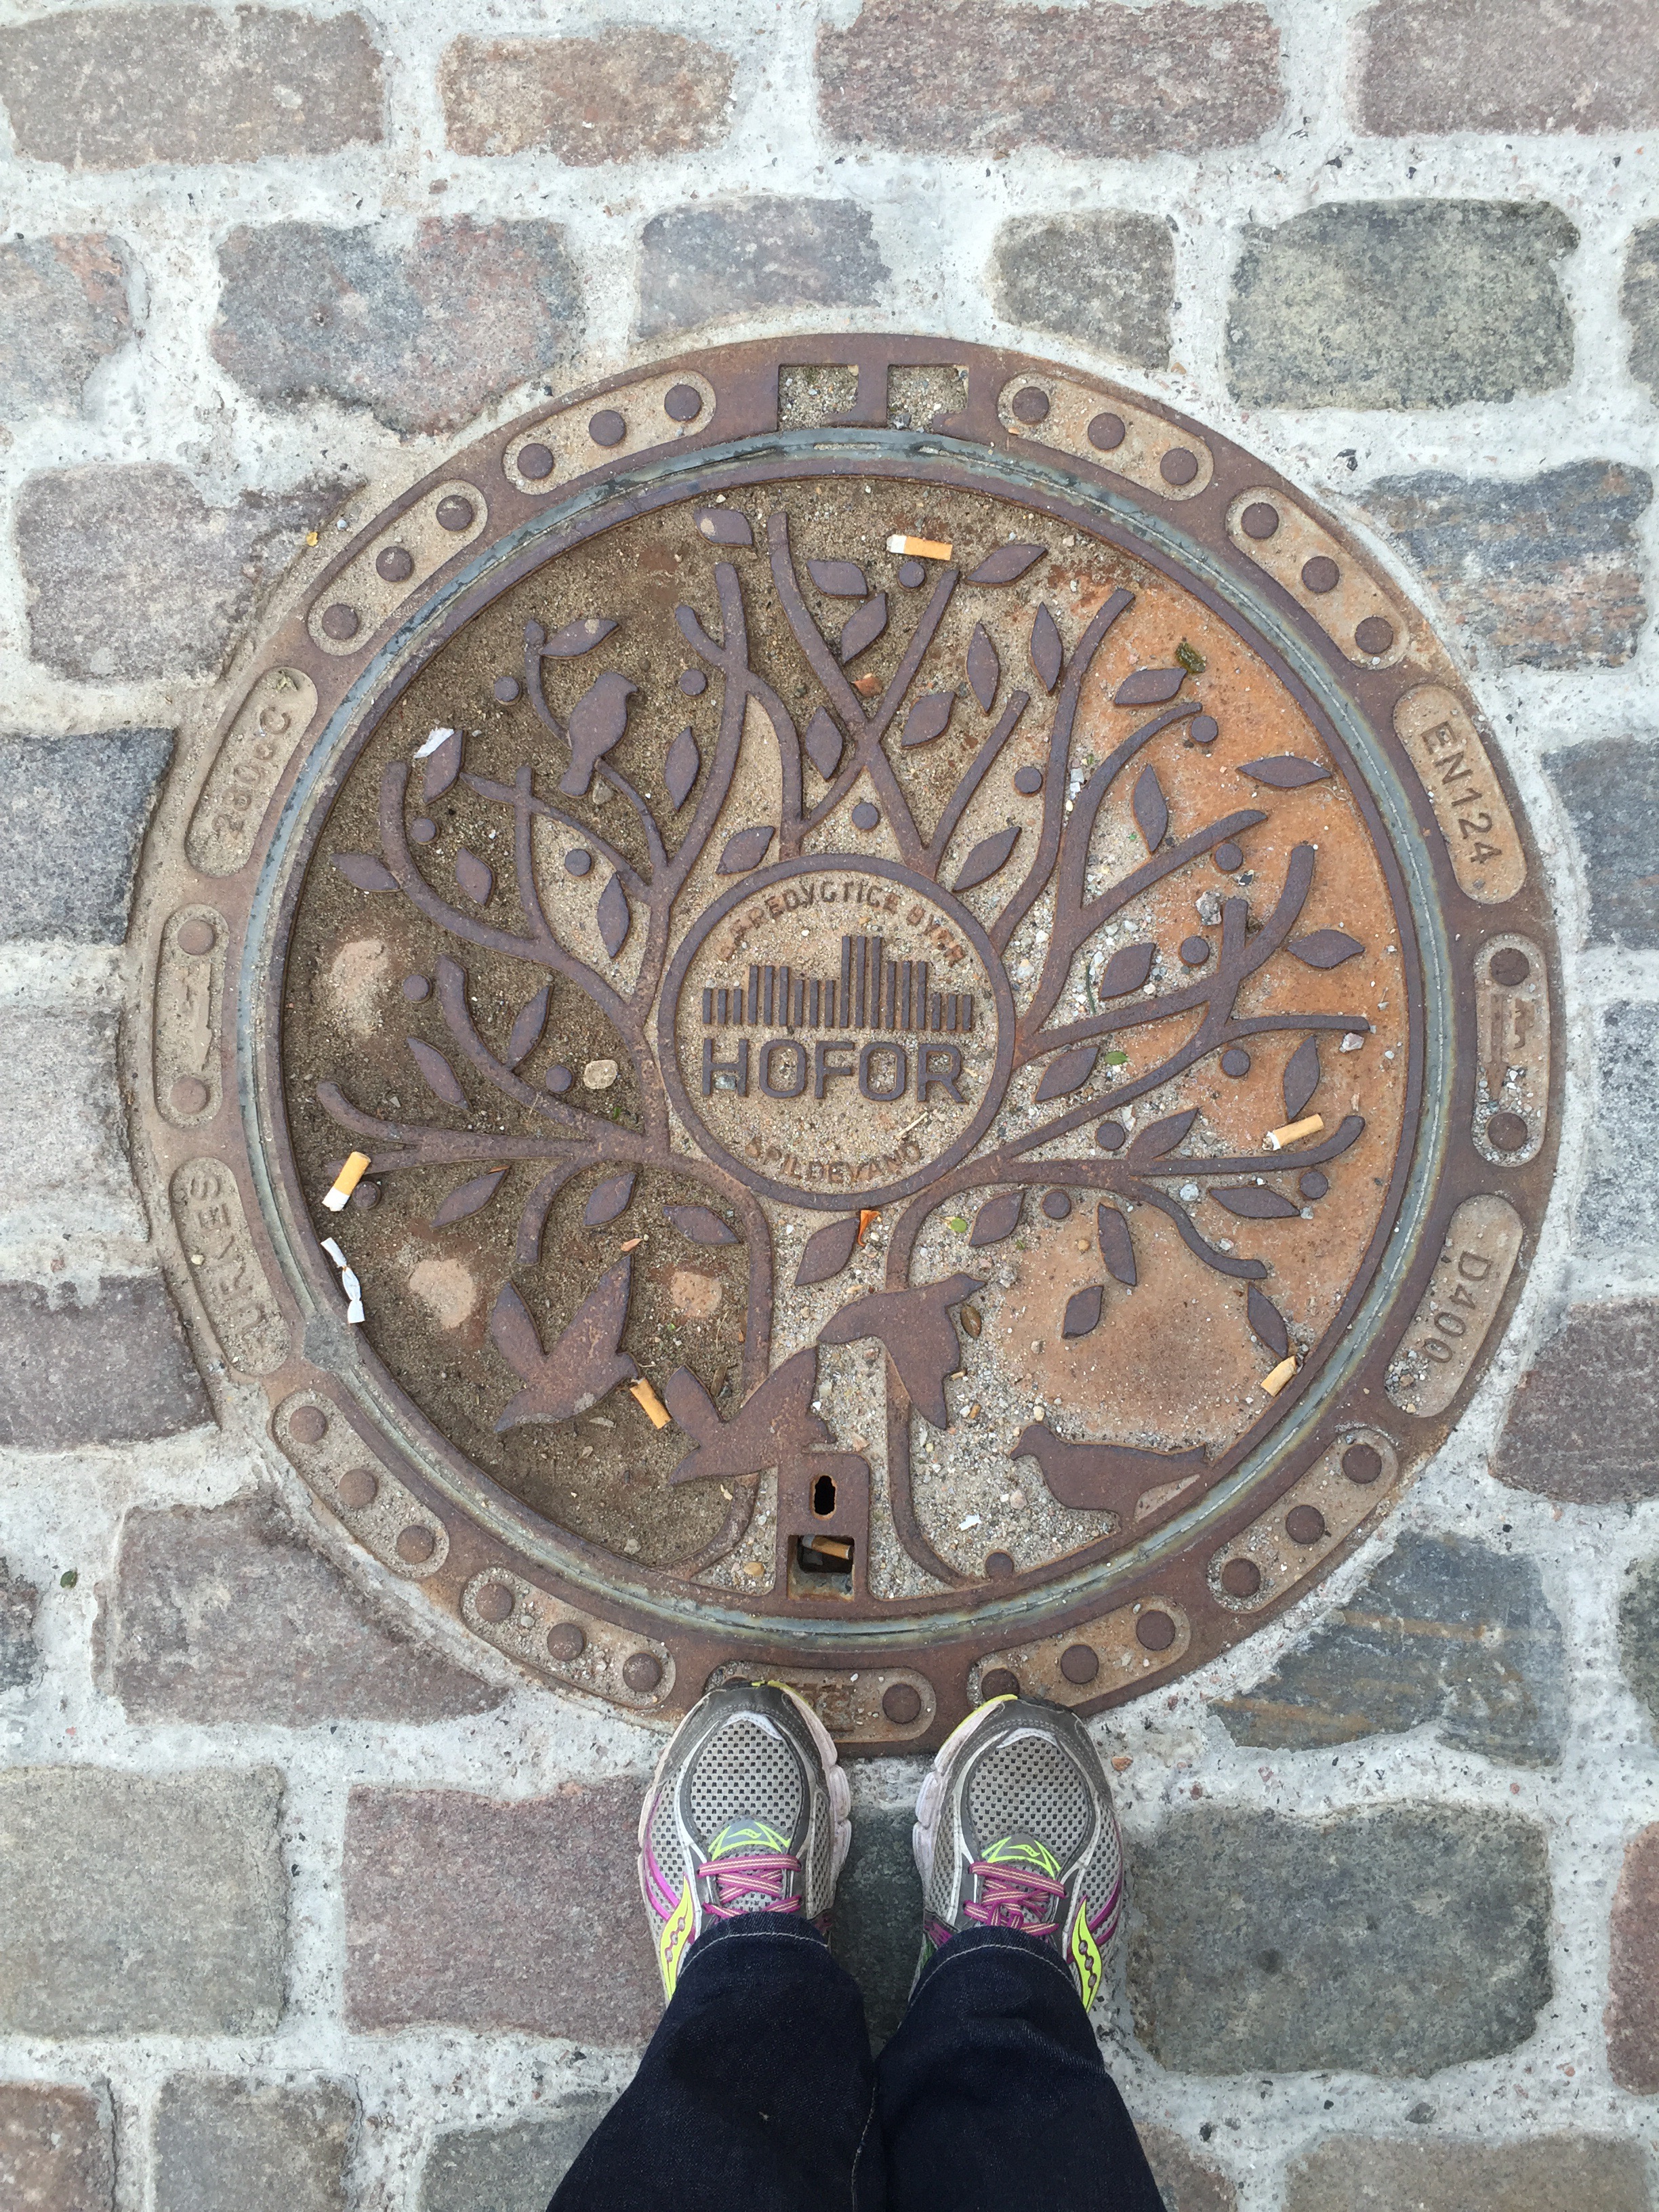
 Wearing The Hat in public for the first time, hiking in Derbyshire.
Two previous blog posts tell the story of the fabric of the hat: ‘The wrong fibre in the wrong place at the wrong time‘ describes how a highly unsuitable fibre preparation was re-processed to become something far more suitable (if any of the workshop attendees are reading this, note the use of a small cardboard loom-equivalent to establish whether the fabric would full), and ‘A project for the Cotswold.‘ briefly describes how I came to make a hat from it. I didn’t post more because the description became an article for Spin-Off Magazine (Summer 2014, ‘Uzbekistan by Hat’.
The executive summary, in pictures:
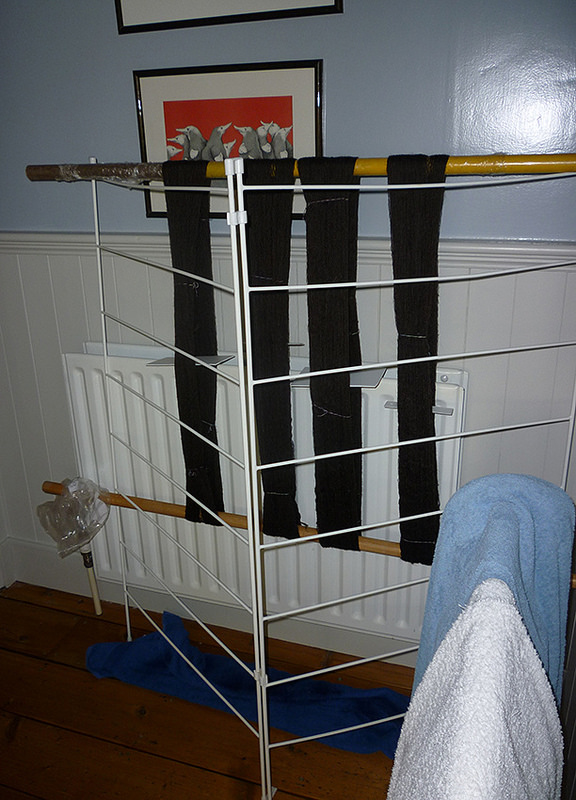
I work primarily with handspun singles. To prevent loss of twist, to make the yarn easier to manage and (to some extent) to protect it during the weaving process, the singles may be sized. Here the sized warp is drying on a makeshift stretcher in front of the bathroom radiator. (Workshop people, note that’s a hiking pole and chopstick stretcher, not the broom handle and hoe I use if I have more skeins!)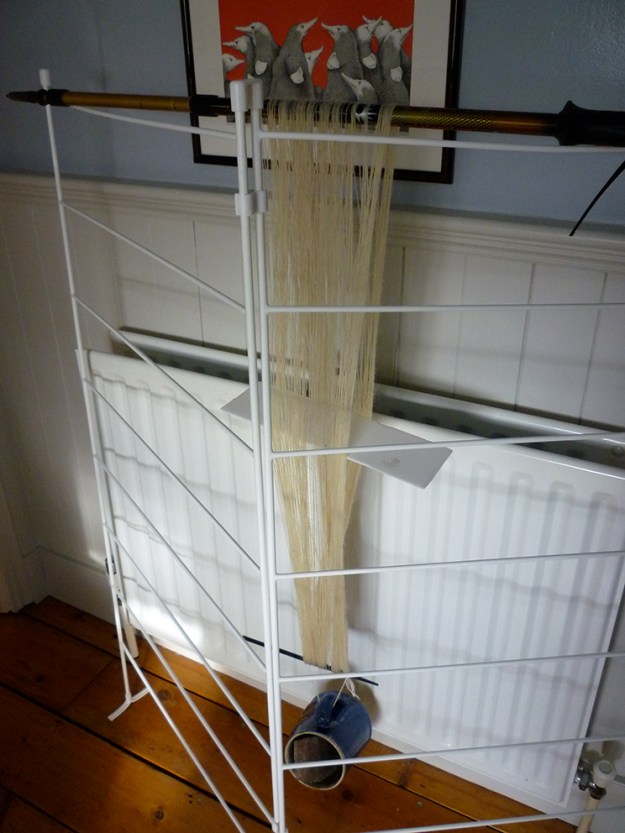
From left to right: the Cotswold warp as it came off the bobbin, after steaming to set the twist, and lastly the dry sized skein.
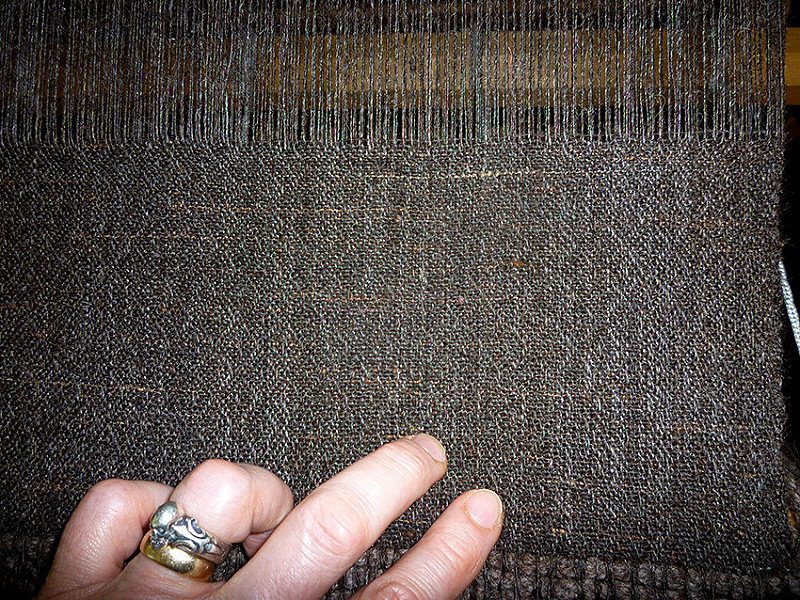
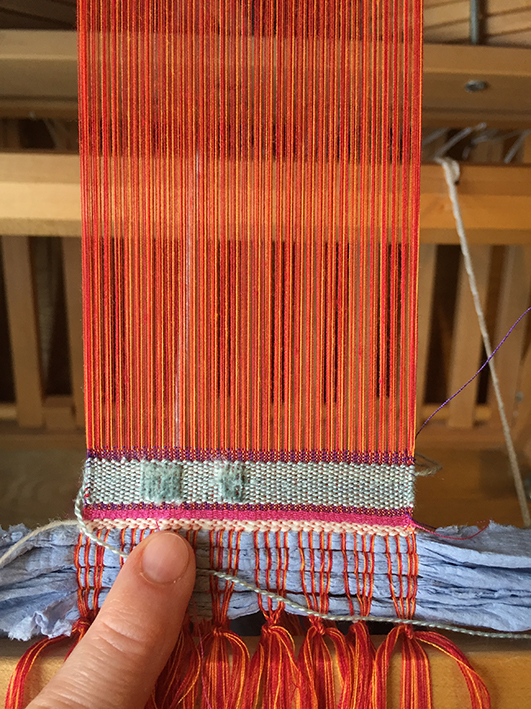
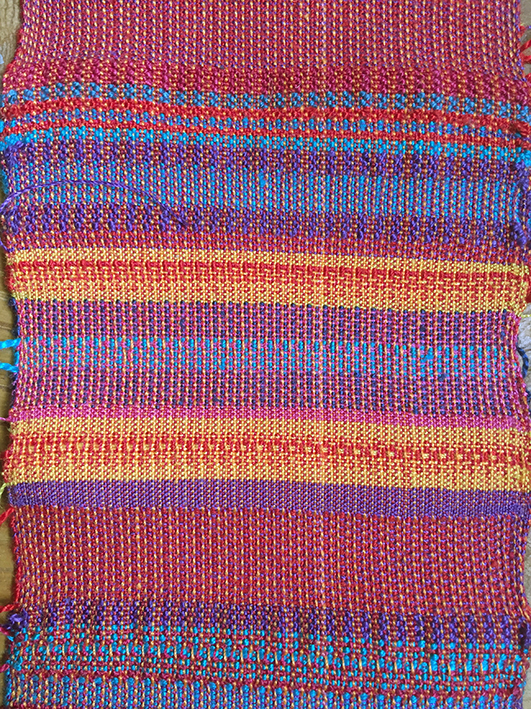
The hat fabric on the loom: Cotswold warp and handspun ‘Falklands’ (unspecified blend of Romney, merino and similar) weft.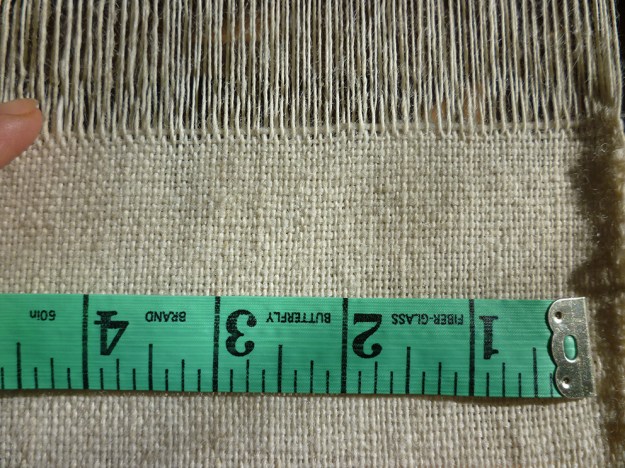
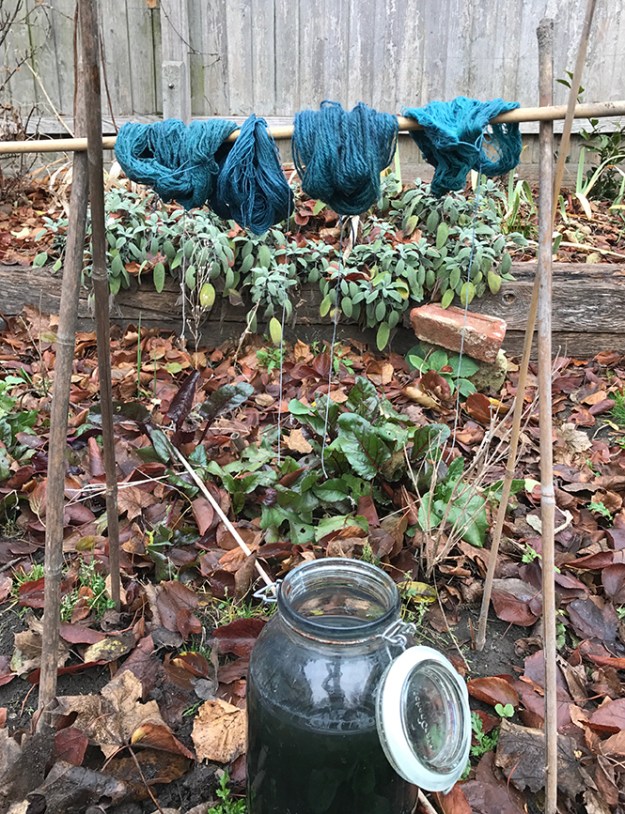
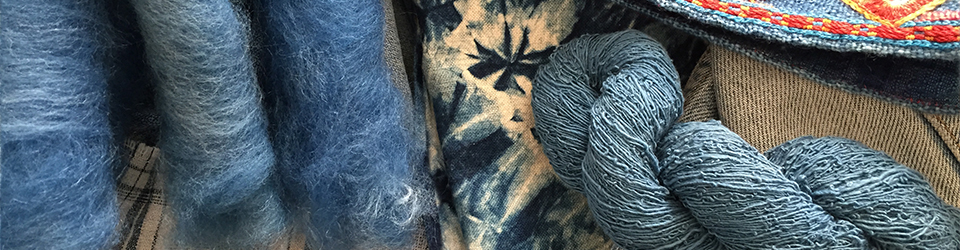
I chose Falklands for the weft because I wanted to full the fabric, which I did in a hot indigo vat. Here the fabric is drying immediately after dyeing. I agitated it considerably in the vat to aid the fulling; the end result was not entirely even, but very beautiful. Or at least I think so.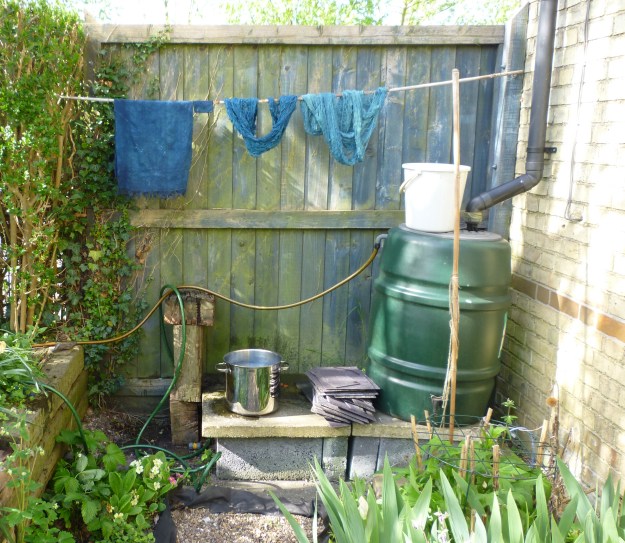
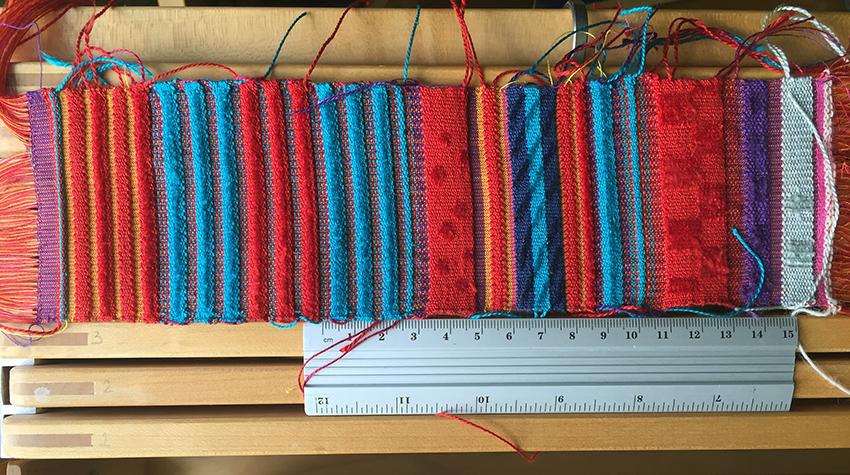
Samples of the fabric for my records. Despite the fact it would be difficult to duplicate these handspun yarns (not that I can see any reason to try), the samples are useful records of how the wools and the fabric behaved. Note the tracking (the twill-like diagonal ridges) visible in the finished samples.
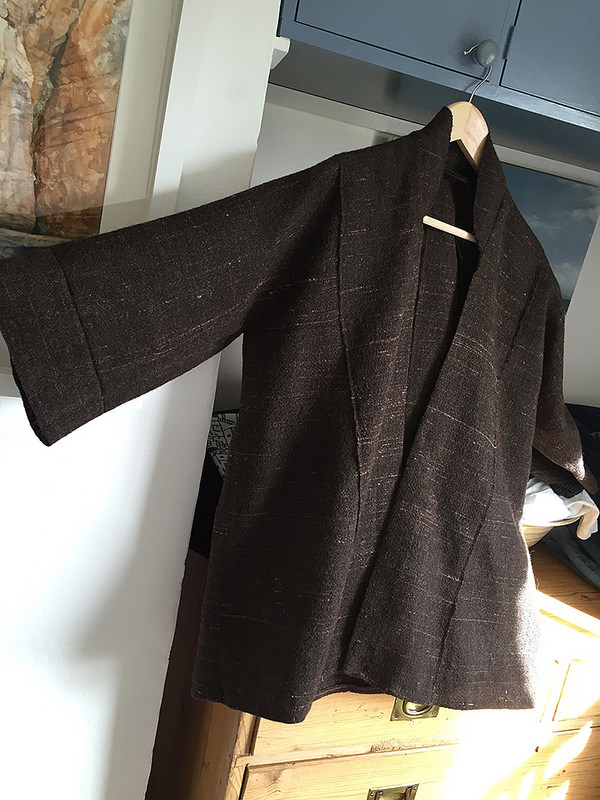
I’d never made a hat from fabric. Clearly before I could make a hat I had to make a pattern. Having decided to make a hat inspired by those worn in Uzbekistan, I chose a style that looked as though I might be able wear it in public without dying of embarrassment, and started cutting up bits of paper to work out a pattern.
My first attempt proved to be a tiny yurt suitable for wearing on my head. But after some adjustments and more waste paper, I tacked together a fabric version to test the size and fit, then untacked it for use in cutting my fabric.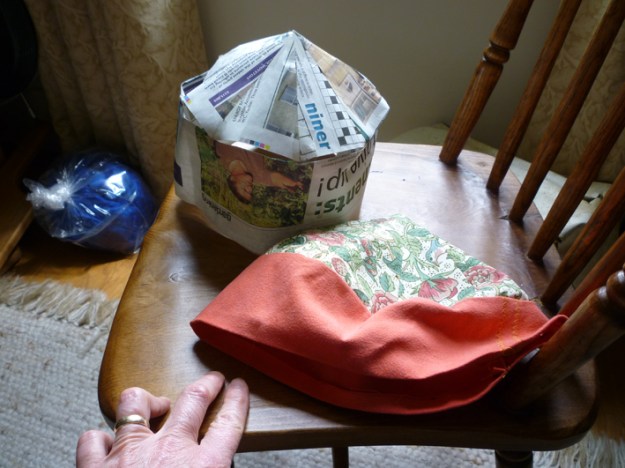
Time passes. A LOT of time passes.
Sheila Paine and many others have written many words about the significance and meaning of folk embroidery. A gift from Sara Lamb, ‘Skullcaps of Uzbekistan‘ proved particularly interesting and useful. Reading and re-reading, I eventually could no longer postpone putting needle into cloth. What to use for the embroidery? Silk, in bright – and significant – colours. Some I dyed and spun for The Hat (it had acquired initial capitals in my thoughts), some were thrums of silks dyed and spun for my tablet-woven bag.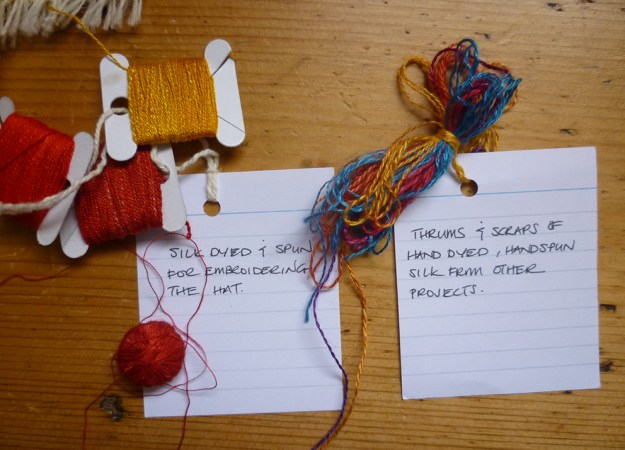
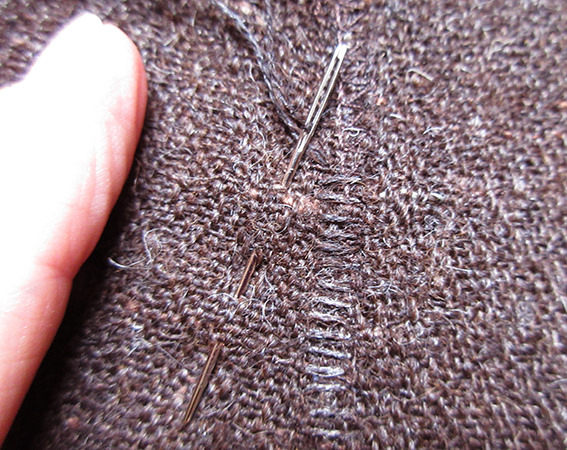
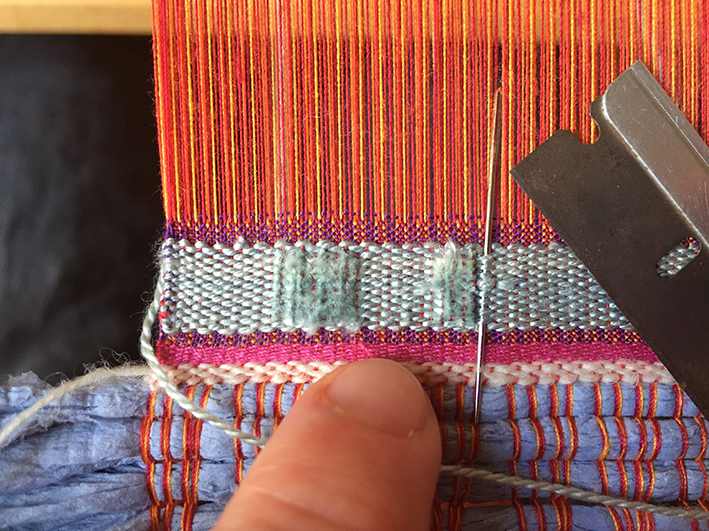
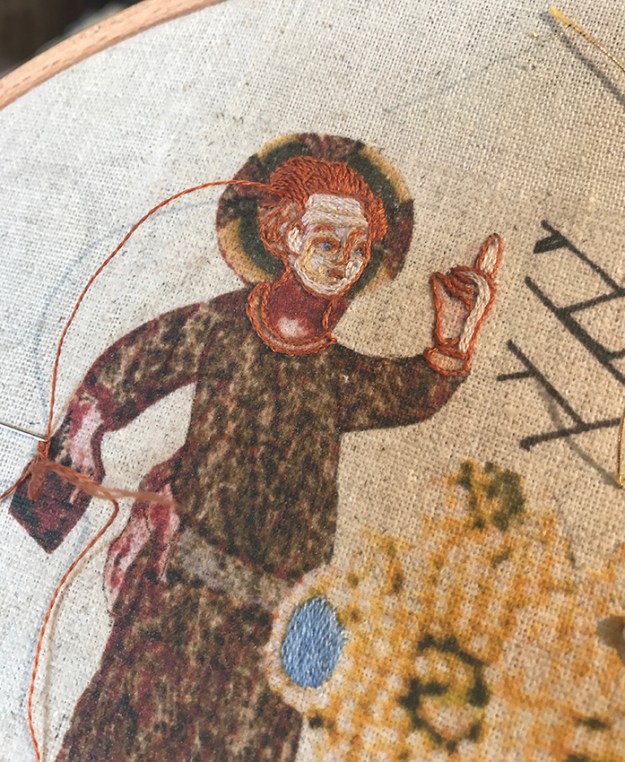
Research suggests traditional makers usually embroider the hat fabric before the pieces are cut but, as I had never made a fabric hat before and had very little clue about what I was doing, it seemed wisest to make a hat that fit and embroider that. Having used some of the finer silk to sew the hat together, I rapidly discovered that I needed guides for the geometric patterns, hence the lines of white sewing thread.
Each of the patterns has – or is thought to have – a meaning or purpose, generally protective: bringing good fortune, or warding off bad luck and demons. The colours, too, have meaning: in many cultures across the globe red is apotropaic: it wards against evil.
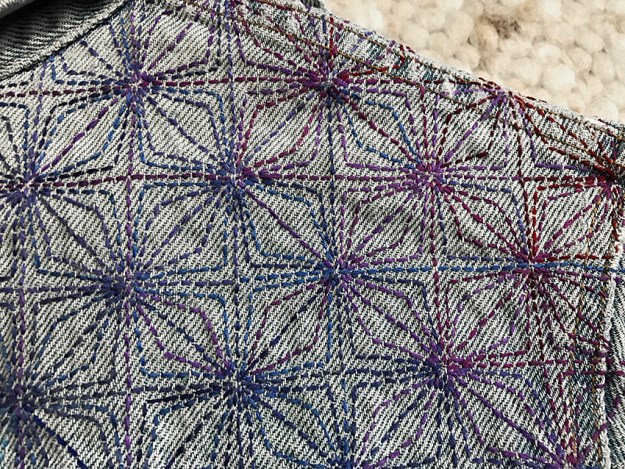
In the photo above, the maze of complex swastikas is a demon trap in the making: entranced by the complexity they wander into the maze and are lost. The mirrors of the shisha embroidery dazzle and confuse any that elude the maze. Above, ram’s horns symbolise strength, courage and protection.
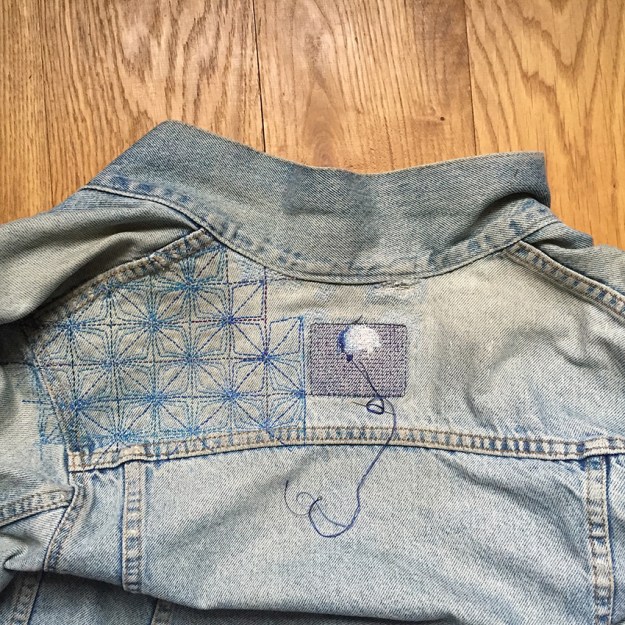
Below, one of my personal favourite symbols, a non-traditional orobouros symbolising infinity and the cycle of life becomes two owl eyes to frighten demons. The mother-of-pearl buttons used for the eyes and the silver coins are traditional embellishments, catching the sun to distract and confuse evil spirits. 
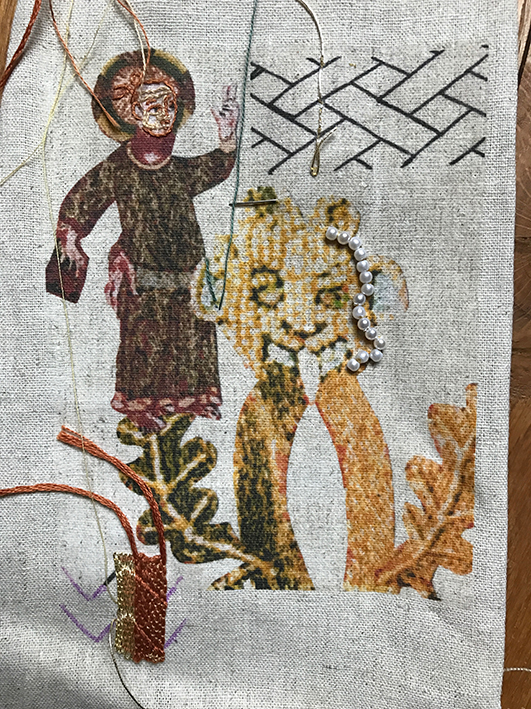
Below, just visible on the left side band are two traditional Uzbek stylised birds. Apparently there is an old belief that if a bird sits on a man’s head it will make him happy (don’t ask, I don’t know). At the front is a sun disk, offering protection from the evil eye and any passing impurity. It is flanked by guardian cats.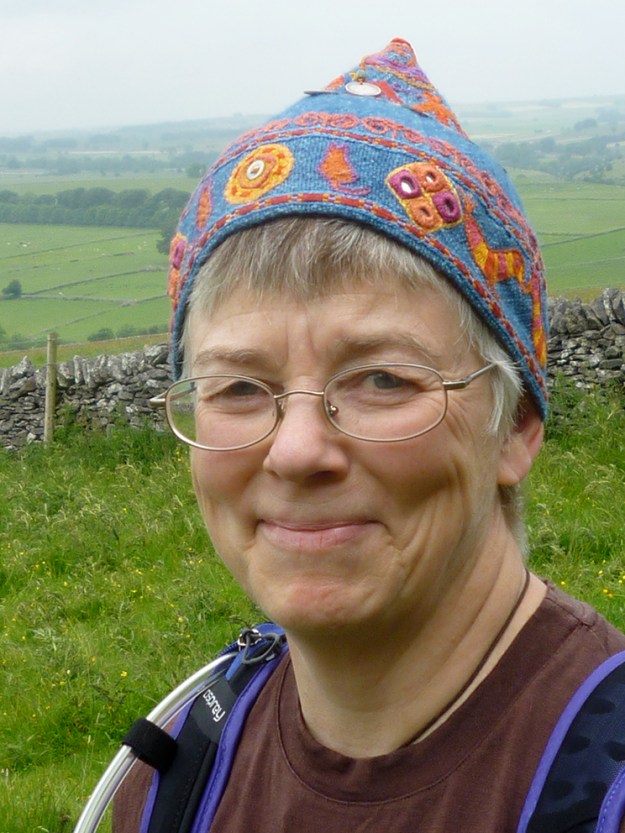
Somewhat distorted by perspective, at the top of the hat is a band of shepherd’s crooks (protective), below which is a band of ‘amulet triangles’. Thought to be based on very, very early depictions of the Goddess, these are protective. Some of mine have diamond-shaped ‘heads’ containing four squares, the shape known as ‘fertile field’ that usually means fertility in the sense of offspring but I’ve used as heads because I’m interested in fertility in the sense of ideas. Tiny gold stars (light to distract demons) and the s-shape that may be a greatly simplified dragon (protective) also appear. Dangling from the top of the hat are glittering, noisy coins and a miniature silver Maes Howe ‘dragon’.

When I presented my project to the spinning group I found my voice breaking with emotion as I tried to convey how I’d felt as each stitch linked me more closely to the many, many others who for millennia have made clothing to protect those they loved. Writing this I find the same emotion rising again. Think of the work involved in making a garment, even a hat, when women clothed their families in the days before millspun, machine-woven cloth. Gathering the fibre, preparing it, spinning it, weaving it, thinking of the person for whom you’re making it. Saving and bartering for cherished bright silks, shiny coins. Hoping and believing with every stitch that your embroideries are more than embellishment; you are creating a garment that may offer guidance and protection to the person who wears it, a tangible expression of your love and skill.
We’ve lost that. Our lives are so much easier… but we’ve lost something along the way.

 This shows the details but the colours are dark and lifeless thanks to the dim British winter light.
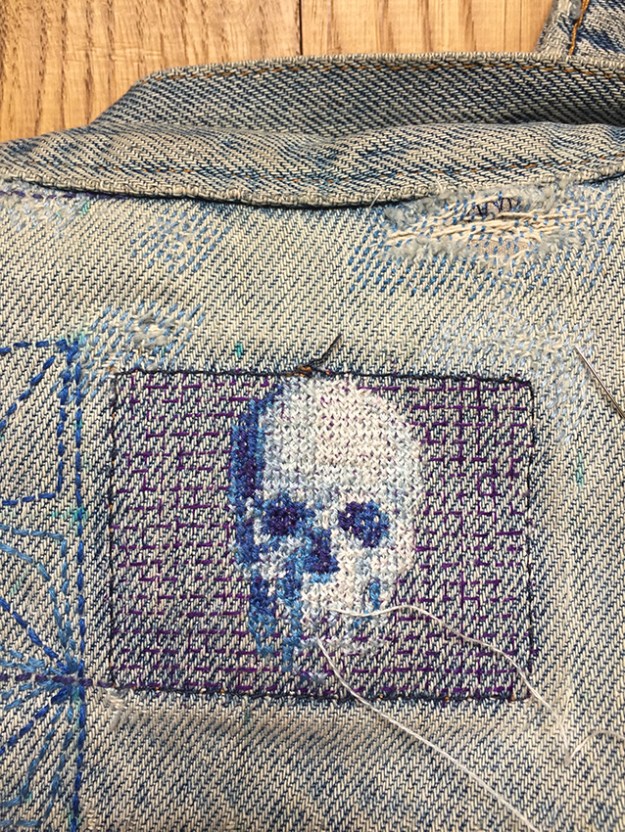


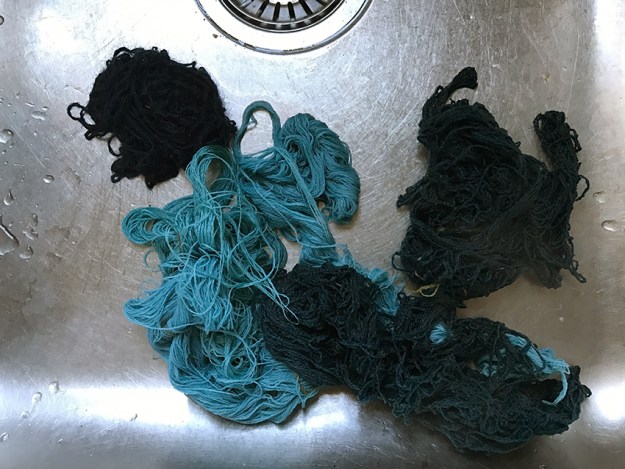
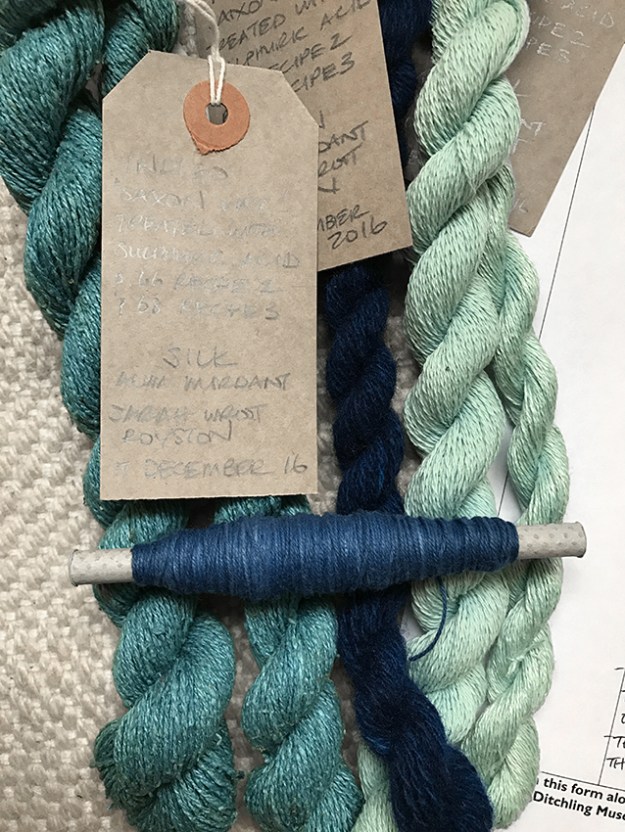
 And here is the result, reskeined with the Ditchling Museum Project Record. I’ve added a bobbin of cotton dyed with with an ‘ordinary’ indigo vat for comparison: it’s clear to my eyes at least that the Saxon Blue is more teal, somewhat greener than the ordinary. But sadly not nearly as green as the example I saw produced by a friend with access to Fuming Sulphuric: the stronger the acid, the higher the proportion of green ‘sulph-indylic’ dye formed by the reaction. But still, it is very pretty.